Ever wondered who that anonymous user on your account is? Well they could pose a serious risk to your account security and personal information. You need to back up your information and ensure that all unrecognized or anonymous IP domains and mailboxes are off your server. To prevent unwanted access, you can restrict access to users by blocking access by location. You can use Conditional Access rules to apply the correct access controls when they’re needed while staying out of your users’ way when they’re not. To automate choices and enforce organizational access regulations for resources, Conditional Access analyses signals such as user, device, and location.
In this blog, we will go through the process of using conditional access in Microsoft 365 to block anonymous IPs. We will also address some issues users my encounter while they are trying to add conditional access in Microsoft 365 to block anonymous IPs, as well as alternatives to address the issue. Follow the step by step guide to see how you can use conditional access in Microsoft 365 to block anonymous IPs.
Step by step process – How to use conditional access in Microsoft 365 to block anonymous IPs
- First, sign in to your Office 365 account.
- Use the app launcher and navigate to admin.
- In the admin dashboard, under “admin center”, click on “Azure Active Directory”(you may need to click “Show all” to access).
- Click on “All services”.
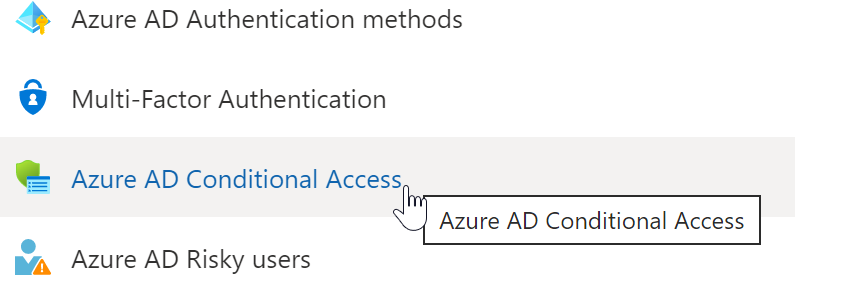
- Now click on “Azure AD Conditional Access”
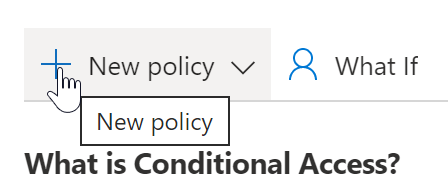
- Click on “New Policy”.
- Name the policy.
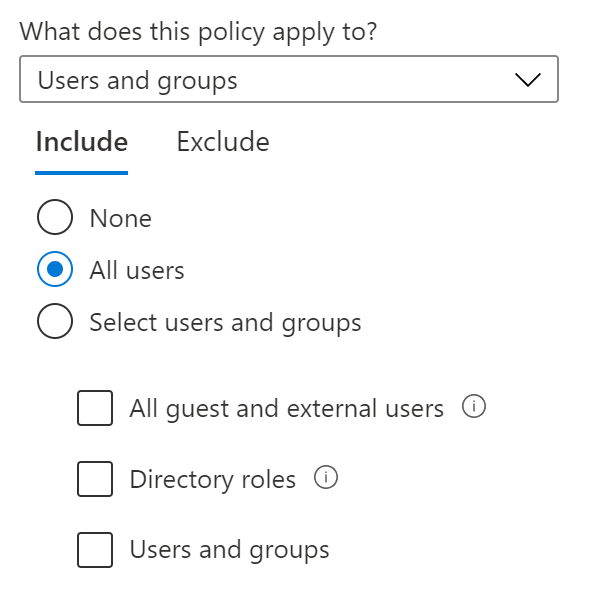
- Assign the users you want to block to this policy.
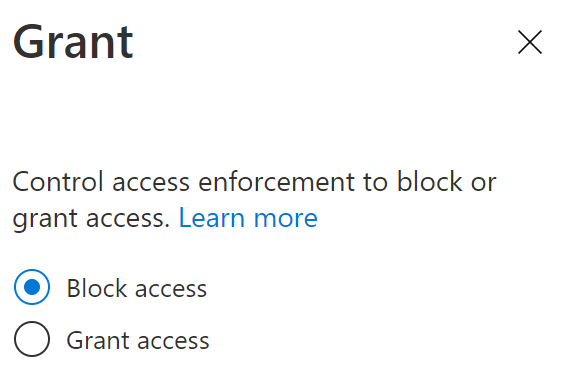
- Now under “Access controls”, the grant should be “Block access”.
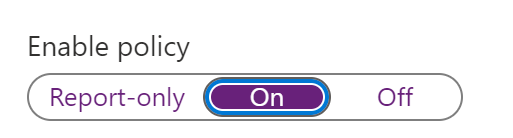
- Set “Enable policy”, report to “On”.
- Finally, click on “Create”.
That’s it, you have now effectively restricted the IP access to your server from anonymous users. You will no longer be able to allow the user access to Office 365 until the policy is deleted, this will protect your account from anonymous users. AzureAD has these effective features to allow admins to gain more control over how users interact with their domains. This sort of extensive control not only gives admins more control and management over the users, but it also provides data security as access is denied within your domain, there is less chance for classified data being leaked out.

Other ways to prevent people from using Microsoft 365 outside of the workplace
Another way for users to stop access for a set period of time is to use a PowerShell command similar to EAC. This gives individuals in administrative positions the ability to impose a time limit on the banned user. This will allow the user to be automatically banned when the restriction timer begins and automatically released after the timer expires. To restrict user access to mailboxes, you’ll need to implement a command; nevertheless, there are lots of places where you can get codes especially linked to mailbox restrictions.
Because Exchange Online supports a variety of mailbox connection protocols, you may use the Set-CASMailbox cmdlet to disable certain protocols. In this example, we disable mobile connection for a mailbox using both Exchange ActiveSync (EAS) and the Microsoft sync technology used by Outlook mobile:
| Set-CASMailbox -Identity [email protected] – ActiveSyncEnabled:$FalseSet-CASMailbox -Identity [email protected] – OutlookMobileEnabled:$False |
What’s the deal with both protocols being disabled? Other clients, such as the mail applications bundled with the iOS and Android operating systems, use EAS to connect to Exchange Online for basic email connection. Other clients, such as the mail apps included in the iOS and Android operating systems, use EAS for basic email connectivity with Exchange Online. Outlook mobile uses Microsoft sync technology to enable many advanced features like delegate access to mailboxes, but other clients, such as the mail apps included in the iOS and Android operating systems, use EAS for basic email connectivity with Exchange Online. A user may still log in to their email using a second app if you don’t disable both. In reality, to prevent a mobile device from connecting to a mailbox, you need to block the IMAP4 and POP3 protocols as well.
Restrict unmanaged device access
Users with administrator positions can limit access on unmanaged devices by following the methods outlined below. If these devices are totally prohibited, they will have no access to the app or the web app; if the “Allow limited web-only access” option is enabled, they will have extremely limited access. Both of the choices below will limit downloads as part of the restricted functions’ goal responsibilities on unmanaged devices.
- First, sign in to your Office 365 account.
- Use the app launcher and navigate to admin.
- Click on “Show All” to reveal “Admin centers”.
- Here click on “SharePoint”.
- Under “Policies” click on “Access control”.
- Click on “Unmanaged devices”.
- Click “block access” or “Allow limited web-only access”, both will restrict downloads.
- Then click on “Save”.
In-depth – Step by step process – How to use conditional access in Microsoft 365 to block anonymous IPs
Step by step breakdown:
- First sign in to your Office 365 account.
Use your account details or if you have a current Skype account with the Office account in question, you can use this.
- Use the application launcher to navigate towards “Admin”.
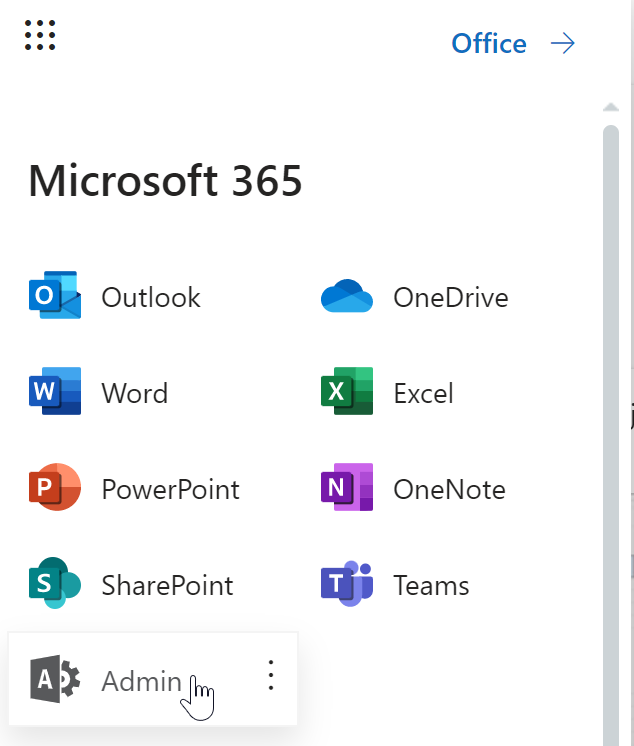
The launcher is illustrated by nine dots in the right corner, click on it and find “Admin” as shown above.
- In the admin dashboard, under “admin center”, click on “Azure Active Directory”(you may need to click “Show all” to access).
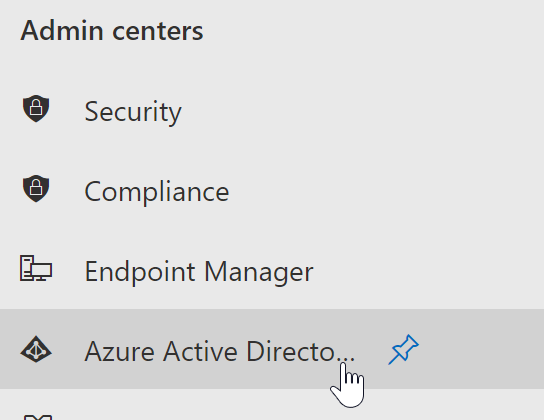
In this example “Azure Active Directory” was pinned to the menu bar, however, in your dashboard you may need to click on “show all” which will bring you to the Azure Active directory panel.
- Click on “All services”.
- Now click on “Azure AD Conditional Access”.
- Click on “New Policy”.
- Name the policy.

- Assign the users you want to block to this policy.
- Now under “Access controls”, the grant should be “Block access”.
- Set “Enable policy”, report to “On”.
- Finally, click on “Create”.
That’s it for this Blog thank you for taking time out to read our content, please feel free to email our team about how it went if you followed the steps or if you need more help with the questions we answered in this Blog.