One of the simplest ways to utilize OneDrive for file sharing is to create a dedicated folder where you and others may exchange files. This option is ideal for sharing with friends or family, a small workplace, or a project team. Create the folder you wish to use for sharing in OneDrive. Give it a name that makes its function clear even if someone else sees it in their OneDrive: For instance, you may label it Shared Files. Sync that folder to the cloud and provide a shared link to it with the other person (or people) with whom you wish to share it. (Make certain that editing is permitted.) Your friends and coworkers will receive a link to OneDrive on the web, where they may click Add to my OneDrive. When you add a shared folder to OneDrive, your modifications are visible to everyone who has access to the folder. The shared folder is now added to their OneDrive. It appears instantly in File Explorer, and any files you add, update, or remove are automatically synchronized to everyone else in the group. Follow through for more information on How to use create a shared folder in OneDrive.
Step by step process – How to use create a shared folder in OneDrive
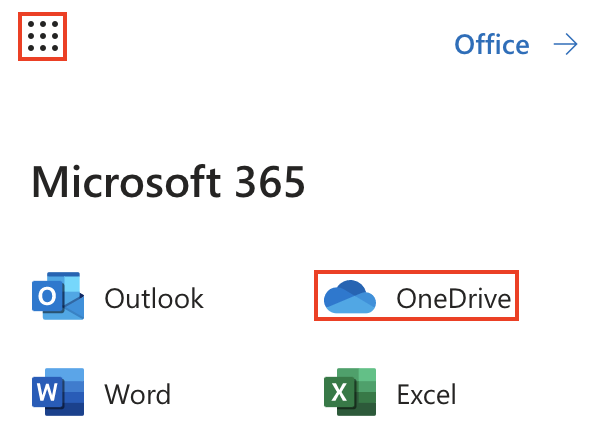
- Firstly, sign in to Office 365.
- Use the launcher to navigate to OneDrive.
- To make a new folder, click “New” and then select “Folder” from the drop-down menu.
- Enter a name for the folder and click “Create.”
- On your screen, you will see a newly formed folder.
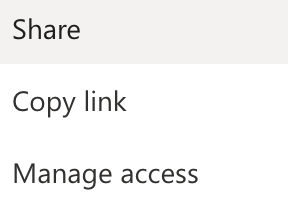
- Select “Share” from the context menu after right-clicking the folder you wish to share.
- Enter the name or email address of the individuals you wish to share the document or folder within the Share User dialogue box and on the ‘Invite people’ tab.
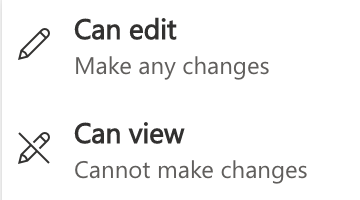
- Choose a permission level from the drop-down menu, such as “Can edit” or “Can view.”
- Choose whether to “Send an email invitation” and provide a customized message.
- Finally, press the “Send” button.
That’s it, files and folders can now be shared with OneDrive. Ensure you have the correct settings in place so both you and your colleagues can edit the folder and its content. You can assign permissions within the browser. When you move files across shared folders, they lose their previous permissions and take on the permissions of the folder to which they were moved. If you transfer an item to a read-only folder, for example, the item becomes read-only as well. When an object is moved from a shared folder to an unshared folder, it is no longer shared with anybody. There is no change to any of the assigned permissions if you merely move objects within a shared folder.
On OneDrive.com, you may transfer shared files but not shared folders. When you sync OneDrive to your computer, each shared folder that you transfer is copied to the target place and then deleted from OneDrive. It’s still there on your Shared list.
You may rename any shared folders you’ve added to OneDrive. The new name you give the folder is only accessible to you, and it will display with that name anywhere you visit your OneDrive, including OneDrive.com, the OneDrive program on your PC, and the OneDrive mobile applications. The name change will not be visible to the shared folder’s owner or anyone else who has access to the folder.

Relocate Share files in OneDrive
In OneDrive, you may relocate shared files. When you transfer files between shared folders, they lose their current permissions and get the rights of the folder to which they are moved. For instance, moving a file from a shared folder to an unshared folder indicates that the file is not shared with anybody else.
It’s also worth noting that on OneDrive.com, you can only move shared files, not shared folders. When you sync OneDrive to your computer, each shared folder that you transfer is copied to the target place and then deleted from OneDrive. It’s still there on your Shared list.
Removal of a shared file from a folder
If you don’t want to access a shared file or folder, you can delete it from the shared folder. Only the shared file/owner folders have the ability to remove it. Removing an item from your shared list does not deprive you of its permissions. You may always return to the file by clicking on its link.
Here’s how you can go about it:
- Log in to your Microsoft Office 365 account.
- Select “OneDrive” > “Shared”.
- Choose the file you wish to delete.
- Select “Remove from the shared list.”
If the file’s owner deletes the file or revokes your permission, the file is likewise deleted from your shared folder.
Deletion of a shared folder in OneDrive
Files removed from a shared folder on OneDrive.com are transmitted solely to the owner of the shared folder’s recycle bin. Items removed from a shared folder do appear in the computer’s recycle bin if you sync your OneDrive on a PC.
To delete a shared folder from OneDrive.com, follow these steps:
- Select the shared folder you wish to delete from the Files view.
- Remove from my OneDrive is the option.
- This merely removes the folder from your OneDrive; it is still available via your Shared list, and it has no effect on the owner or anybody else who has shared the folder. If you delete the folder instead, it is removed from everyone’s OneDrive and must be restored by the folder owner.
In-depth – Step by step process – How to use create a shared folder in OneDrive
Step by step breakdown
- Firstly, sign in to Office 365.

Use your account details or if you have a current Skype account with the Office account in question, you can use this.
- Use the launcher to navigate to OneDrive.
- To make a new folder, click “New” and then select “Folder” from the drop-down menu.
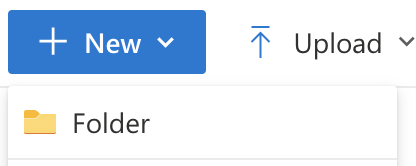
- Enter a name for the folder and click “Create.”

- On your screen, you will see a newly formed folder.

- Select “Share” from the context menu after right-clicking the folder you wish to share.
- Enter the name or email address of the individuals you wish to share the document or folder within the Share User dialogue box and on the ‘Invite people’ tab.

- Choose a permission level from the drop-down menu, such as “Can edit” or “Can view.”
- Choose whether to “Send an email invitation” and provide a customized message.

- Finally, press the “Send” button.

That’s it for this Blog thank you for taking time out to read our content, please feel free to email our team about how it went if you followed the steps or if you need more help with the questions we answered in this Blog.