If you need to increase the size of your own video in Teams, you can do that by using the pin tool. The pinned effect will only be seen by you, and it will move your video to the top while shrinking the others down at the bottom of the window.
How to pin your video in Microsoft Teams:
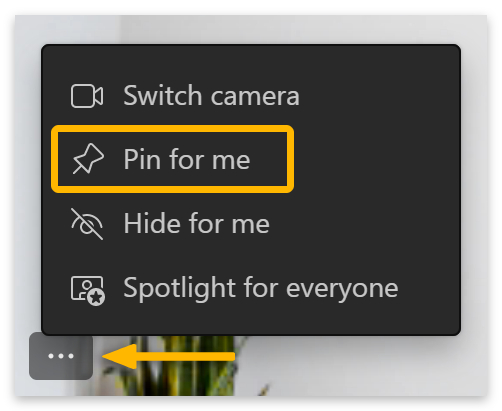
- Hover over your video.
- Click the three dots in the bottom left corner.
- Then select ‘Pin for me’ from the popup menu.
Please continue reading our visual, step-by-step guide on everything you need to know about customizing the view in Microsoft Teams.
Method 1 – Pin your video to view your own image
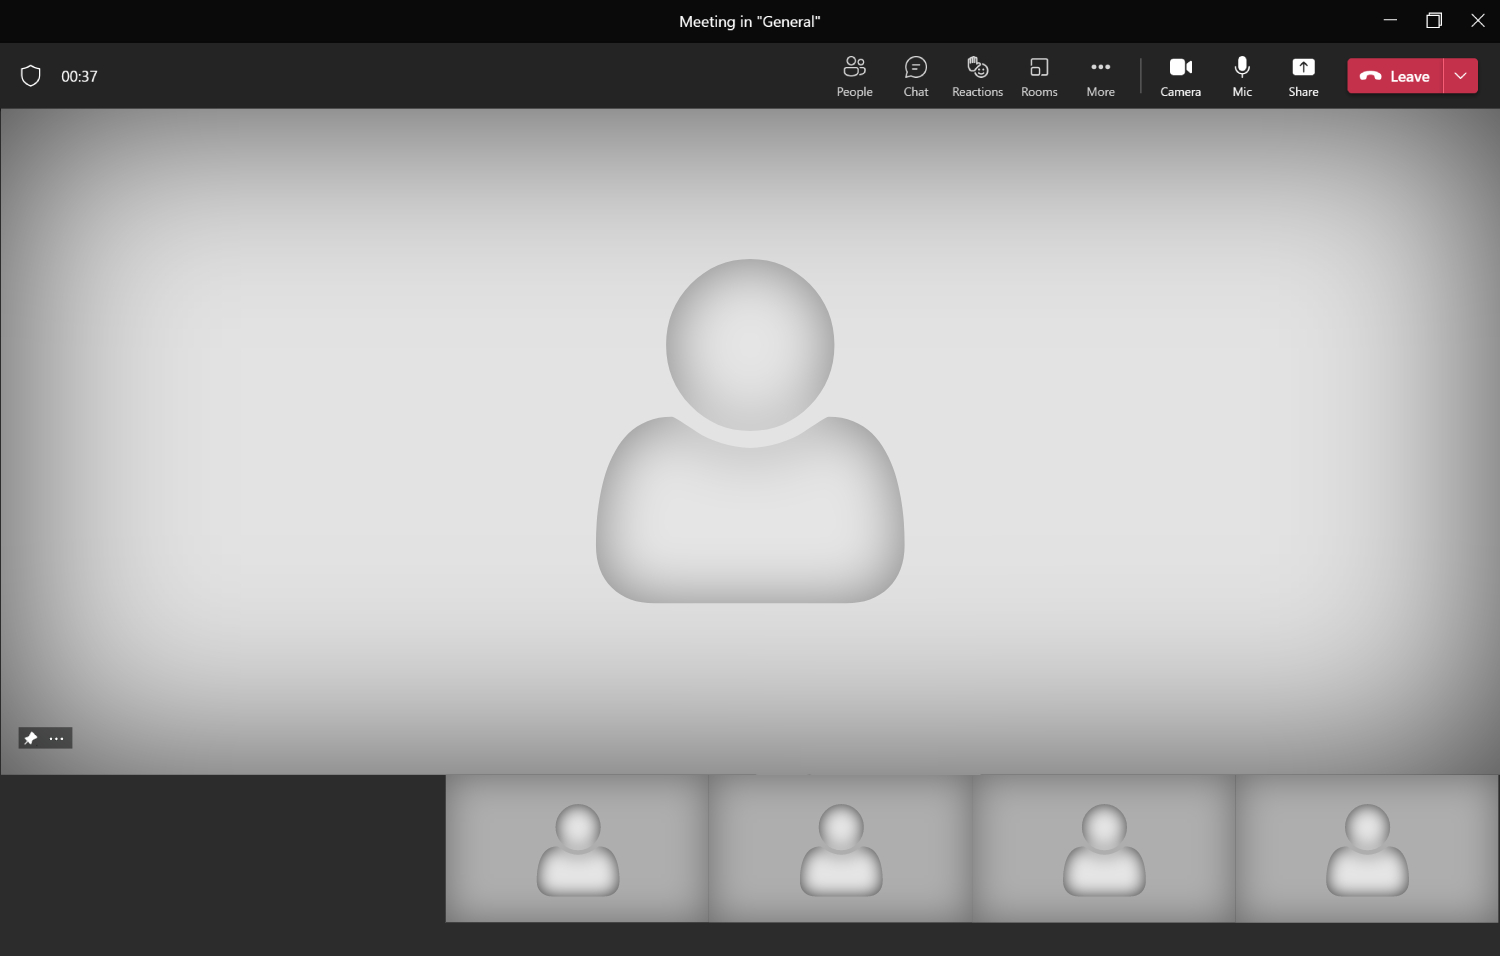
Everyone in a Teams meeting can pin a video. When you do so, the video will move to the top of the window and increase in size. To start this guide, you will need to turn your camera on and have at least one other participant in the meeting.
- Hover over your video and click the three dots in the bottom left corner.
- Then select Pin for me from the popup menu.
- Your video will appear enlarged at the top.
- You can click the
 Pin icon in the bottom-left corner to unpin your video.

Method 2 – Spotlight a video to view your own image
Spotlighting is similar in effect to pinning, but the video will appear pinned for everyone in the meeting. Organizers and presenters can select up to 7 videos to be pinned for everyone. However, spotlighting won’t work if you’re in Large Gallery or Together Mode.
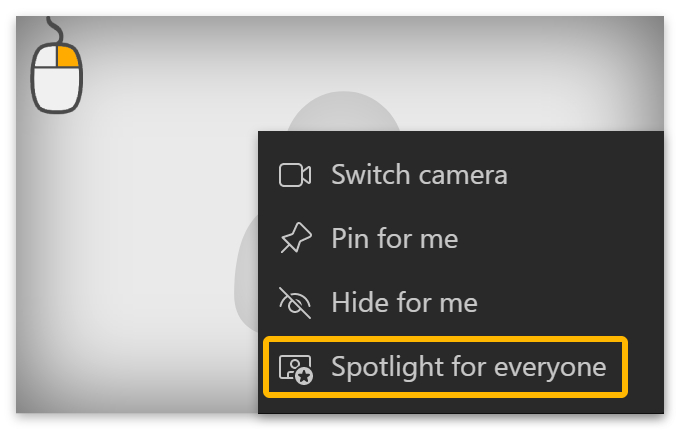
- Right-click on a video feed.
- Then select Spotlight for everyone from the popup box.
- You can also look for participants by clicking on
 People.

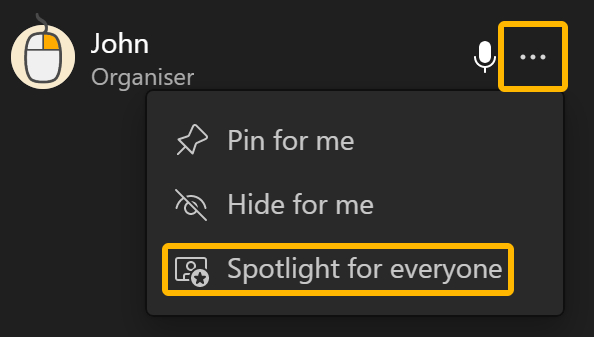
- A list of participants will open on the right side of the window.
- Navigate to whoever you want to spotlight and right-click their name.
- Then select Spotlight for everyone from the popup menu.
When spotlight is active on your video, you will see a notification at the top of the window stating that your video is highlighted for everyone in the meeting.

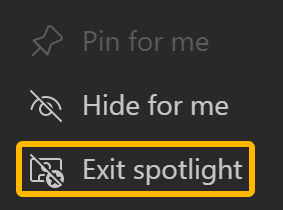
- Right-click on a video feed to turn the spotlight off.
- Select Exit spotlight from the popup menu.
Method 3 – Use your camera app while presenting
If you want to increase the size of your video while presenting, you can use your camera app while sharing your screen during the meeting.
- Make sure your camera is turned off in Teams.
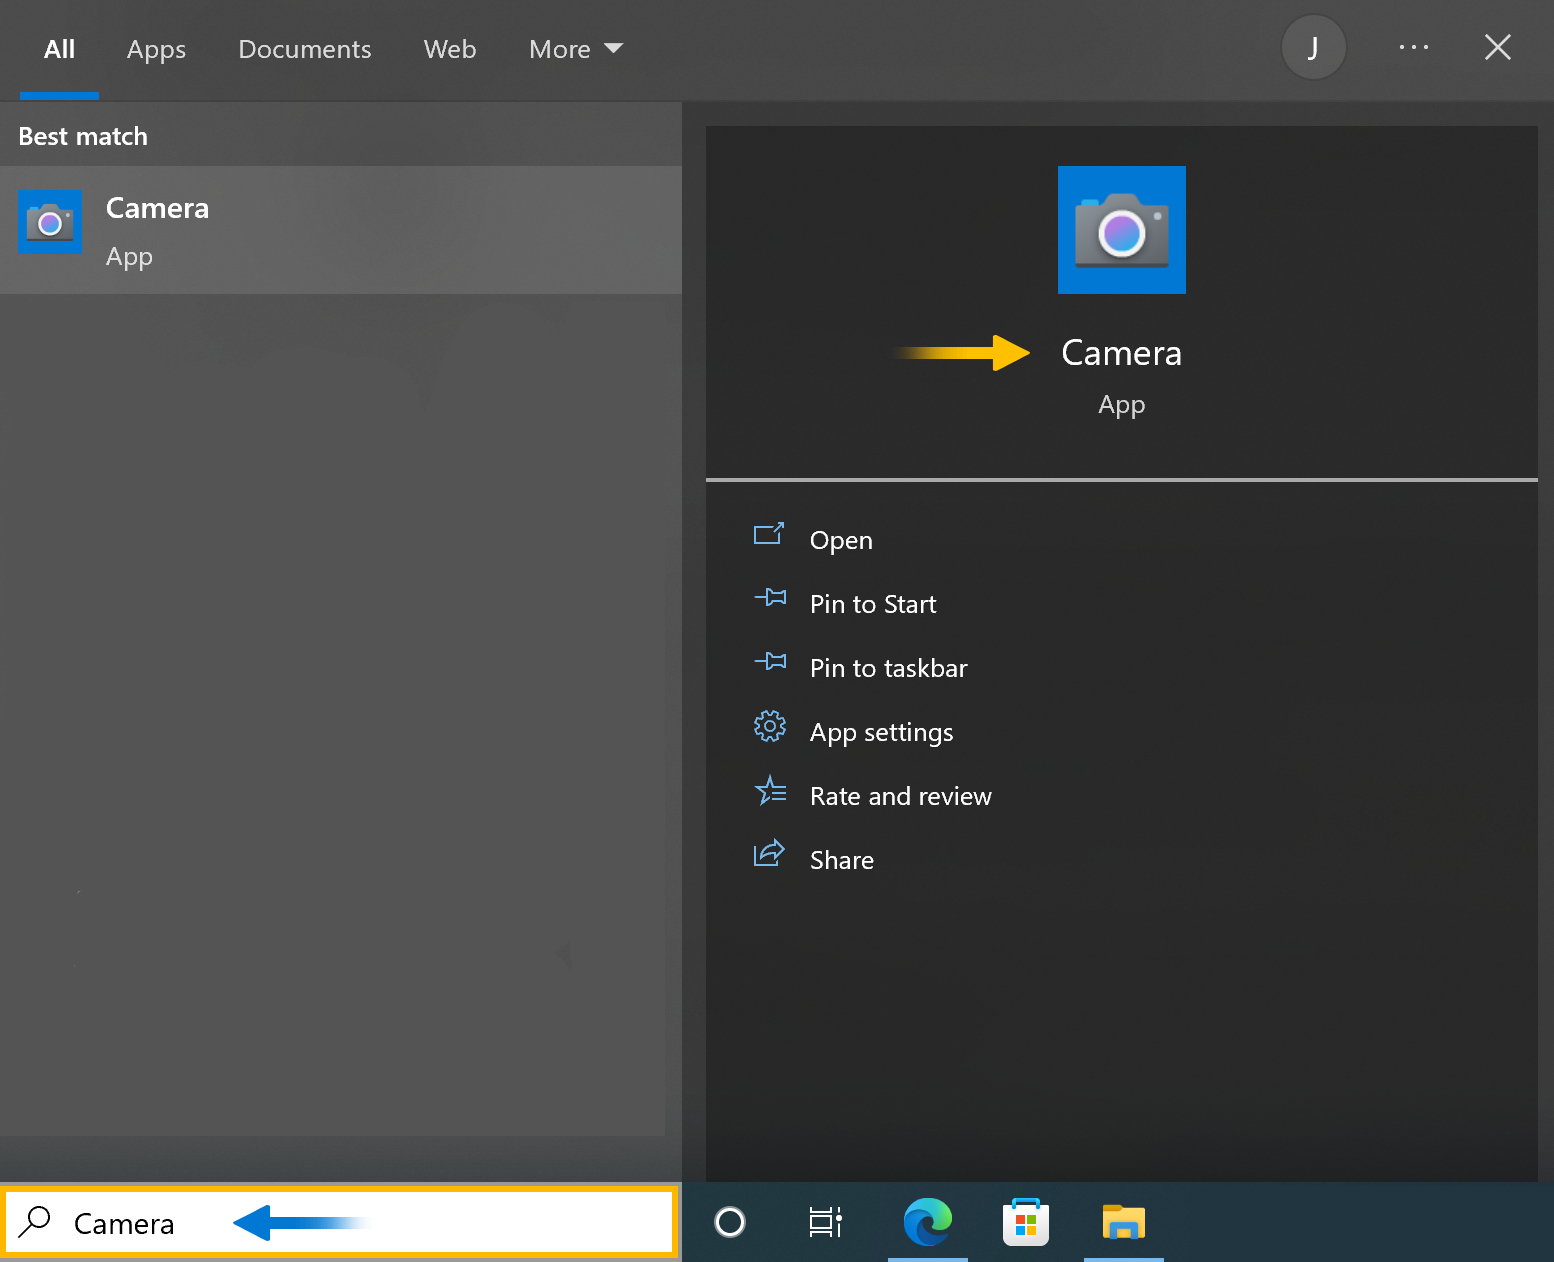
- Go to your Windows search bar and type in Camera.
- Click on the Camera App.
- Click on the up-arrow on the right side of the window to enter video mode.

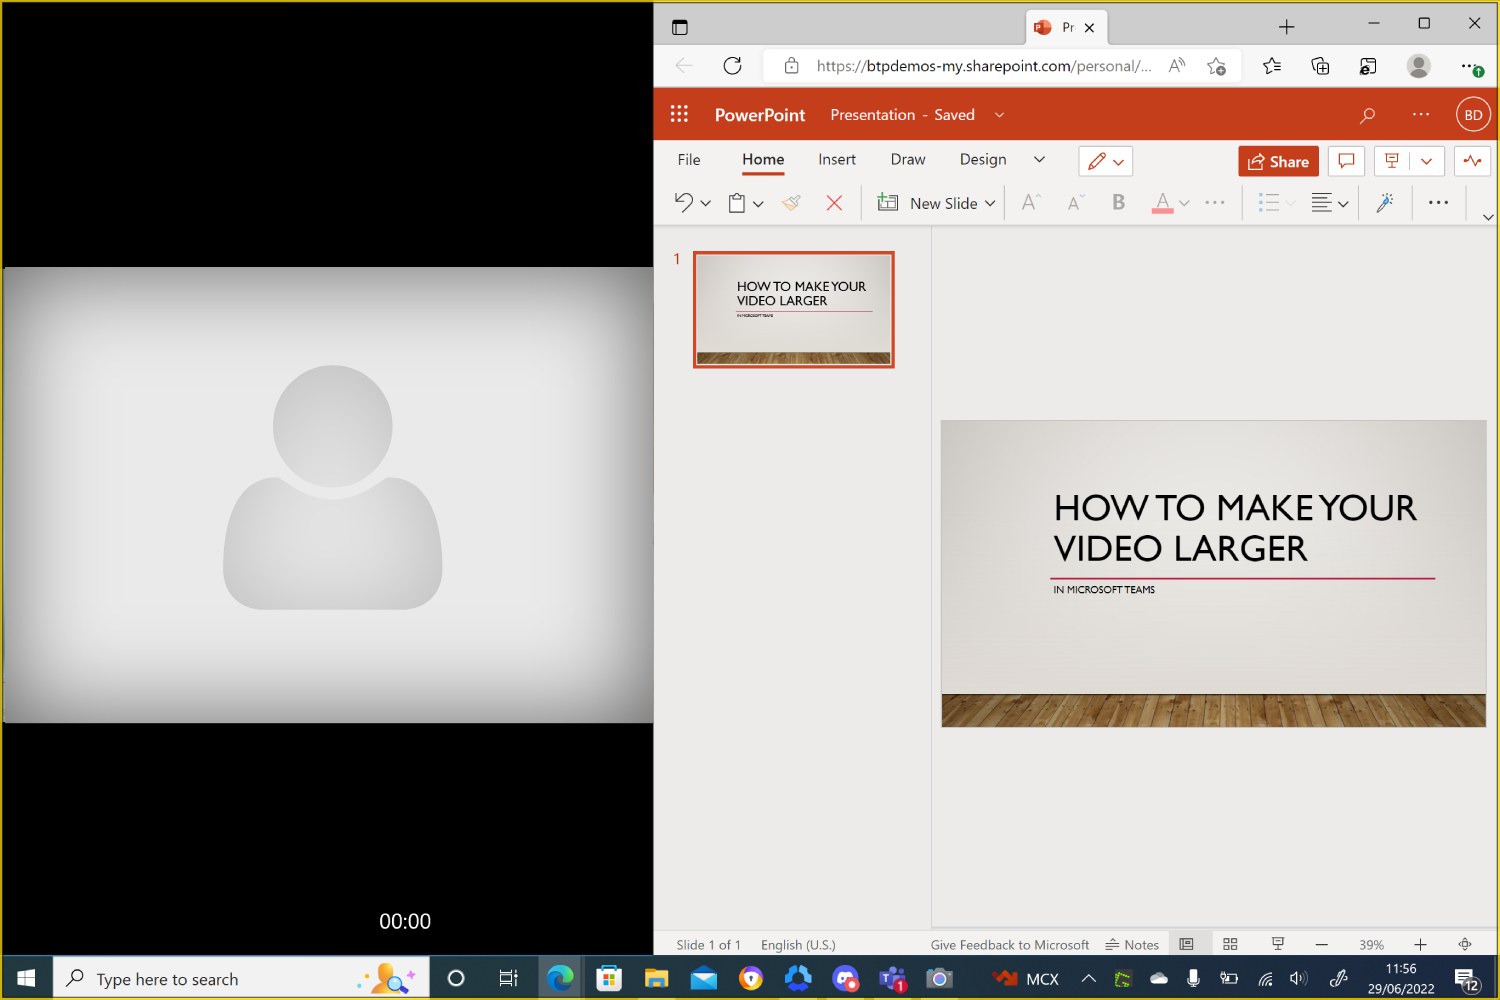
- Now you can change the video size and arrange your presentation on the screen.
- You can start sharing your screen in Teams when everything is positioned correctly.
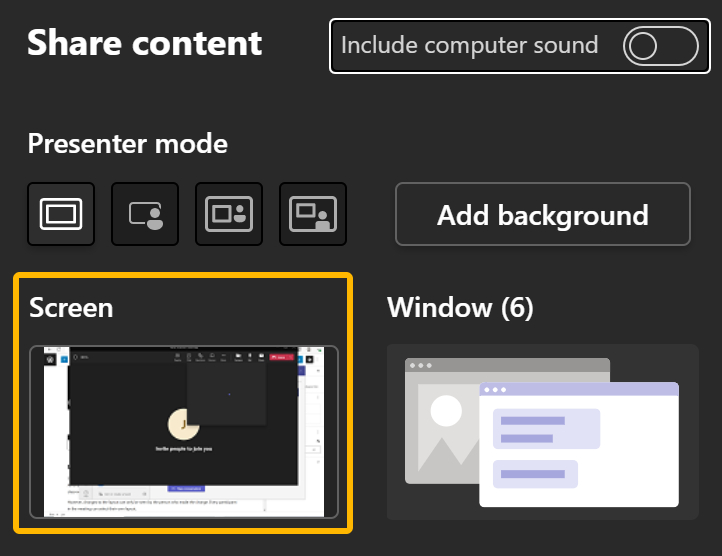
- Click on
 Share.

- Then select Screen from the dropdown menu.
- Your video will now be seen through screen share, where you can manually alter its size and zoom.
Large Gallery
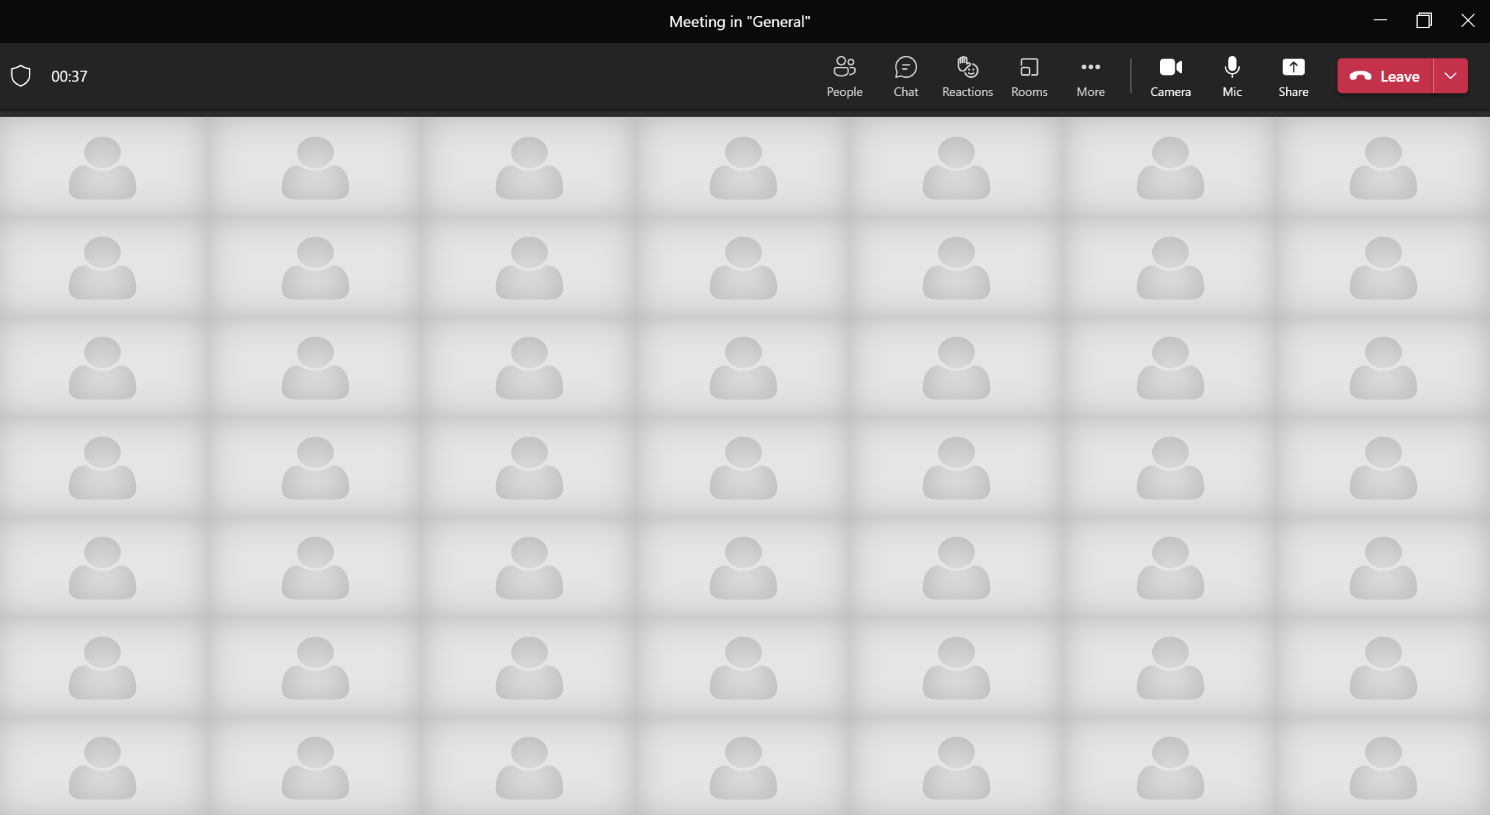
Presenters can activate the Large Gallery view when ten or more attendees are in the meeting. All attendees’ videos will appear in a seven-by-seven grid, which is the preferred view for classrooms as teachers or presenters can see all the students.
However, changes to the layout can only be seen by the person who made the change, as every participant in the meeting can select their own layout.
| In older versions of Teams, you can only use Large Gallery after turning on the ‘new experience’ in Settings under the General tab. |
- Click on the three dots or More on the top menu.
- Then select Large gallery from the dropdown menu.
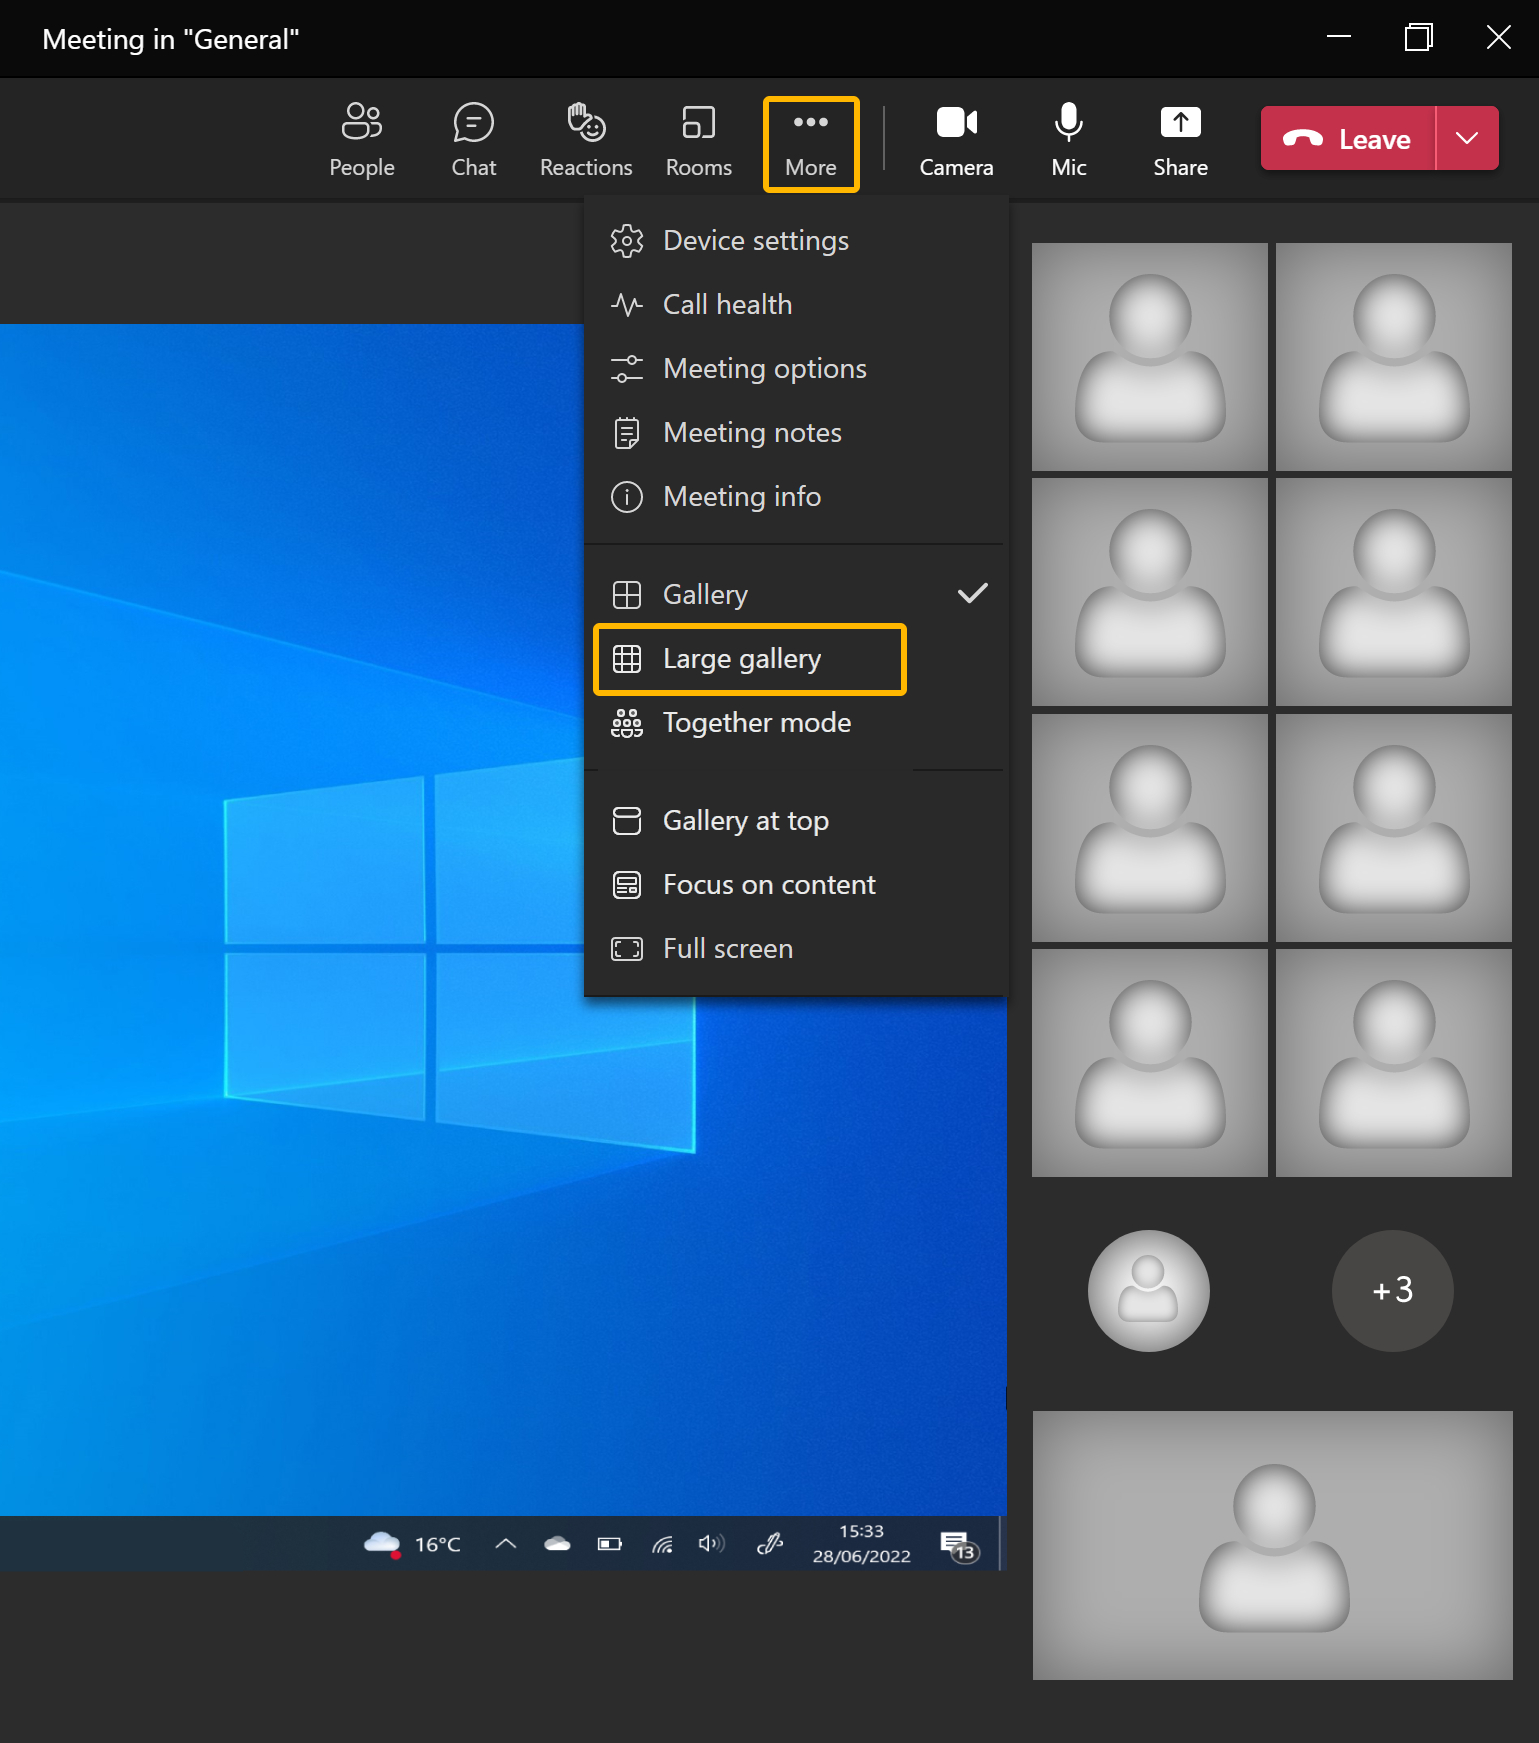
- The 7×7 grid will show the last 49 active participants.
Together Mode
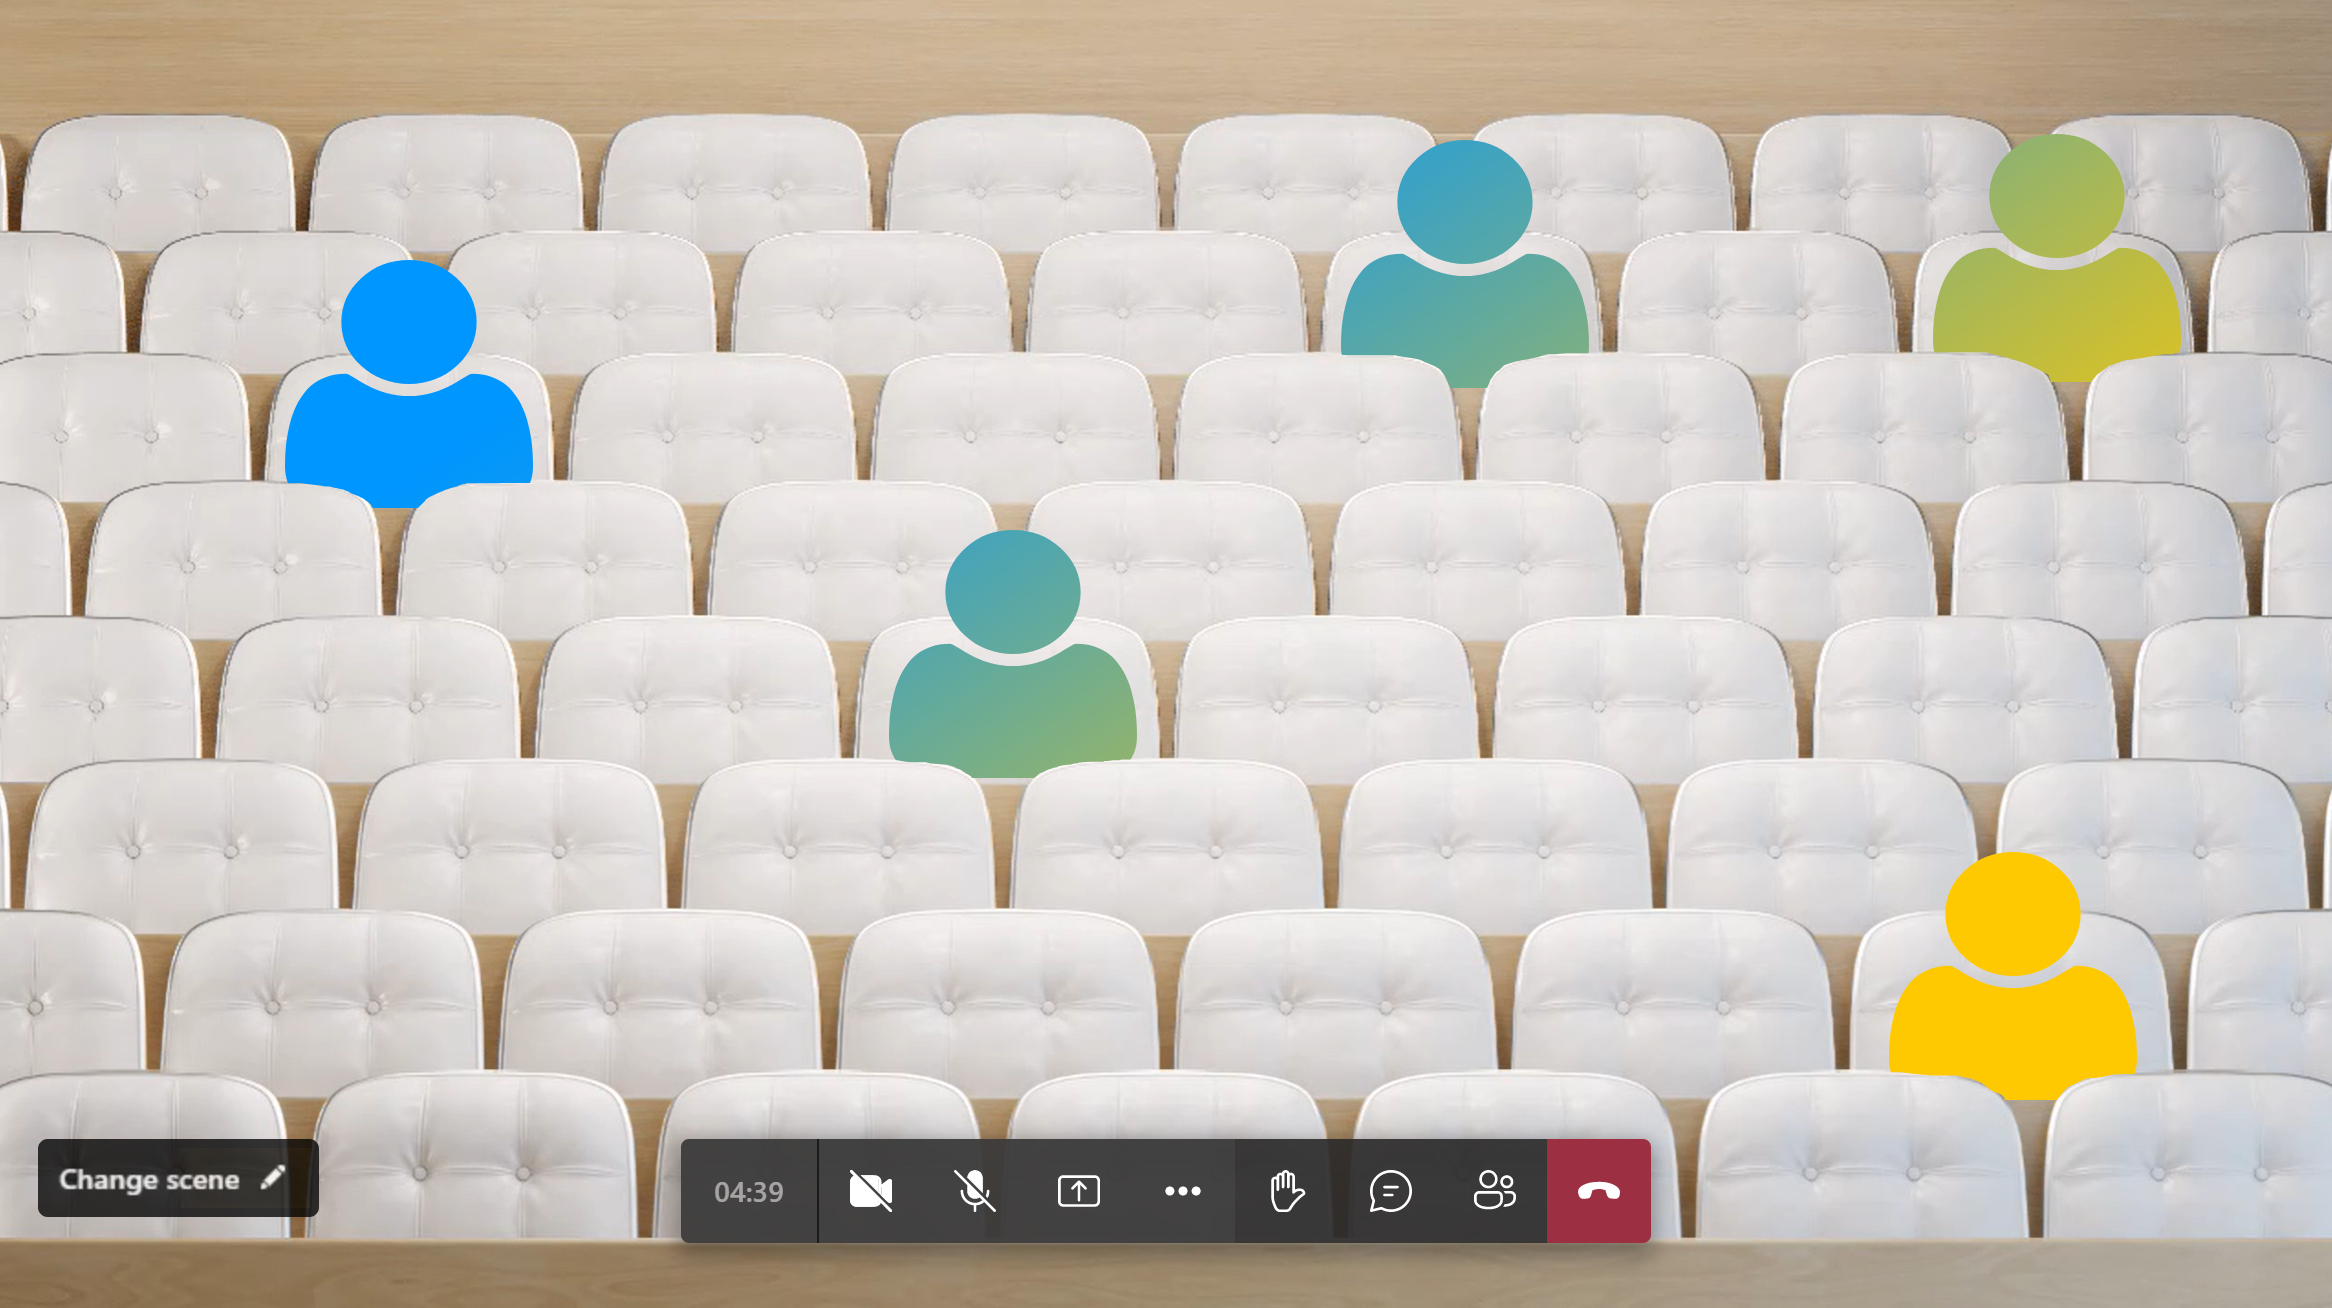
Together Mode uses Microsoft’s AI technology to clip participants from their video feed and move them into a new, virtual background. The default scene is an auditorium, but you can create your own background or choose from a selection of premade ones.
As with any other layout in Microsoft Teams, your changes will only affect how the meeting looks on your screen. Your changes will not affect the screens of other participants. However, the selected scene or background will be the same for everyone.
The meeting must have five or more participants before you can activate Together Mode.
| In older versions of Teams, you could only use Together Mode after turning on the ‘new experience’ in Settings under the General tab. |
- Click on the three dots or More on the top menu.
- Then select Together mode from the dropdown menu.

Together Mode is brilliant for seeing group reactions and works best when participants look face-on into the camera and are not too far away from the lens.
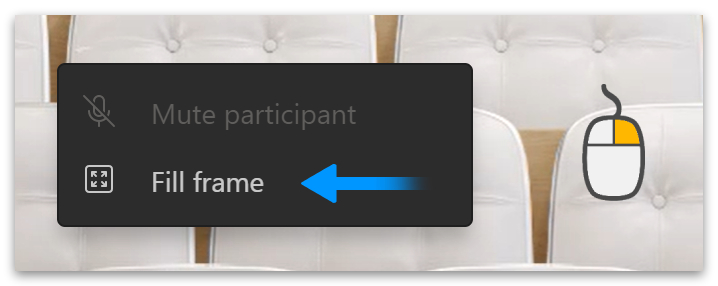
- Right-click the background to enlarge the image.
- Then select Fill frame from the popup box.
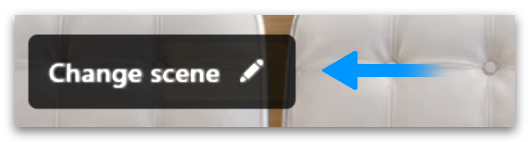
- You can change the scene by clicking on Change scene in the bottom-left corner.
Conclusion
The easiest way to make your video larger in Microsoft Teams is to pin your video. But if you’re an organizer, you can also spotlight a video, which will make it larger for everyone in the meeting. Another way to make your video bigger is to use your desktop Camera App instead of the Teams camera during screen sharing.
Thanks for reading.