Since its release, Microsoft Teams has swiftly become one of the most popular programs in the company’s history, with millions of businesses globally using it as a communication and cooperation tool. You can also integrate channels of other programs within Teams, but how do you duplicate Teams channels across? In this blog, we will address how you can duplicate a channel in Microsoft Teams.
Unfortunately, there isn’t a standardized approach natively to duplicate Microsoft Teams channels, you will need to take alternative routes to generate a channel that is duplicated.
- How to duplicate a preexisting Microsoft Teams team
- Use ShareGate to duplicate a channel in Microsoft Teams
This blog offers two parts to help you duplicate a Team, follow through for more information on how you can achieve this.
How to duplicate a preexisting Microsoft Teams team
Duplicating a Team in Microsoft Teams then migrating a channel across is perhaps the simplest method of assigning a duplicate channel to a new team. Follow through for more information on how you can achieve this.
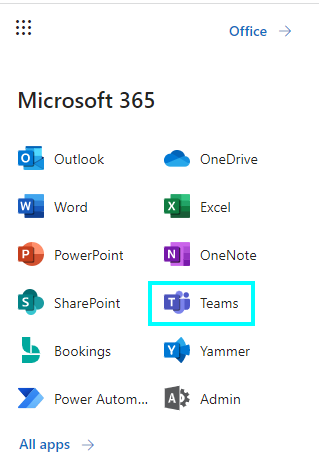
- Firstly, open the Microsoft Teams browser.
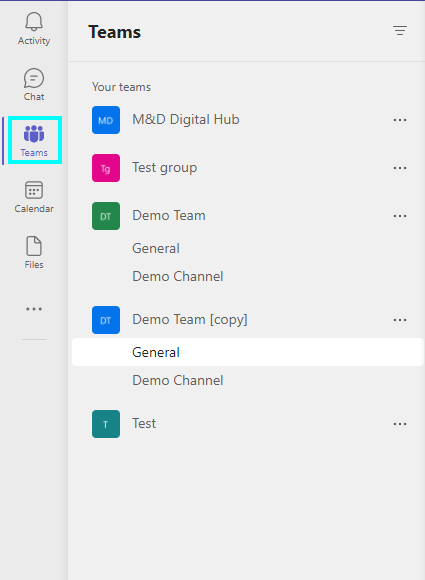
- From there, select “Teams”.
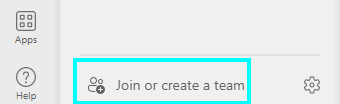
- Now click on “Join or create a team”.
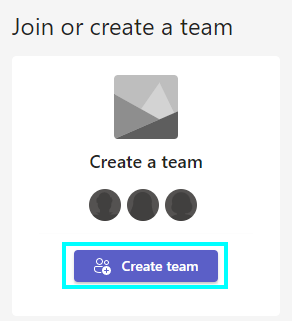
- From there choose “Create team”.
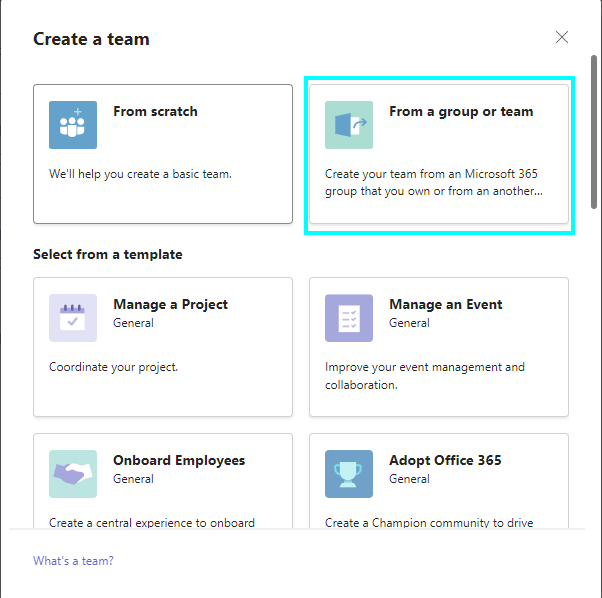
- After that, select “From a group or team”.
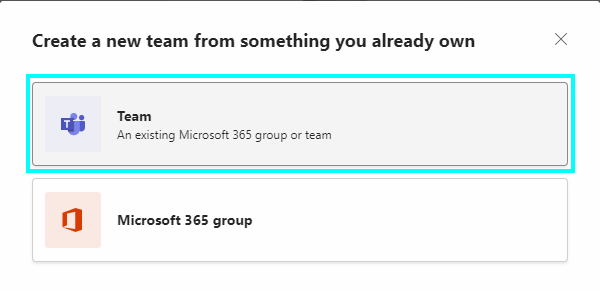
- Select “Team”.
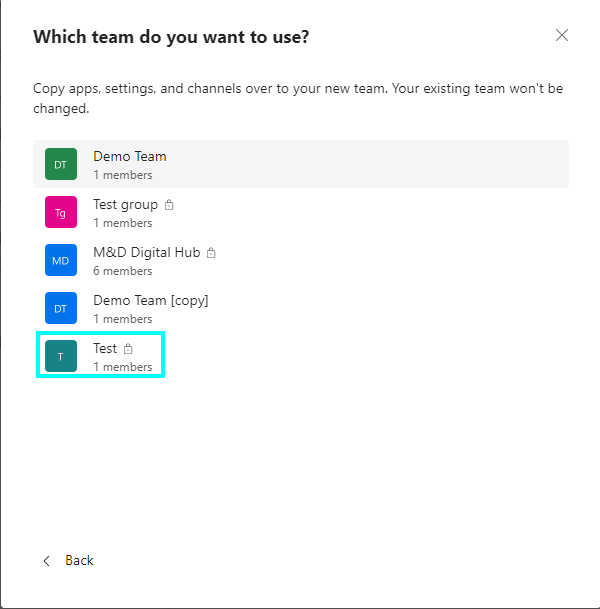
- Choose the Team you want to duplicate.
- Edit and fill in the Team information.
- Finally, click on “Create”.
That’s it, your Team will now be created, the Team has all the required information again set by you when editing the final publication. The member permission settings defined by the Team Owner, as well as the channel, tab, and applications of the original Team, are transferred when a Team is cloned. Tabs and connectors, on the other hand, must be rearranged. In the new Team, a tab (for example, Planner) will appear, but you must click on it, set it up, and be authorized.
In-depth guide – How to duplicate a preexisting Team with channels in Microsoft Teams
Below is a more in-depth guide on how to duplicate a preexisting Team on Microsoft Teams, the steps above are a shallow overview of what you need to do to make sure you successfully duplicate a Team however a more in-depth guide will help to get a better understanding of what needs doing. Follow through for more information on how you can duplicate a Team.
Step by step breakdown – With Screenshots
- Firstly, open the Microsoft Teams browser.
- From there, select “Teams”.
- Now click on “Join or create a team”.
- From there choose “Create team”.
- After that, select “From a group or team”.
- Select “Team”.
- Choose the Team you want to duplicate.
- Edit and fill in the Team information.

- Finally, click on “Create”.

That’s all; your Team has been formed, and you may update the final publication to add all of the essential information. When a Team is cloned, the Team Owner’s member authorization settings, as well as the original Team’s channel, tab, and apps, are transmitted. Rearranging tabs and connections, on the other hand, are required. A tab (for example, Planner) will show in the new Team, but it must be clicked, set up, and authorized as a new Team before it can be used.
The cloning of teams does not transfer any content, such as messages or files (these can be moved using SharePoint quite easily if necessary). Team cloning also does not transfer membership—individual users or the Group must choose members for the new Team. A cloned Team also cannot have any policies (for example, “Team owners cannot establish a SharePoint subsite”). Consider it a “shell” that may be duplicated in a different location.

Use ShareGate to duplicate a channel in Microsoft Teams
Unfortunately, Microsoft does not provide a convenient, out-of-the-box option for migrating your Team’s material, making it difficult to arrange and rebuild your Team’s environment as desired. That’s why products like ShareGate exist, which includes a simple Teams migration tool to let you shift items over in a matter of seconds. With ShareGate Desktop, their famous migration solution, they made it easy to transfer Microsoft Teams between tenants earlier this year.
Scenario
The Team “Private Team” exists with a channel called “Digital Marketing.” I need to duplicate the Digital Marketing channel, including the members and apps. Please follow through for an in-depth guide on how to achieve this.
Step by step guide – Use ShareGate to duplicate a channel in Microsoft Teams
![]() Note: You will need admin permissions and a Windows PC to use ShareGate.
Note: You will need admin permissions and a Windows PC to use ShareGate.
- Firstly,
 download ShareGate and install the application.

- Now open ShareGate.
- Click the
 “Update” button if necessary.
- Follow the onscreen instructions to install the latest version.
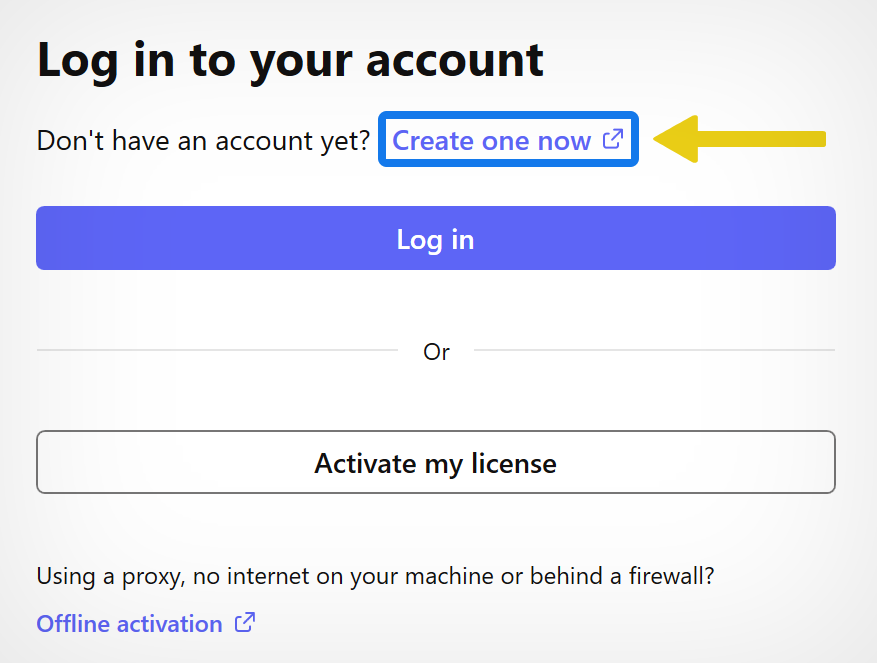
- Next, click “Create one now” to make an account.
- If you have an account, click the “Log in” button.
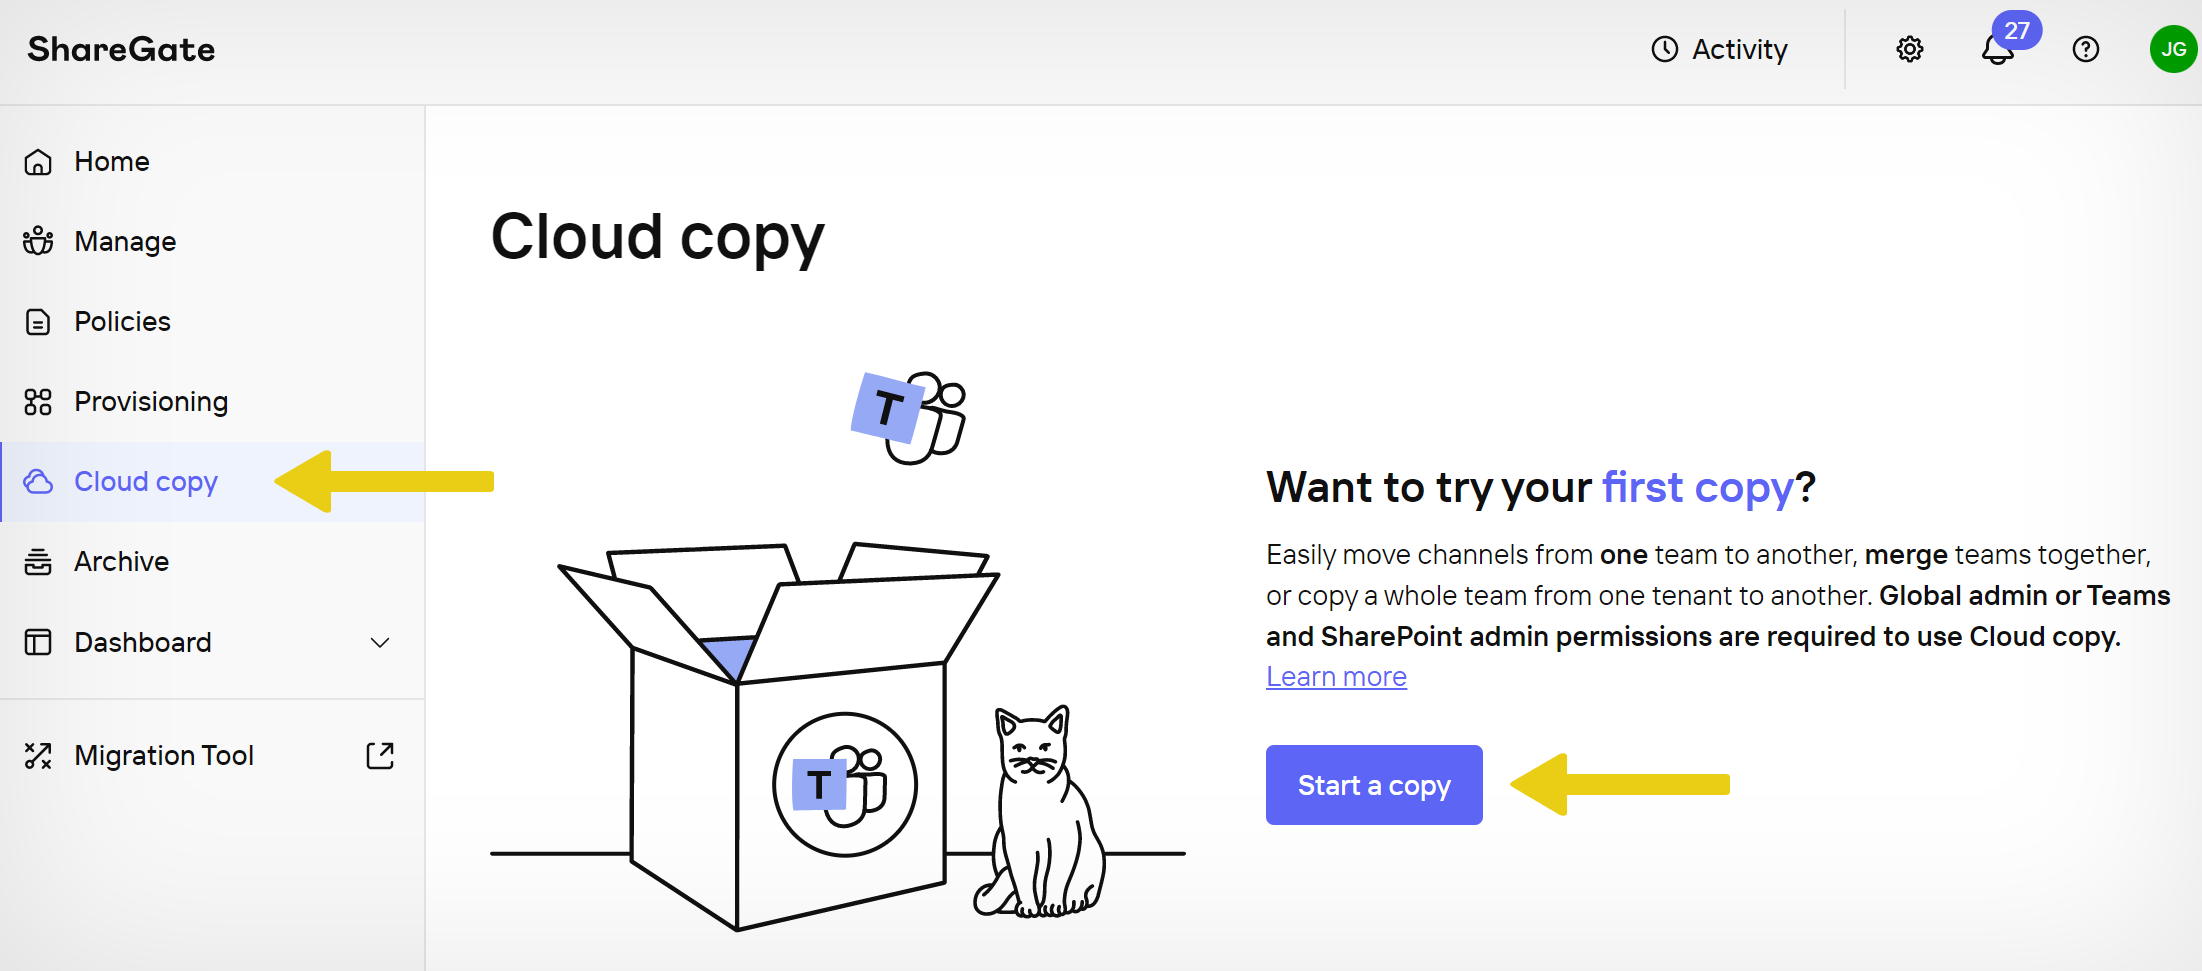
- Once you’ve logged into ShareGate, click “Cloud Copy” on the left menu.
- Then click the “Start a Copy” button.
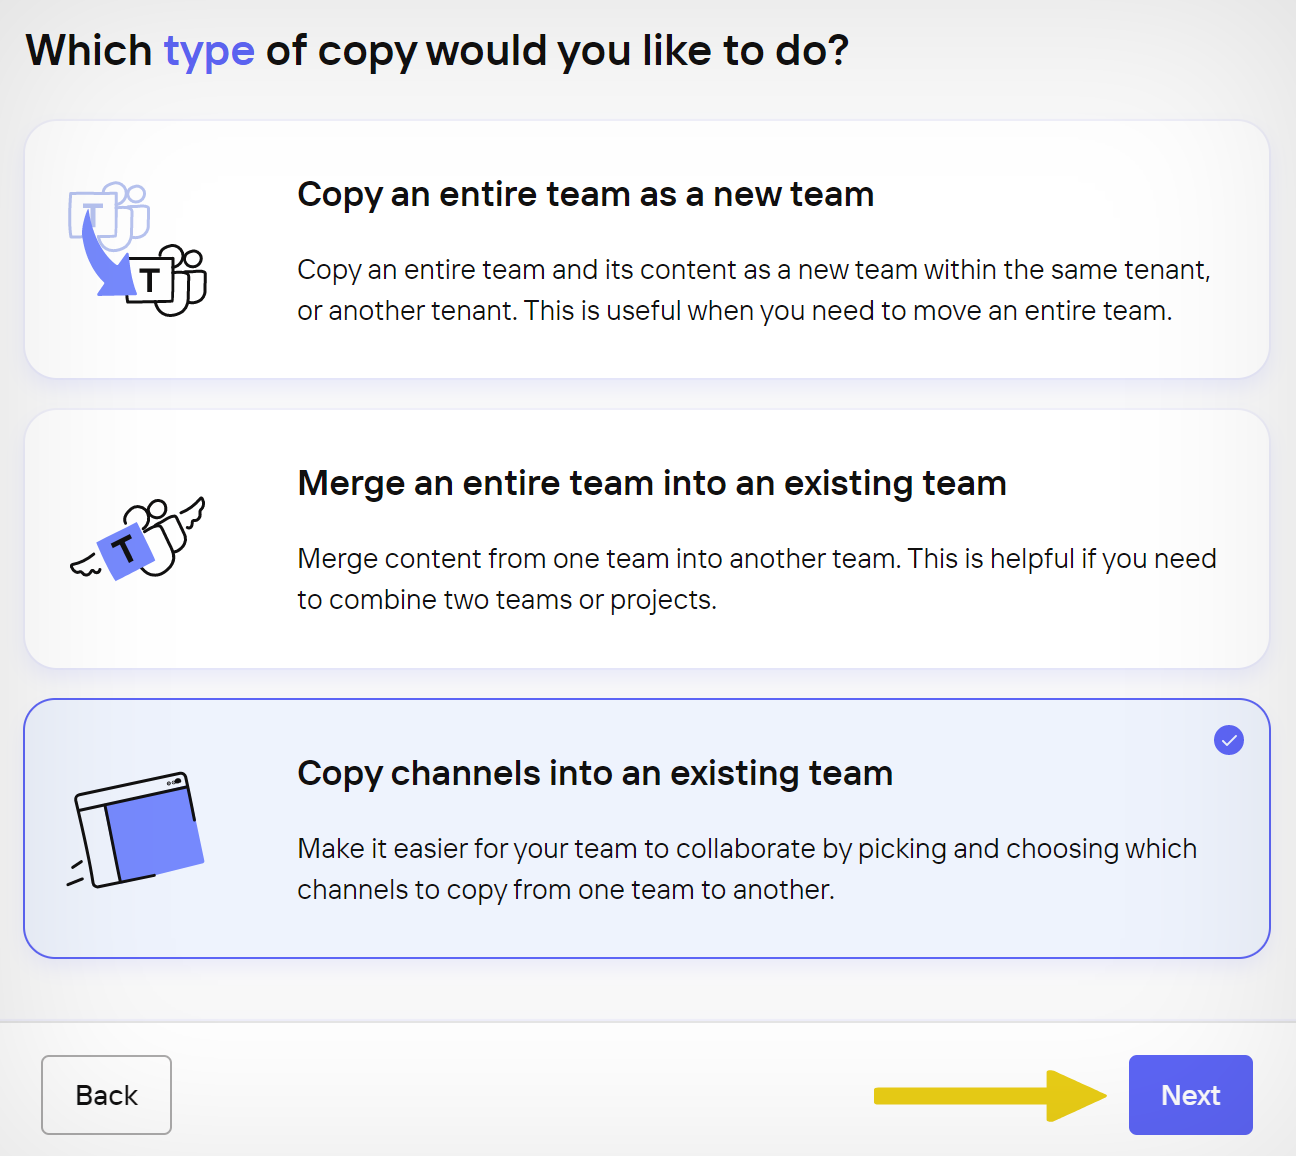
- In this guide, we’re going to “Copy channels into an existing team.”
- Once selected, click the “Next” button.
- Next, you will need to connect to your Microsoft account.
- To do that, click the
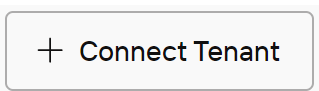 “Connect Tenant” button.
 - Click the
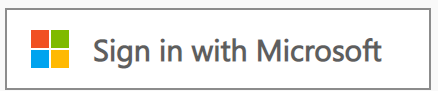 “Sign in with Microsoft” button.
 - Then scroll down and click the
 “Accept” button.
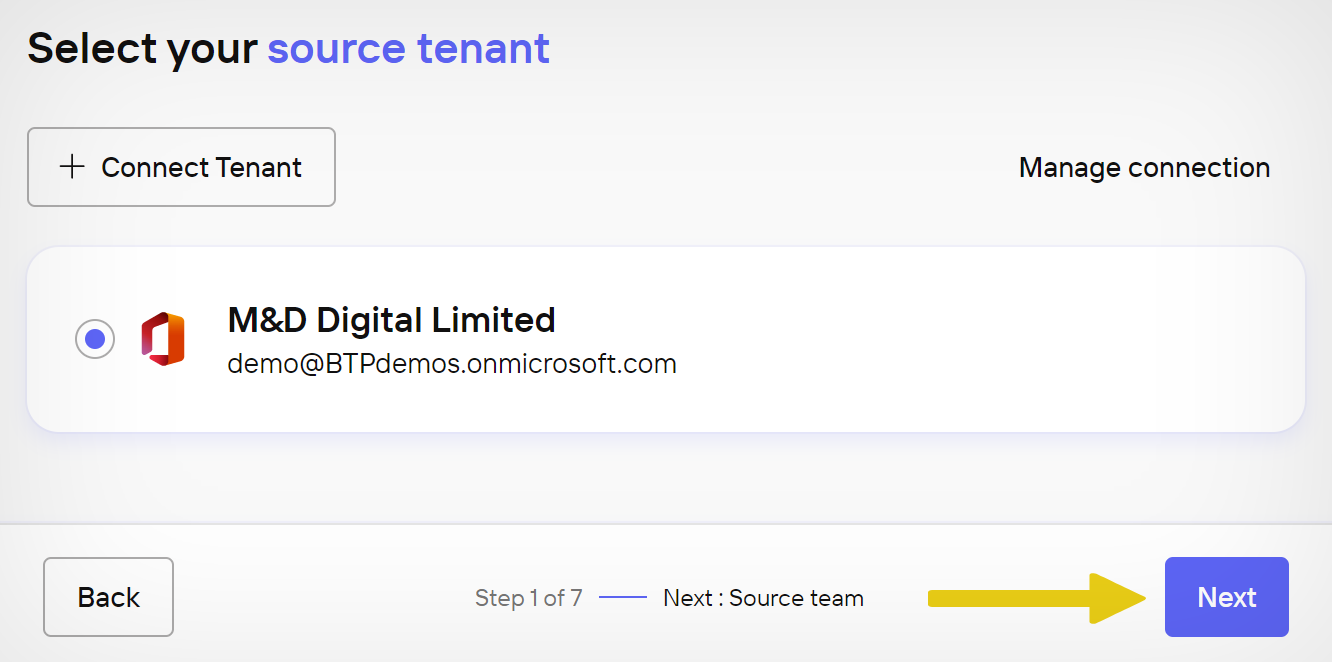
 - You can then select your source tenant and click “Next.“
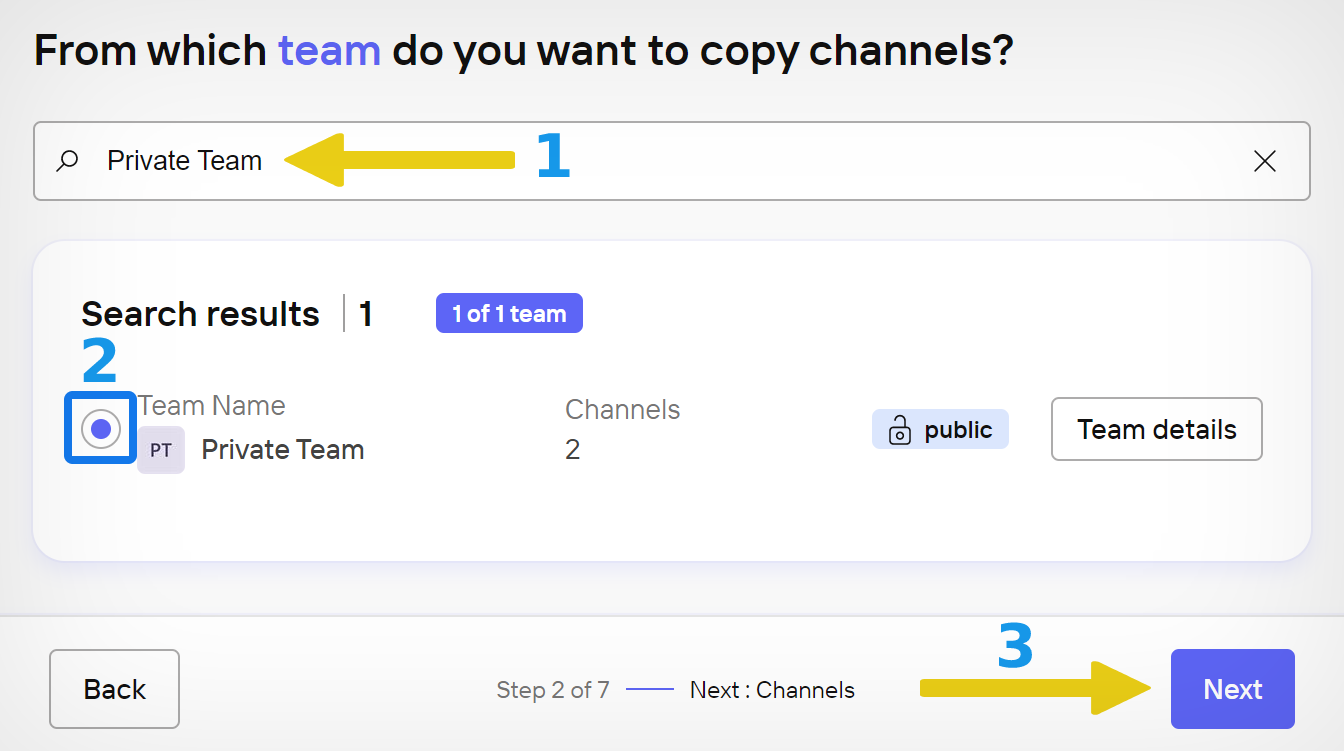
- First, search for team that contains the channel you want to duplicate. (1)
- Select the circular button next to the team name. (2)
- Then click the “Next” button. (3)
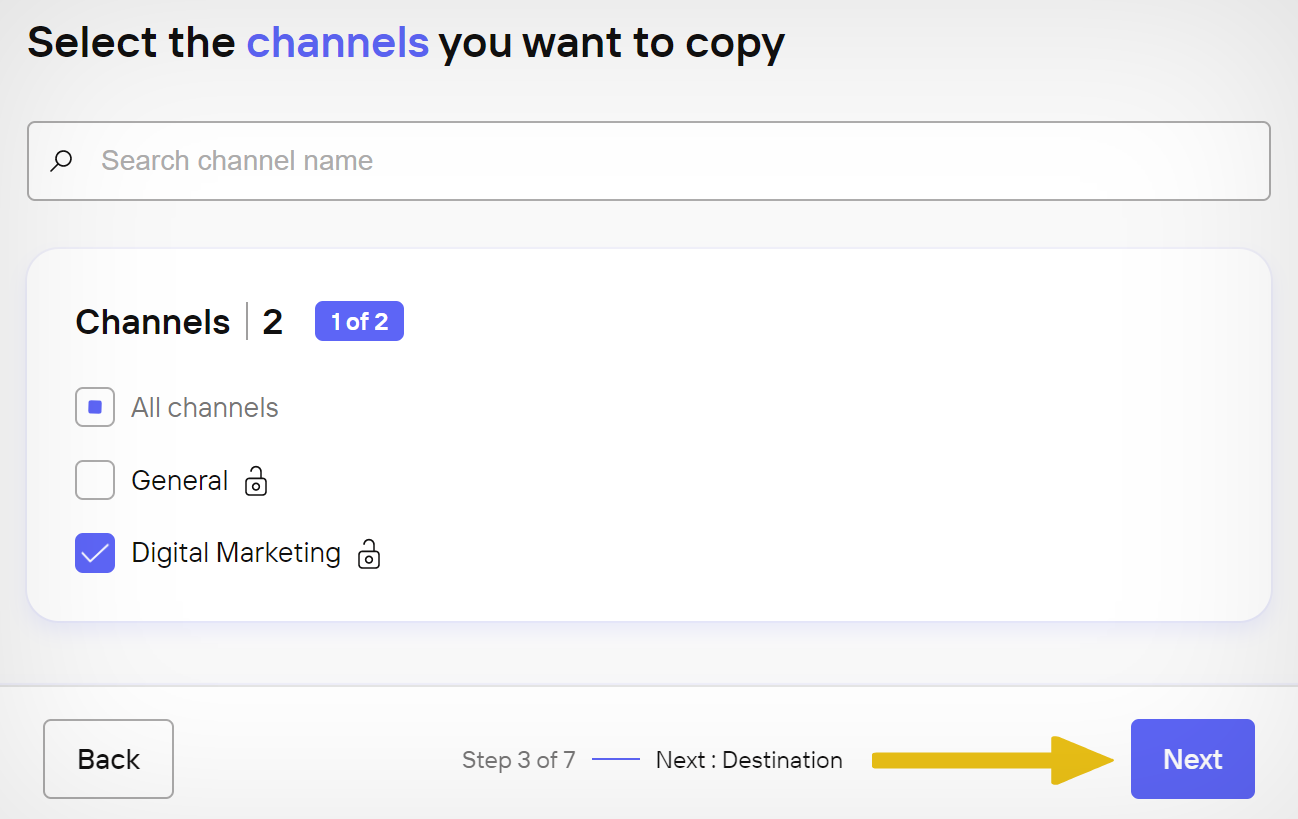
- Click the checkbox next to the channel you want to duplicate.
- Then click “Next.”
You can now choose to copy the channel to a different tenant. However, for this guide, we will be copying the channel in the same tenant.
- Select the tenant to copy the channel to.
- Then click “Next.”
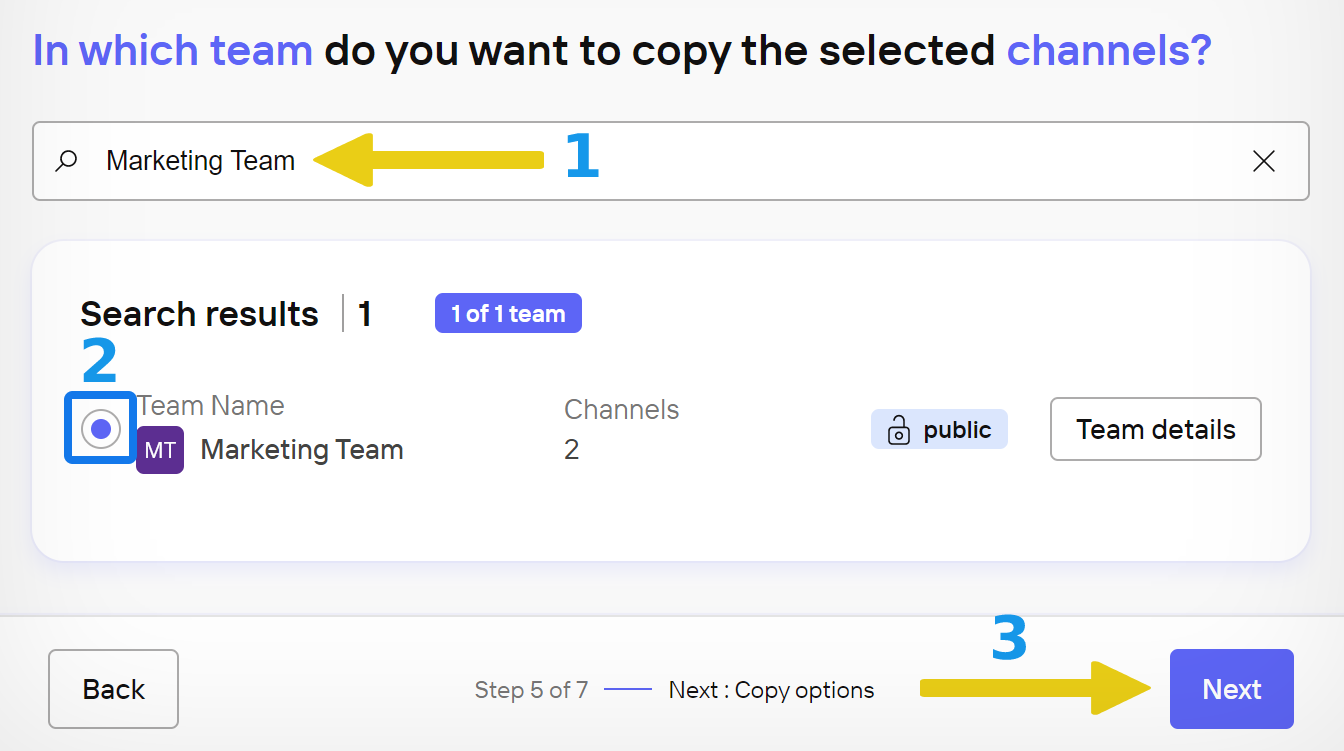
- Now search for the name of the team you want to copy to channel to. (1)
- Select the circular button next to the team name. (2)
- Then click the “Next” button. (3)
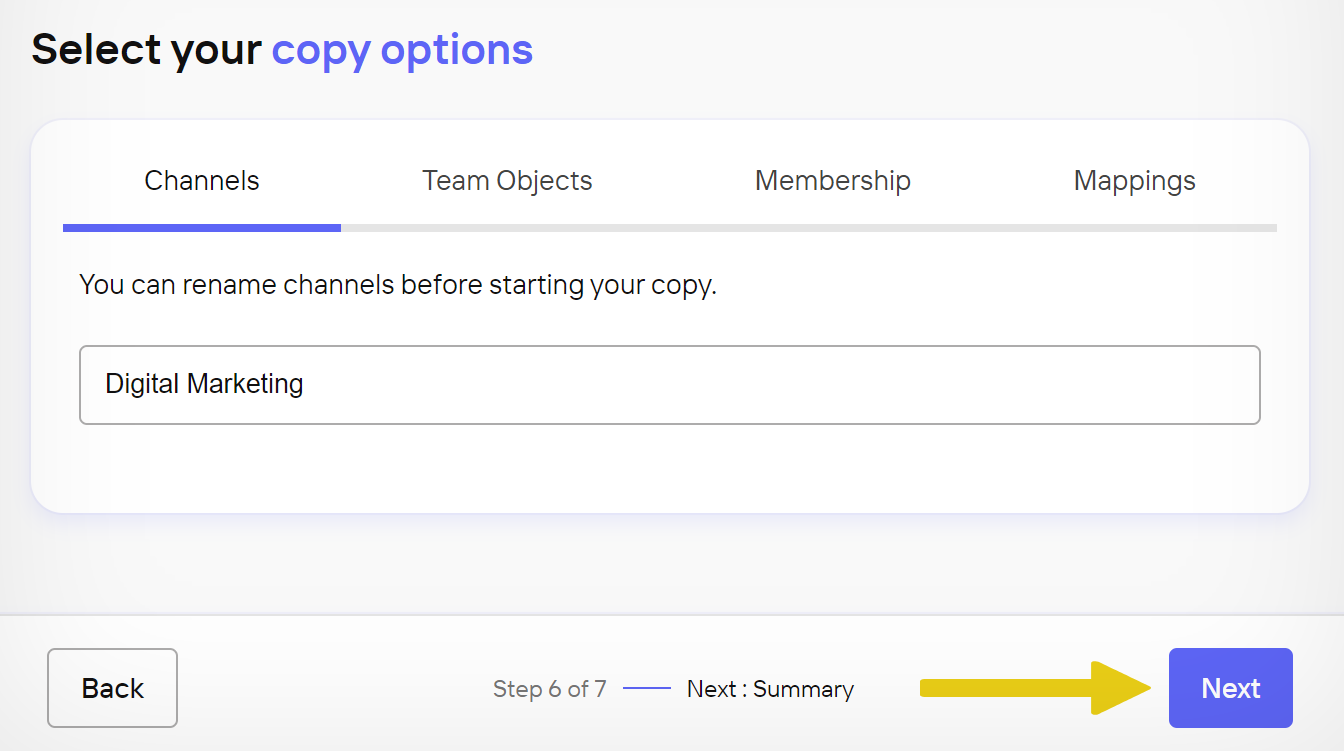
- You can now click on “Team Objects” to select or deselect any objects to copy over.
- If you’re copying a private channel to a private team and want to retain your members:
- Go to “Members” at the top.
- Then select “Always add private channel members.”
- When you’re happy with your selections, click “Next.”
- Finally, review your selections, then click the
 “Start Copy” button.
That concludes this Blog; thank you for taking the time to read our material; please email our team to let us know how it went if you followed the instructions or if you have any further questions regarding the topics covered in this Blog.