In Office 365 you have the ability to both manage and delete files across your network. Deleted files go to a dedicated recycling bin and from here you can either choose to permanently discard it or restore it if required again. Files in the recycling bin will remain for 30 days after deletion, in this time a user can come and restore the file. However, sometimes users may not want files to go into a recycling bin in their own dedicated network spot, rather for a shared mailbox, they would much prefer to have the content recycled in a shared recycling bin. In this blog, we will address this situation and find ways to make deleted items go into the shared mailbox deleted items section. Follow the steps below to see how you can make deleted items go into the shared mailbox deleted items section. Unfortunately, there is no way to change this either by Powershell or a native feature, however running a registry and hkey input will allow you to change the location of a deleted file from the user personal mailbox deleted items section to the shared mailbox.
Step by step process – Make deleted items go into the shared mailbox deleted items: Microsoft 365
- To begin, press the “Win+R” buttons simultaneously.
- A Run dialogue box will appear, where you type in the command ” regedit.exe”.
- Now press the “Enter” key.
- Find the registry subkey shown below. HKEY_CURRENT_USER\Software\Microsoft\Office\<x.0>\Outlook\Options\General
- Select “Modify” from the context menu when you right-click the “DelegateWastebasketStyle” value.
- In the Edit DWORD Value dialogue box, change the value data to the following value. (4 = Stores deleted items in the mailbox owner’s folder.)
- Press “OK”.
- Close the Registry Editor.
- Finally, Restart Outlook.
The registry allows you to manage and control a more complex array of different commands to help manage your applications, operating system, and your general preference and aesthetics. You can use this to edit the preference for Office 365 and allow for Mailbox deleted items to go into a dedicated deleted items folder as opposed to the personal user mailbox recycle bin. If this registry value has no impact, an administrator may have used a Group Policy setting to apply the adjustment. The settings defined in the user settings area of the registry are overridden by Group Policy registry values.
Most of us who have utilized Shared Mailbox in a Microsoft Exchange environment have encountered users who have complained that emails sent using the shared inbox account end up in their Sent Items personal mailbox.
When we use Microsoft Outlook with a personal mailbox and an auto-mapped shared mailbox, for example, this behavior is usual. The message is then delivered to a personal recycle bin or mailed items when we delete or send a message from a shared mailbox account.

Management of deleted items
In-Office 365, when you delete an item from your inbox, it goes to the Deleted Items folder. Items in that folder remain in that folder for a year (365 days) after they are deleted. This folder will appear in your folder list, and you may move objects in and out of it as needed.
They are transferred to the Recoverable Items folder after one year, or if you delete them from the Deleted Items folder. Although the Recoverable Items folder will be hidden from you, mail items can be retrieved by contacting your area’s email administrator. This folder’s contents are kept for 30 days before being permanently deleted. When a mail item exists in the Recoverable Items folder, it is lost forever and cannot be retrieved.
Why change the recycle location from the personal to shared mailbox – Office 365
There are quite a few reasons why users may want to inhibit a new location for their deleted items. Most commonly, users don’t want to conflict their own content with content from a shared mailbox which can cause a lot of confusion in the recycle bin of which items need to be deleted and which items need to stay.
You may want to hold this information in a shared mailbox to make a more unanimous approach to managing the content within. You cannot do this if the items go to your personal mailbox as only you can manage this section. In a shared mailbox, everyone can decide what can be deleted and what can stay if the administrative staff members have given the correct permissions to allow for content deletion to happen.
Chances of confusion are reduced as all content is in one folder there is less confusion to locate missing files and folders. For example, if member A accidentally deleted content that is required by member B, they won’t be able to track the deleted item to restore it as the deleted item has gone to the deleted item section of member A, however, with the deleted items going to a shared mailbox, member B can go to the shared recycle folder and restore the items from there.
In depth – Step by step process – Make deleted items go into the shared mailbox deleted items: Microsoft 365
Step by step breakdown
- To begin, press the “Win+R” buttons simultaneously.
You can type out Run in the search panel in the taskbar and it will bring up the Run application. Here you can access crucial setting blocks which are hidden from the current user base.
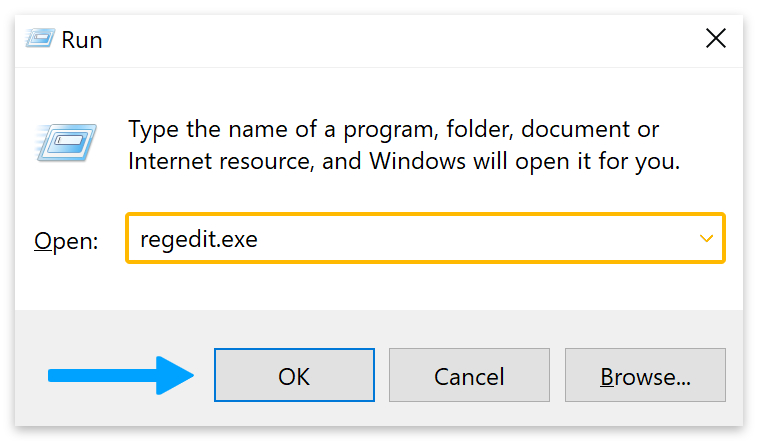
- A Run dialogue box will appear where you can type in the command “regedit.exe”.
- Click the “OK” button.
- Find the registry subkey shown below.
HKEY_CURRENT_USER\Software\Microsoft\Office\16.0\Outlook\Options\General
- Select “Modify” from the context menu when you right-click the “DelegateWastebasketStyle” value.

- In the Edit DWORD Value dialogue box, change the value data to the following value. (4 = Stores deleted items in the mailbox owner’s folder.)

- Press “OK”.

- Close the Registry Editor.

- Finally, Restart Outlook.
That’s it for this Blog thank you for taking time out to read our content, please feel free to email our team about how it went if you followed the steps or if you need more help with the questions we answered in this Blog.