Uploading files is amongst the most frequently used features of SharePoint. Alongside it is deleting files. Perhaps you mistakenly added something you didn’t mean to, or you’re clearing up redundant or unused files. If you’ve run into an issue trying to delete a file in SharePoint, you’ll want to read ahead.
| Cause | Solution |
| File is “checked out” by someone else | Wait for the file to be checked in |
| Missing permissions | Request permissions |
| Retention policy restrictions | Disable or hold the restricting policy |
| Low site storage | Increase site’s storage quota |
In this post we’ll be covering what to do if you think a file has been checked out, how you can increase your site storage quota via the admin center and lastly, how you can access, disable, and/or delete your retention policies. As such if you’d like to attempt any of the solutions, we kindly request your follow along.
Quick links:
- Deleting a retention policy for SharePoint
- Where to increase site storage quota in SharePoint
- Checking files in and out in SharePoint
Deleting a retention policy for SharePoint
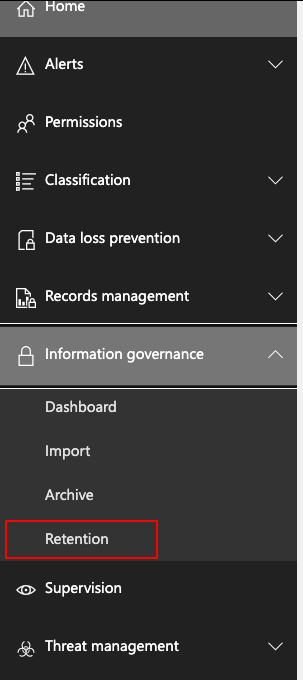
Step 1 – Accessing “Retention” in the Office 365 Security and Compliance Center
- From the Office 365 Security and Compliance Center, locate the “Information and governance” category in the side panel. From here you may access “Retention” from the dropdown.
Step 2 – Locate your unwanted policy
- After navigating to the policy tab, you should see a table style list consisting of your policies. Please click the context indicator by the policy creator’s name to Proceed.
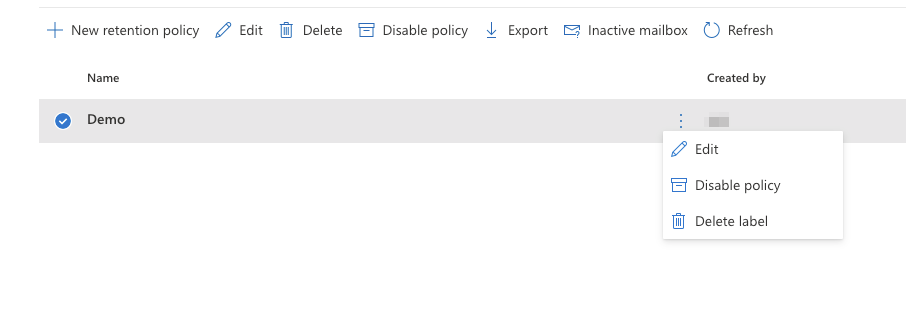
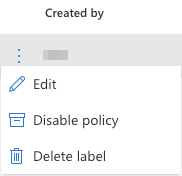
Step 3 – Delete or disable your policy
- You have the options to delete or disable the policy.
- Deleting a policy will remove and deactivate it (preventing reactivation until the policy is remade).
- Disabling a policy will nullify the policies effects whilst still keeping the policy available for reactivation within your policy list.

Where to increase site storage quota in SharePoint to avoid deleting a file
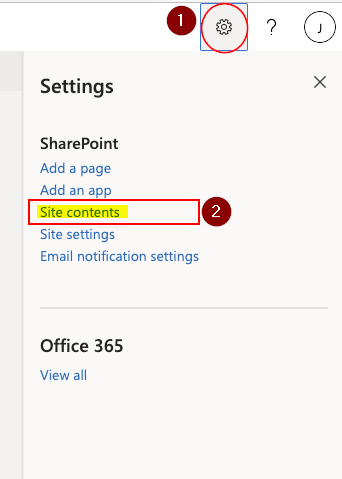
Step 1 – Navigate to your site’s contents page
- After first opening up your site on SharePoint, select the cog icon in the top right. Use it to access “Site contents.”
Step 2 – Open your site’s settings
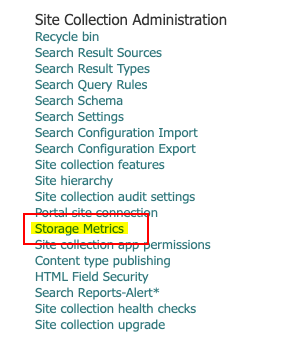
- Find the “Site Collection Administration category and select “Storage metrics” from the list of options.
Step 3 – Assess available space
- At the top right side of the page you’ll be able to see a labeled bar, illustrating the space available for your site. If your limit has not been exceeded/reached, no action is required. Otherwise, if your limit has been exceeded proceed to step 5.

Step 4 – Visit the SharePoint Admin Center
- Please note you will require an account with administrative privileges to continue from this point on. Upon reaching the SharePoint Admin Center, navigate to the settings page. You can use this link to be taken there directly.
Step 5 – Open Site storage limits
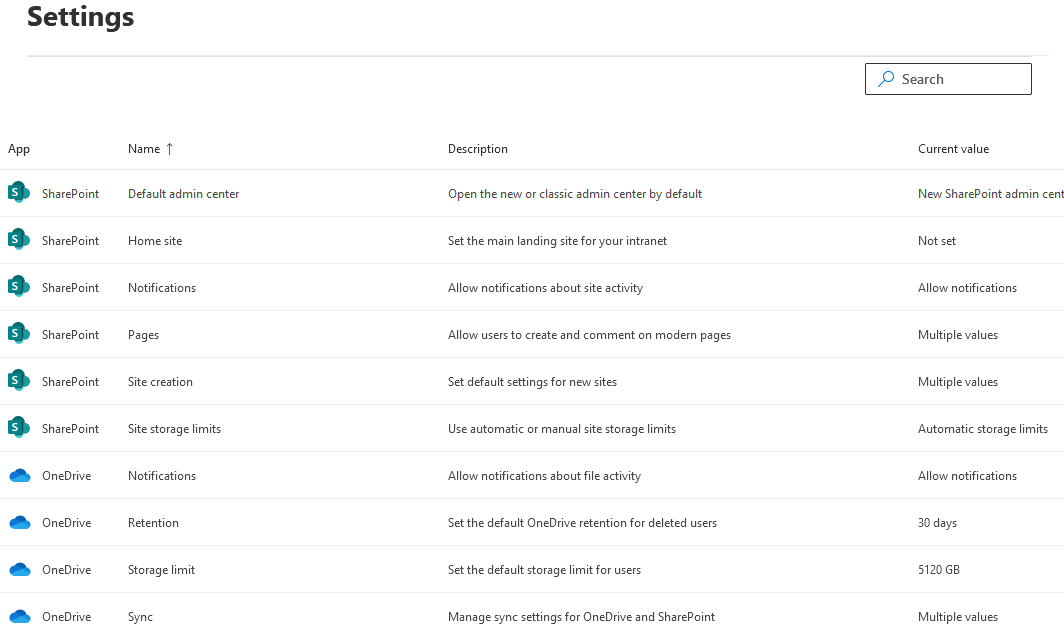
- From the settings app list, select “Site storage limits.” Do not mistake it for the OneDrive option “Storage limit.”

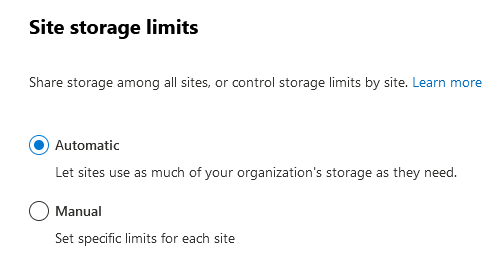
Step 6 – Choose an option
- On the opened side panel, choose either “Automatic” storage allocation, or manual storage allocation. If you’ve been using manual storage and exceeded your set limit, consider increasing your limit. Alternatively, switch to automatic and allow sites which require additional storage to freely take from what’s available.
Checking files in and out in SharePoint
Where to find out how
If you’re not here often you probably missed it but we’ve actually dedicated a post to answering just this question. If you’re certain this is the cause of your issue, we’d like to ask you to proceed to reading this post instead. Here we’ll be going over how you can check in files, check out files, and briefly discuss what checking a file in or out actually does.
   |
Our related articles:
- How to unsync SharePoint folder from desktop – When a user uses the OneDrive sync client to synchronize a SharePoint Document library, the whole library of files and folders is transferred to the user’s PC. It is not, however, simply replicated. Between the user’s PC and SharePoint, a two-way relationship is formed. Any changes in one location are immediately reflected in the other. This is unwanted behaviour if you intend to merely copy. As such we’ll be showing you how to unsync SharePoint.
- SharePoint document library search doesn’t work: How to fix – There are a vast number of reasons for SharePoint to malfunction. Here we’ll be helping you get through a few potential causes, and hopefully resolving them with our tested solutions.
- SharePoint: can’t add site members: Causes and fixes – SharePoint servers as a collaborative document manager. As such, the collaboration based functionality is about as important as the management functionality. Despite that, SharePoint may on occasion run into issues adding site members- in this blog we’ll be running through some causes and discussing fixes.
- What is the simplest way to transfer files from Google Suite to SharePoint? – If you’ve decided on switching from the Google Suite to the Office 365 Suite, you may be a little baffled as to how to go about it. Fortunately for you, we’ve got a better method than re-downloading and uploading everything one-by-one. Have a read to find out more.