You can’t stop Global admins or Exchange admins from looking into other people’s emails. They can always revert such settings, even if you remove the relevant command-let (which is a specific sort of command offered in Windows PowerShell) from the Role-Based Access Control roles or establish exclusive scopes, assuming they have previous knowledge of how to configure those settings. Anyone who has been given the role of Global Admin has complete control over the domain and network with which they are linked. However, you can turn on notifications for when inboxes are delegated this way you are well aware that admins are accessing your Mailbox.
Step by step process: How to Prevent admin accessing all mailboxes Microsoft 365?
- Firstly, login to Office 365.
- Use the app launcher to navigate to “Outlook”.
- Click on Outlook.
- Click on “Settings” > “View Outlook settings”.
- Now go to “general” in the left panel.
- Then click on “notifications”.
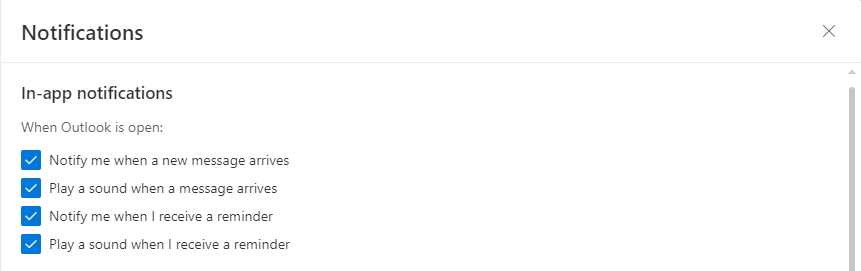
- Make sure all the checkboxes are ticked in the “In app notification” panel.
Whenever as a delegated member an admin above your administrative region has accessed your Mailbox you will be notified of this, making you aware that there is an administrative body in your Mailbox.
Members of the Organization Management role group have administrative access to the entire Exchange organization and, with a few limitations, may execute nearly any operation against any Exchange element. Members of this job group are unable to execute mailbox searches or handle underscore top-level management responsibilities by default.
It is possible to encrypt mail messages on both ends. However, this would drastically limit the number of people with whom you might exchange email. You’ll probably want the administrator to be able to install and troubleshoot the encryption software.

Detect Mailbox changes to permissions to prevent admin accessing all mailboxes:
You can also detect permission changes in Exchange Online mailboxes, which is important for security and compliance. Anyone with permission to read, modify, delete, or move mailbox content to other mailboxes in Exchange Online can do so (even ones outside the organization). To protect critical mailbox content and avoid data leakage, you’ll need to keep a constant eye on mailbox permission changes.
You can run commands in Windows EAC or Powershell however, with persistent chances of errors this may cause quite a lot of issues if you are choosing to run these commands. So if possible try to avoid and ensure you use minimal changes to the command directory.
Limitations:
In Exchange Online, a shared mailbox allows a group of users to access and send email from a single mailbox. Understanding the restrictions of shared mailboxes in Office 365 is critical for setting the proper expectations for users. Many users on the Office 365 forum have inquired about using shared mailboxes in Office 365.
Create a new rule to prevent admin accessing all mailboxes:
You may use mail flow rules (also known as transport rules) in Exchange Online organizations or standalone Exchange Online Protection (EOP) companies without Exchange Online mailboxes to detect and act on messages that travel through your organization.
Inbox rules, which are accessible in Outlook and Outlook on the web, are comparable to mail flow rules (formerly known as Outlook Web App). The major distinction is that mail flow rules operate on communications while they’re in route, rather than after they’ve arrived at their destination. Mail flow rules include a larger number of criteria, exceptions, and actions, allowing you to design a wider range of message regulations.
Follow the steps below to create a new rule to create alerts for a Shared Mailbox:
Note this only works if you have access to a shared admin portal or access to Exchange Outlook:
First, sign in to Office 365 using your login details or verified Skype account.
Then, using the app launcher illustrated by nine dots, navigate to “Admin”.
Under “Admin center” click on “Exchange”.
Under “Mail flow” click on “Rules”.
Click on “Create rule”.
Check “Sent to” and select the mailbox.
Finally, Check “Display in the New Item Alert window”, and click save.
The new rule has been made and from here any action being taken on a shared mailbox that has you as a participant will no longer go unnoticed as you will receive a notification in your mailbox activity tab of this.
Mail flow rule components:
Determine the messages to which you wish to apply the actions. Some conditions look at the header fields of messages (for example, the To, From, or Cc fields). Other criteria look at the message’s characteristics (for example, the message subject, body, attachments, message size, or message classification). You must supply a comparison operator (for example, equals, doesn’t equal, or contains) and a value to match in most circumstances. The rule is applied to all messages if there are no conditions or exceptions.
Actions: Tell the rule what to do with messages that fit the rule’s requirements but don’t match any of the exceptions. Many options are accessible, including rejecting, deleting, or diverting messages, adding new recipients, prefixing the message topic, and including disclaimers in the message body.
Exceptions: If desired, specify which messages the actions should not apply to. Message-IDs are provided in exceptions in the same way they are in conditions. Exceptions override conditions and prohibit rule actions from being applied to a message, even if all of the set criteria are met.
In depth step by step process: How to prevent admin accessing all mailboxes Microsoft 365?
Step by step breakdown:
- Firstly, login to Office 365.
Use your account details or if you have a current Skype account with the Office account in question, you can use this.
- Use the app launcher to navigate to “Outlook”.
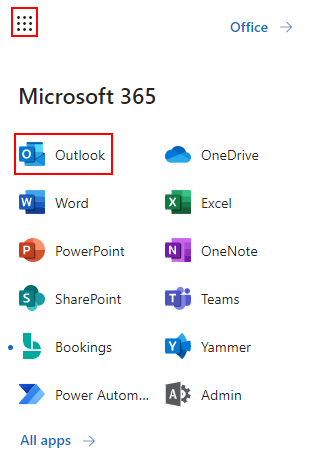
Outlook is illustrated by a button with the Outlook logo inside.
- Click on “Settings”.

Settings are illustrated by a gear icon click on it for the next step.
- Now click on “View all Outlook Settings”

This is where most of the Outlook settings reside and here you will be able to see will be able to edit notifications.
- Now go to “general” in the left panel.
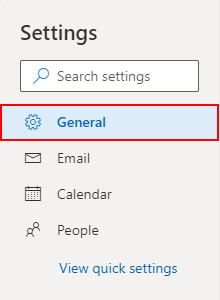
General settings are where the notifications click on it and view all the general related settings for Outlook.
- Then click on “notifications”.
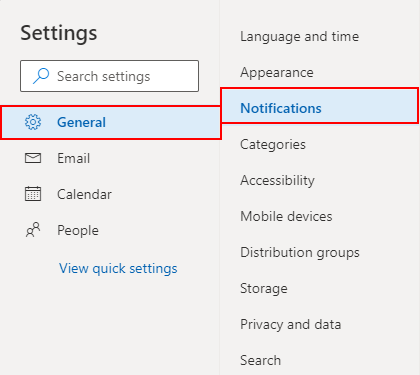
Now click on notifications.
- Make sure all the checkboxes are ticked in the “In app notification” panel.
That’s it for this Blog — thank you for taking time out to read our content. Please feel free to email our team about how it went if you followed the steps or if you need more help with the questions we answered in this Blog.