SharePoint is a remarkable tool that offers its users unbeatable file share and management tools. Users have shown a positive approach towards the software, enlisting tasks to help improve a companies productivity. File share being the main adjective is supposed to make the transfer between the Online Sharepoint client and the Desktop client much simpler. However, what if the desktop client stops working and your progress of an improved workflow comes to a halt. How can to kickstart the process again and make the system work again allowing you to transfer files between the online and desktop clients. Although SharePoint may cause a variety of troubles, synchronizing files is one of the most prevalent. Account problems, obsolete client software, improper settings, and program incompatibilities are the most common causes. In this blog we will be looking at solutions to help users resolve SharePoint files showing online but not on the desktop client, we will also help find possible solutions to help prevent the error from occurring again. We will also address some of the issues that can cause SharePoint files to show online but not on the desktop client, so users are more aware of what they are dealing with and what approaches they need to take to resolve SharePoint files showing online but not on the desktop client. Follow the step-by-step process below to see how you can resolve SharePoint files showing online but not on the desktop client.
Step by step process – SharePoint files showing online but not on desktop sync: How to fix
- Firstly, click on the “Onedrive” icon in the taskbar.
- Now click on “Help & Settings”.
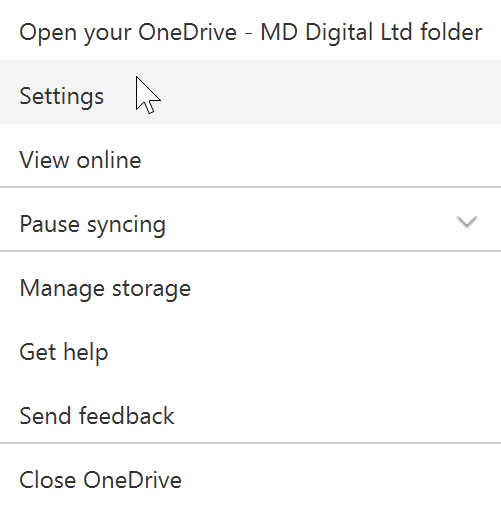
- After that click on “Settings”.
- In the top bar click on “Settings”.
- Ensure that the option for “Files on Demand” is selected.
- Now sign in to Office 365.
- Use the app launcher and navigate to “SharePoint”, and click on it.
- In SharePoint go to the Site where your files are located.
- In the menu bar click on “Documents”.
- Finally, click on “Sync”.
The steps above will only work if the files you wish to sync are approved by SharePoint most issues are a direct response to a nonvalid or broken file or portal causing issues with sync. If you reset the default status on the file on-demand setting you will be able to reset the OneDrive sync portal and therefore allow for the files to be synced again. Ensure that the sync clients are active on both the online access portal and the desktop version. This will allow you to use SharePoint and itas most optimum perfect to ensure that company workflows remain perfect. You can try some of our other proven methods to ensure files sync correctly if the main method above isn’t showing any results.

Issues to look out for when syncing SharePoint to your desktop:
- Make sure the Office Document Uploader is in check.
- To begin, an orange icon may appear in your system tray. The Office Document Uploader is represented by this icon. It may appear unusual that two separate programs manage document uploads, however, there have been instances where this application is halted, preventing the SharePoint sync from completing. Restart the data flow to see if the files still upload.
- Pause and restart.
- The first thing you should attempt to do is suspend the sync by right-clicking the OneDrive for Business system tray icon. Then restart the sync and wait for it to try to fix itself. SharePoint will be forced to re-examine the files it needs to synchronize as a result of this operation.
- Check SharePoint Limitations.
- The first thing to check is that you are not inadvertently breaking SharePoint’s rules. The “#” symbol in a file name is the most prevalent offender, and it is a no-no in SharePoint Online. Long filenames, huge files, and many entries, for example, can all cause sync problems.
- Duplicate, Sync, Remove, Rename.
- If a file isn’t synchronizing (there’s a red “x” on the file icon in File Explorer instead of a green checkmark or blue sync symbol), try copy-and-pasting a duplicate of it in its present place. Allow this new file to upload (it will have the same name as the original, but with the word, “copy” appended to the end).
Further actions to take when syncing SharePoint to your desktop::
A highly recommended solution to resolve the issue is upgrading to the new SharePoint Sync client. You will have to enable it in the SharePoint Admin Dashboard, under settings. It is a significantly huge difference from the “classic” SharePoint sync, Please ensure you contact a member of the Microsoft team to see if it’s a validated solution, and if so they will help, many third party companies have a full team of IT professionals who are proficient in all content related to Office 365 available for you if you require its services.
In-depth – Step by step process – How to set a default font and size for a SharePoint list
Step by step breakdown:
- Firstly, click on the “Onedrive” icon in the taskbar.

First, you want to locate OneDrive using the taskbar at the bottom of the taskbar. This may be located behind the arrow so you may need to click on the arrow to show OneDrive. However in this case the OneDrive icon is in the taskbar so we can just click it as it is.
- Now click on “Help & Settings”.
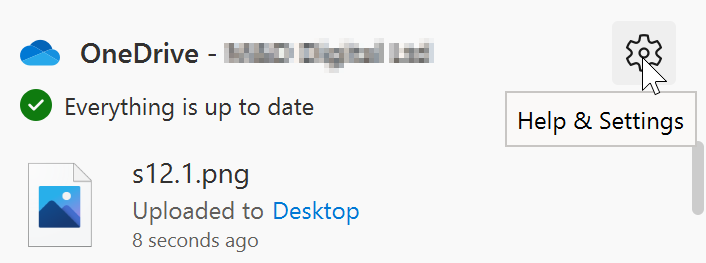
Once this is clicked it will bring up a panel for you to select Next you need to click on “Help & Settings”, this will bring you to the settings panel which is there to manage OneDrive preferences.
- After that click on “Settings”.
- In the top bar click on “Settings”.

- Ensure that the option for “Files on Demand” is selected.

Then click on Settings again which will bring up a checklist for you to see and change if you need to. In the checklist you need to find Files on Demand and ensure the box is checked with a tick mark as shown below, this will allow your documents to be saved to the site and make the process of syncing easier to proceed with.
- Now sign into Office 365.
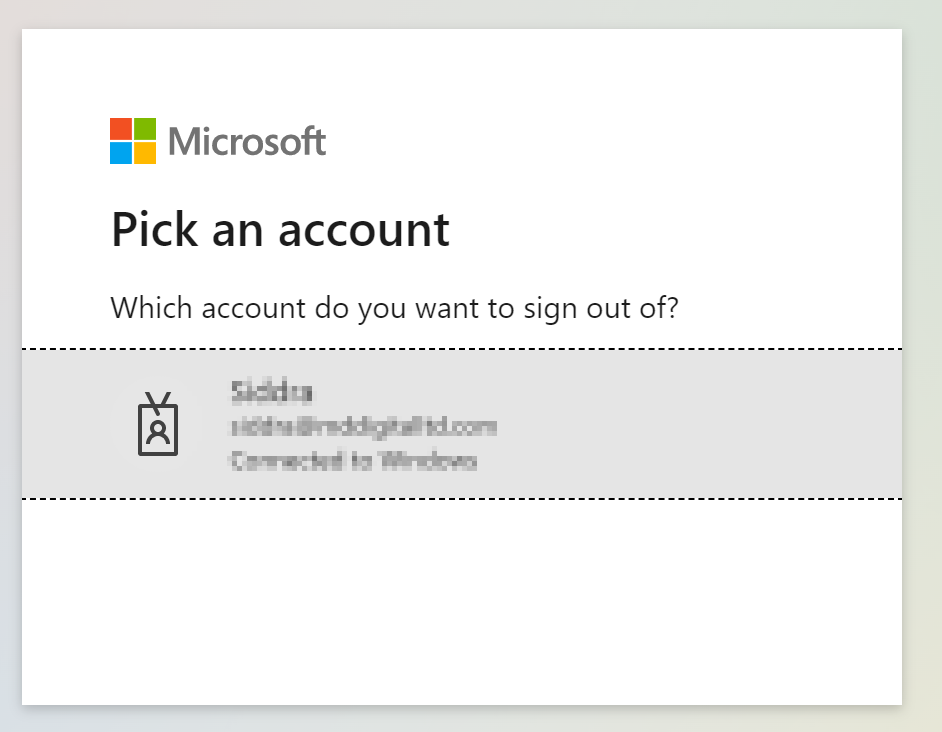
Use your account details or if you have a current Skype account with the Office account in question, you can use this.
- Use the app launcher and navigate to “SharePoint”, and click on it.
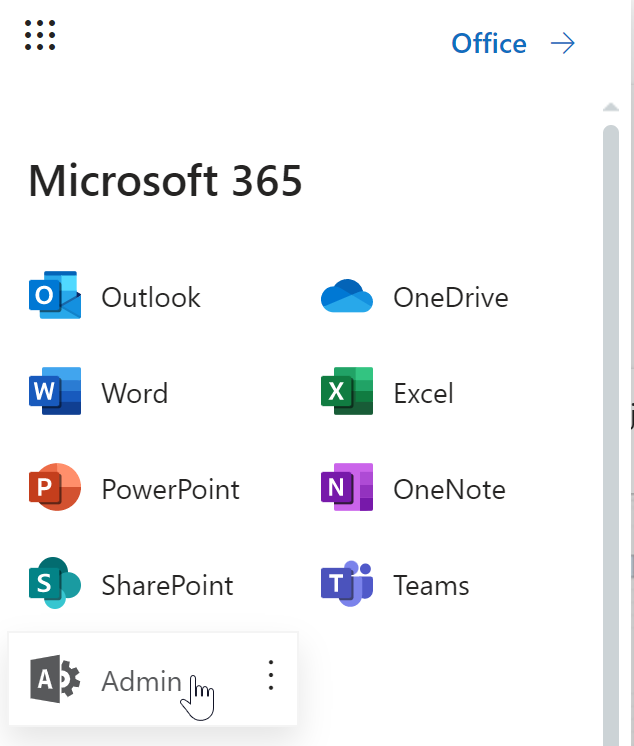
You can access the SharePoint application however this is for individuals who only have a SharePoint plan, A larger group of individuals have SharePoint in Office 365.
- In SharePoint go to the Site where your files are located.
In this example, the site above called “Blog Demo” will be used to create the preview.
- In the menu bar click on “Documents”.
A document library is a safe storage location for files that you and your coworkers can quickly locate, collaborate on, and access from any device at any time. For example, a document library on a SharePoint site can be used to hold all materials relevant to a given project or customer.
- Finally, click on “Sync”.

That’s it for this Blog thank you for taking time out to read our content, please feel free to email our team about how it went if you followed the steps or if you need more help with the questions we answered in this Blog.