Businesses worldwide utilize cloud storage to make their data accessible across various devices, save on storage costs, and more easily share data digitally. However, despite such benefits, not every cloud platform is ideal for you and your business, hence why you may consider alternating between services. Although, you may not yet know the best way to transfer data from one service to another.
In this blog post, we’ll be demonstrating how you can migrate your data from Dropbox to SharePoint Online natively, without the need for any third-party tools. It’s a relatively simple process, but we’ve created a step-by-step guide which you can follow along with below.
Solution:
- Open SharePoint Admin Center
- Enter migration settings
- Get started with Dropbox
- Connect your Dropbox business account
- Select directories for scanning
- Scan your directories
- Select copy to migration
- Map equivalent users, groups and domain groups
- Begin migration
- Wait for data transfer completion
We will be providing a step-by-step walkthrough with pictures, demonstrating the native means by which you can transition from Dropbox to SharePoint Online. To support readers who aren’t yet adept with computers, we’ve tried to make this post (and all others) as comprehensive and straightforward as possible.
Contents:
Guide | Transitioning from Dropbox to SharePoint Online natively
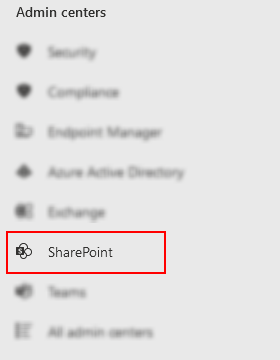
Step 1 – Visit the SharePoint Admin Center
Authorized users may access the SharePoint Admin Center through the Office365 Admin Center linked here. Within the Office365 Admin Center, you will find additional centers by scrolling to the bottom of the left side panel. If you only see the “Show All” option, consider selecting it and looking once more. When you locate the “SharePoint” option, select it.
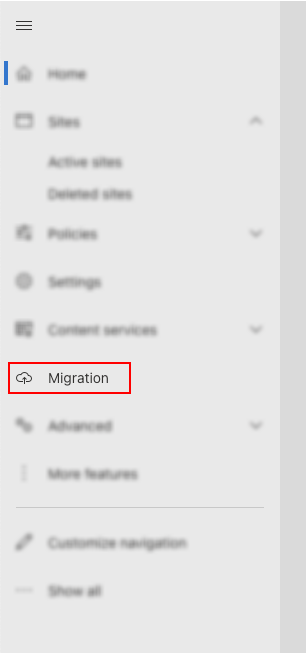
Step 2 – Enter migration settings
You will find the “Migration” option listed within the left side panel of the SharePoint Admin Center. Clicking this option will alter the larger right panel- displaying the “Migration” page.
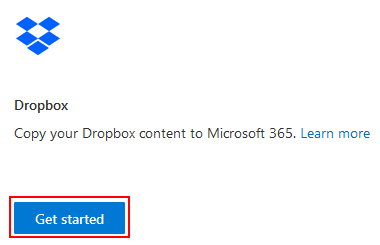
Step 3 – Get started with Dropbox
You may locate the Dropbox option within the “Migration” page and select “Get started” to continue.
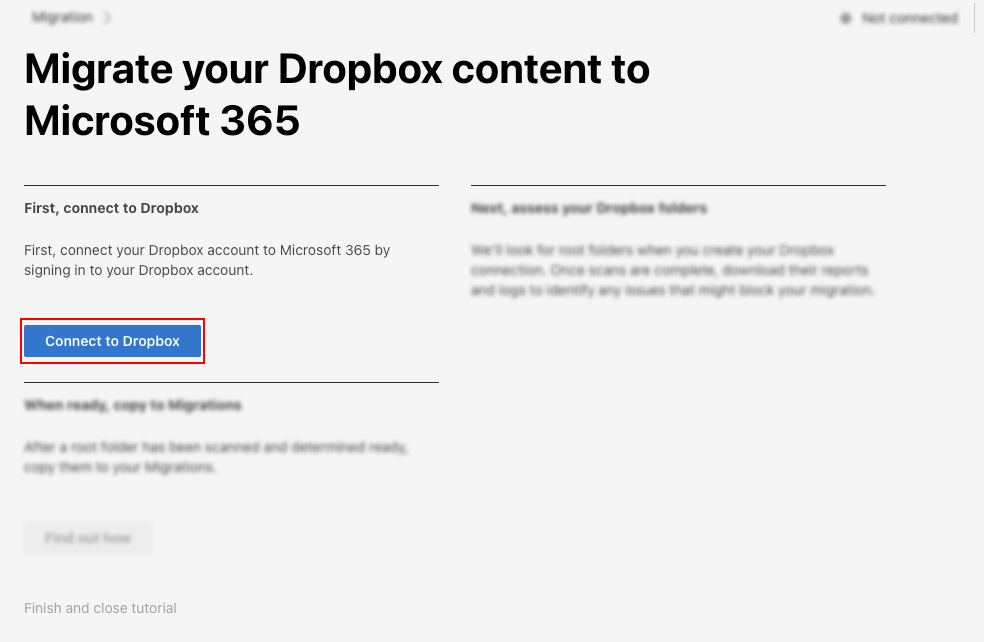
Step 4 – Connect to Dropbox
You will find the “Migration” option listed within the left side panel of the SharePoint Admin Center. Clicking this option will alter the larger right panel- displaying the “Migration” page. Please be aware that you need to connect your Dropbox account as prompted. You must do so to proceed.
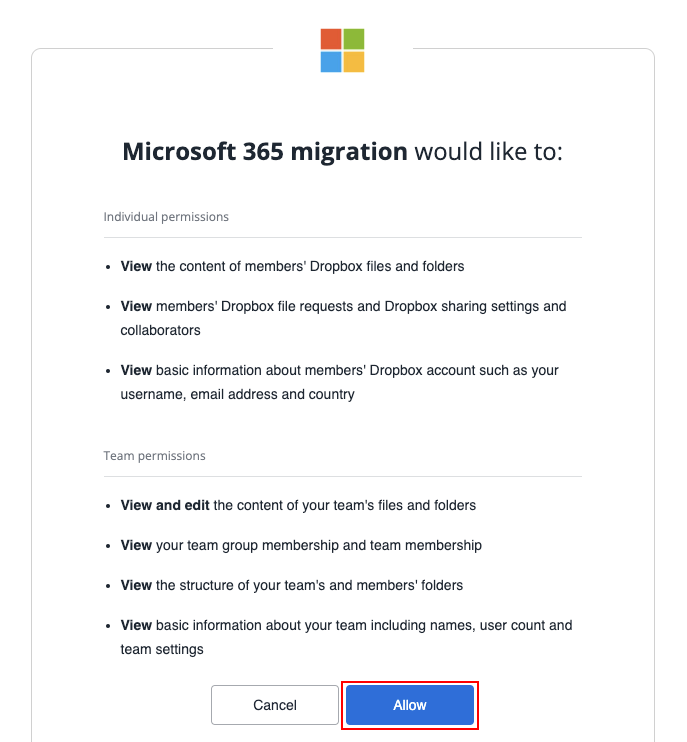
Step 5 – Grant access
When prompted by the site, click “Allow” to grant Microsoft the necessary access to your Dropbox account. Each permission Microsoft 365 migration will attain is listed to you, so you need not worry about any significant security risk.
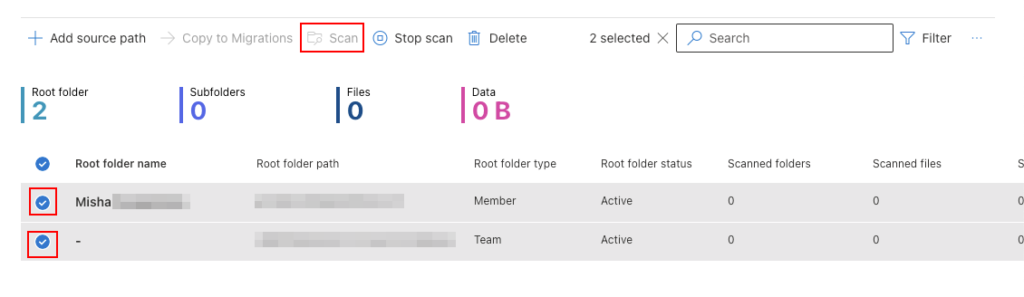
Step 6 – Select and scan your directories
You may select root folders by ensuring the box/circle prefixing the folder’s name displays a checkmark. After which, you should choose the “Scan” option. After which, you’ll need to wait for the scan to complete.
Step 7 – Begin migration
You can now begin migrations; do so by clicking on “Copy to Migrations” from the action bar above your transfer information. The site will request you confirm this decision, be aware and choose “Copy to migrations” to continue.

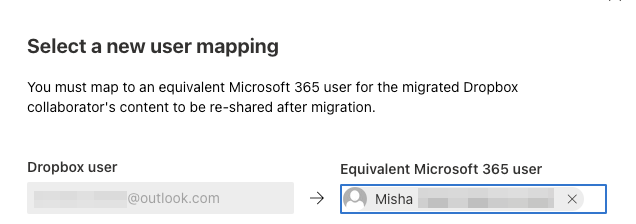
Step 8 – Map users
Initially, Office365 will be unaware of which Dropbox user corresponds to which Office user; however, you will change that. You are met with textboxes on the left side, each containing a Dropbox user, with additional textboxes suffixing them. You must enter the corresponding Office user into each box. Finally, you must select “Save” to continue- the button is at the bottom of the page.
Step 9 – Map groups
Similar to the last case, with users, Office365 will not know which Dropbox group corresponds to which SharePoint site; thus, assigning the equivalents is left to you. Lastly, you must select “Save” to continue. Once finished, the button is at the bottom of the page.

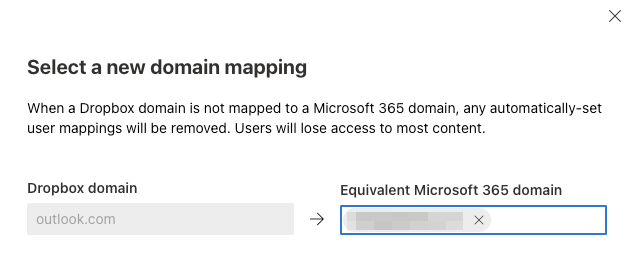
Step 10 – Map Domains
To conclude mapping, you must lastly tie your associated dropbox domain group (in our case, “outlook.com”) to your SharePoint domain group (which we cannot share). Finally, finish by selecting save once more.
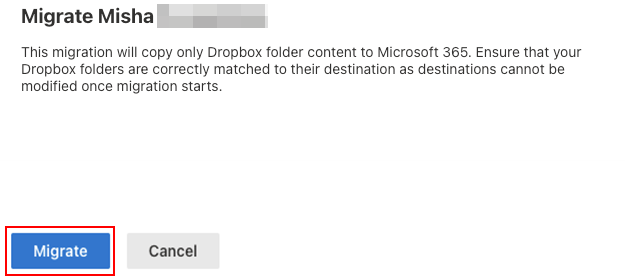
Step 11 – Initiate migration
The following page allows you to go back and make changes; however, it will enable us to confirm our choices and begin our migration via the “Migrate” button. If you are ready, click “Migrate.”
Step 12 – Await the data transfer’s completion
The tedious data transfer has begun; it can take a while to complete. The process’ completion is identifiable by a lack of changes to the values labeled “Successful” in both the “Files” and “Data” tables.


Endnote | Recap & Farewell
Recap
Users of Dropbox can easily migrate to SharePoint Online — with Office365’s native migration tools. The process occurs within the SharePoint Admin Center, requiring administrative privileges on both platforms. The migration tool is quick to set up; although, susceptible to delay.
Farewell
As usual, offering thanks to our readers for their support is the intention of our closing section. We’d be pleased to know you found this post helpful and informative. If you have any more Office 365 related queries, please consult our related articles (listed below). However, if you have other questions, consider looking at the rest of the site. We frequently post new stuff each week and may have the guide or troubleshooting tips you need. Regardless, we wish you a good day/night- farewell, readers.
Our related articles:
- How to unsync SharePoint folder from desktop – When a user uses the OneDrive sync client to synchronize a SharePoint Document library, the whole library of files and folders is transferred to the user’s PC. It is not, however, simply replicated. Between the user’s PC and SharePoint, a two-way relationship is formed. Any changes in one location are immediately reflected in the other. This is unwanted behaviour if you intend to merely copy. As such we’ll be showing you how to unsync SharePoint.
- How to approve access requests in SharePoint Online – People can use the access request function to seek access to material that they do not presently have the authorization to see. As the site owner, you may set the functionality to send you an email whenever someone seeks access to your site. You can then decide whether to accept or reject their invitation. If you approve the request, you may additionally indicate the degree of authority you want to provide a user.
- SharePoint: can’t add site members: Causes and fixes – SharePoint servers as a collaborative document manager. As such, the collaboration-based functionality is about as important as the management functionality. Despite that, SharePoint may on occasion run into issues adding site members- in this blog we’ll be running through some causes and discussing fixes.
- All the ways to change your SharePoint site’s URL – These days, SharePoint has gone through many revolutionary changes, and Microsoft has made SharePoint professionals’ lives much easier, one of which is changing or renaming the site URL – now, we should not be concerned about the site URL; if your site URL does not meet your requirements, you have the flexibility to rename or change the site URL. Previously, the SharePoint Online URL could not be altered, which was a huge issue for firms that rebranded or went through a Merger, Acquisition, or Divestiture (MAD)