Users can share files in Microsoft Teams as they would using SharePoint or OneDrive. But allowing users to share files can also increase the risk of a data breach. Fortunately, Microsoft Teams has provided a solution where users can restrict file access. Here, I will cover how you can turn off request access to a file in Microsoft Teams.
You will need to access SharePoint to turn off access requests for files in Microsoft Teams. Go into the Advanced settings section and turn off the Access request feature for those folders or files.
- Firstly, open Office 365.
- Now click on the launcher.
- From there, you need to click on “SharePoint.”
- After that, select the Microsoft Teams group.
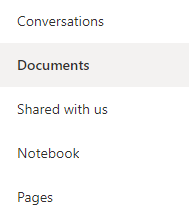
- From there, click on “Documents.”
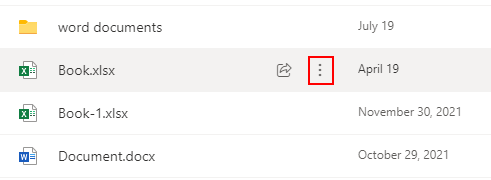
- Select a file and then click on the three vertical dots.
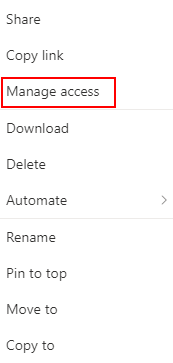
- Choose “Manage access.”
- Now click on the option for “Advanced.”
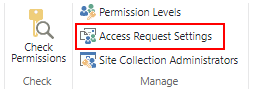
- Click on the option for “Access request settings.”
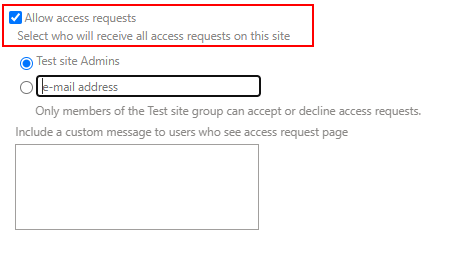
- Uncheck the box next to “Allow access request.”
- Press “OK” to complete the process.
Microsoft Teams is integrated with SharePoint, allowing users to access files from SharePoint directly, so there is no need to add additional features within Microsoft Teams to manage the file request settings.
As you can share files between different programs that Microsoft operates, you can find many programs you use regularly. OneDrive and Microsoft Teams will often allow you to access the files and have them available from one point within the program. The point of availability is in Microsoft SharePoint, where creating individual folders and sites for teams and channels within Microsoft Teams happens.
Why may you want to turn off “Request Access” to a file in Microsoft Teams?
You may want to turn off Request Access for a file in Microsoft Teams if you want to manage who has access to those files. Doing so will prevent a data breach and protect your files from unauthorized members in your organization.

An in-depth guide on how to turn off “Request Access” for a file in Microsoft Teams
I have provided a brief guide above that will help you to go through the process if you have a general understanding of the SharePoint UI. However, I have provided an in-depth guide below for users who require more information.
- Firstly, open Office 365.
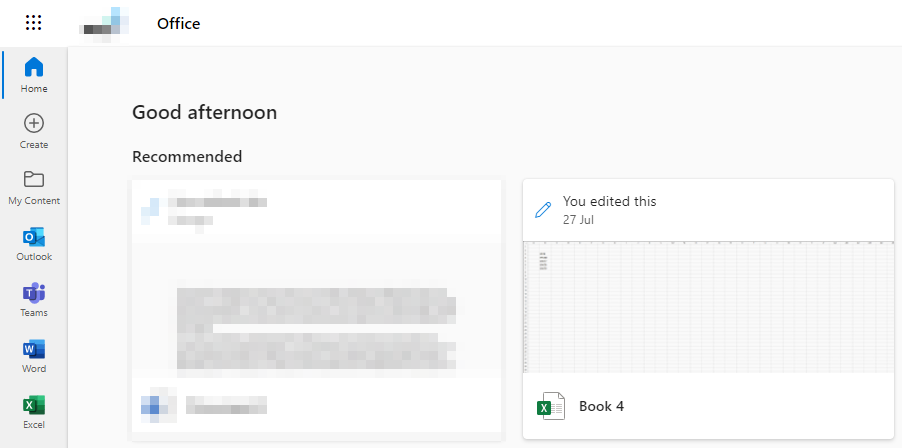
To begin the process, you must first open Office 365 and sign in with your usual login details.
- Now click on the launcher.
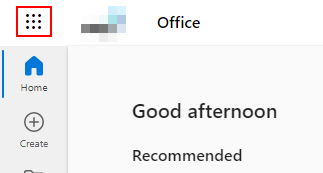
Microsoft 365 has illustrated the launcher as nine dots on the top left-hand side of the display. If you want to access the launcher, you will need to click on the nine dots, and then you will be able to access all the applications within.
- From there, you need to click on “SharePoint.”
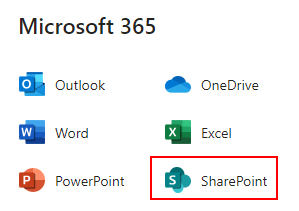
From the list of different applications available in the launcher, click on the one called SharePoint.
- After that, select the Microsoft Teams group.
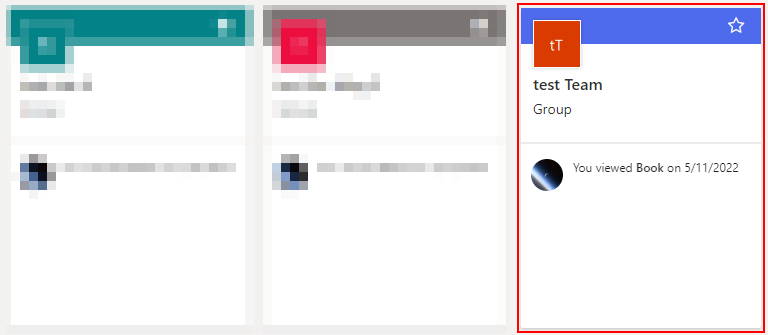
The content is associated with SharePoint through a folder if you have a team in Microsoft Teams. Microsoft will connect this folder to a group, and the registration of that group in SharePoint will become a site.
Therefore, the corresponding site name will match the one that represents your team in Microsoft Teams. For instance, if you have a team called “test,” your corresponding group in SharePoint will also be called “test.”
- From there, click on “Documents.”
- Select a file and then click on the three vertical dots.
- Choose “Manage access.”
- Now click on the option for “Advanced.”

- Click on the option for “Access request settings.”
- Uncheck the box next to “Allow access requests.”
- Press “OK“ to complete the process.

SharePoint allows its users to integrate with various other programs within the Microsoft suite. For instance, if a user has a Microsoft Teams account and has associated files, you may find that Microsoft SharePoint manages these files.
If you want to turn off the Request Access feature for a file, you will need to use the above process even though the file is in Microsoft Teams. The method shown here will work for any file, folder, or any other content you have in Microsoft Teams. Blocking access to those files ensures that the file remains safe and secure from any data breaches.
How to disable your organization’s “Request Access” policy in Azure DevOps
Another method to remove “Request Access” is to disable it in Azure DevOps. That could be useful if you’re using the DevOps app in Microsoft Teams. To use this method, you must have “Basic” access to the Project Collection Administrators group. If you’re an organization owner, you will be a member of that group automatically.
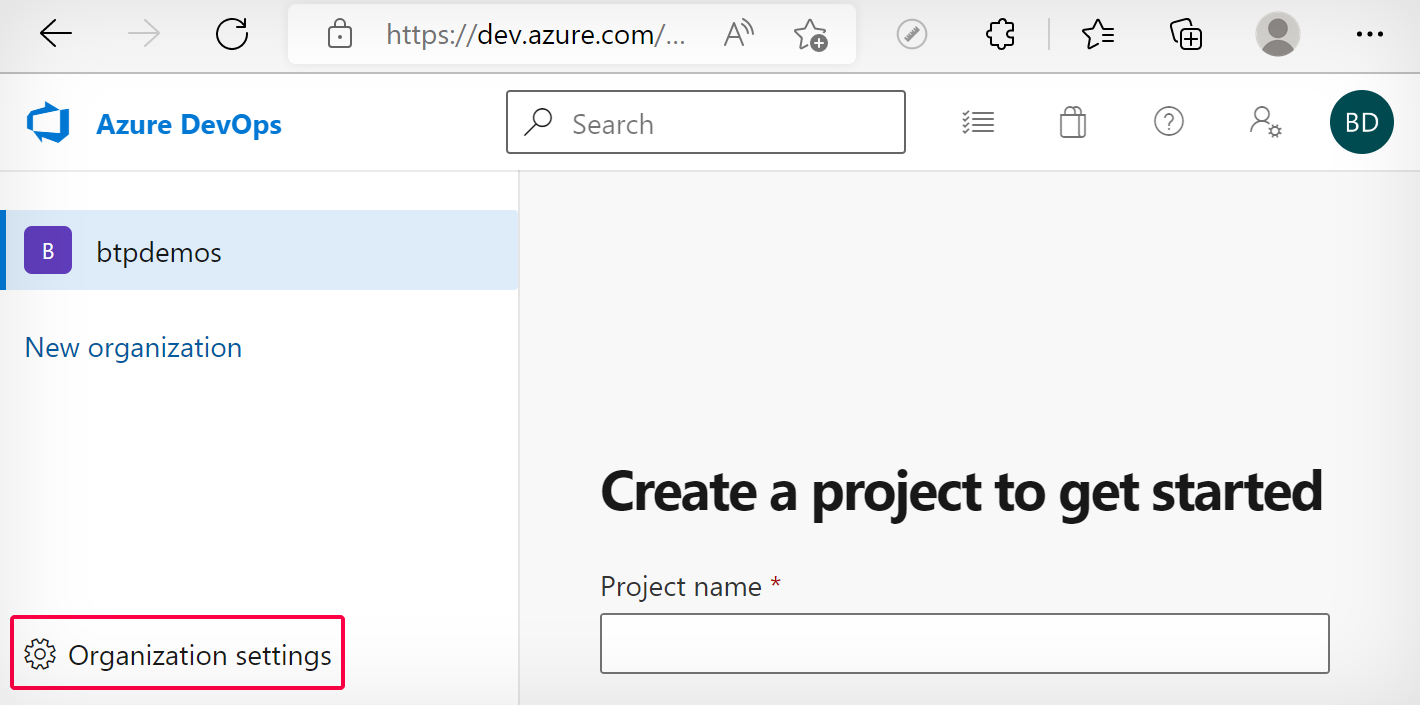
- First, log in to your Azure DevOps.
- Then click on
 “Organization settings.”
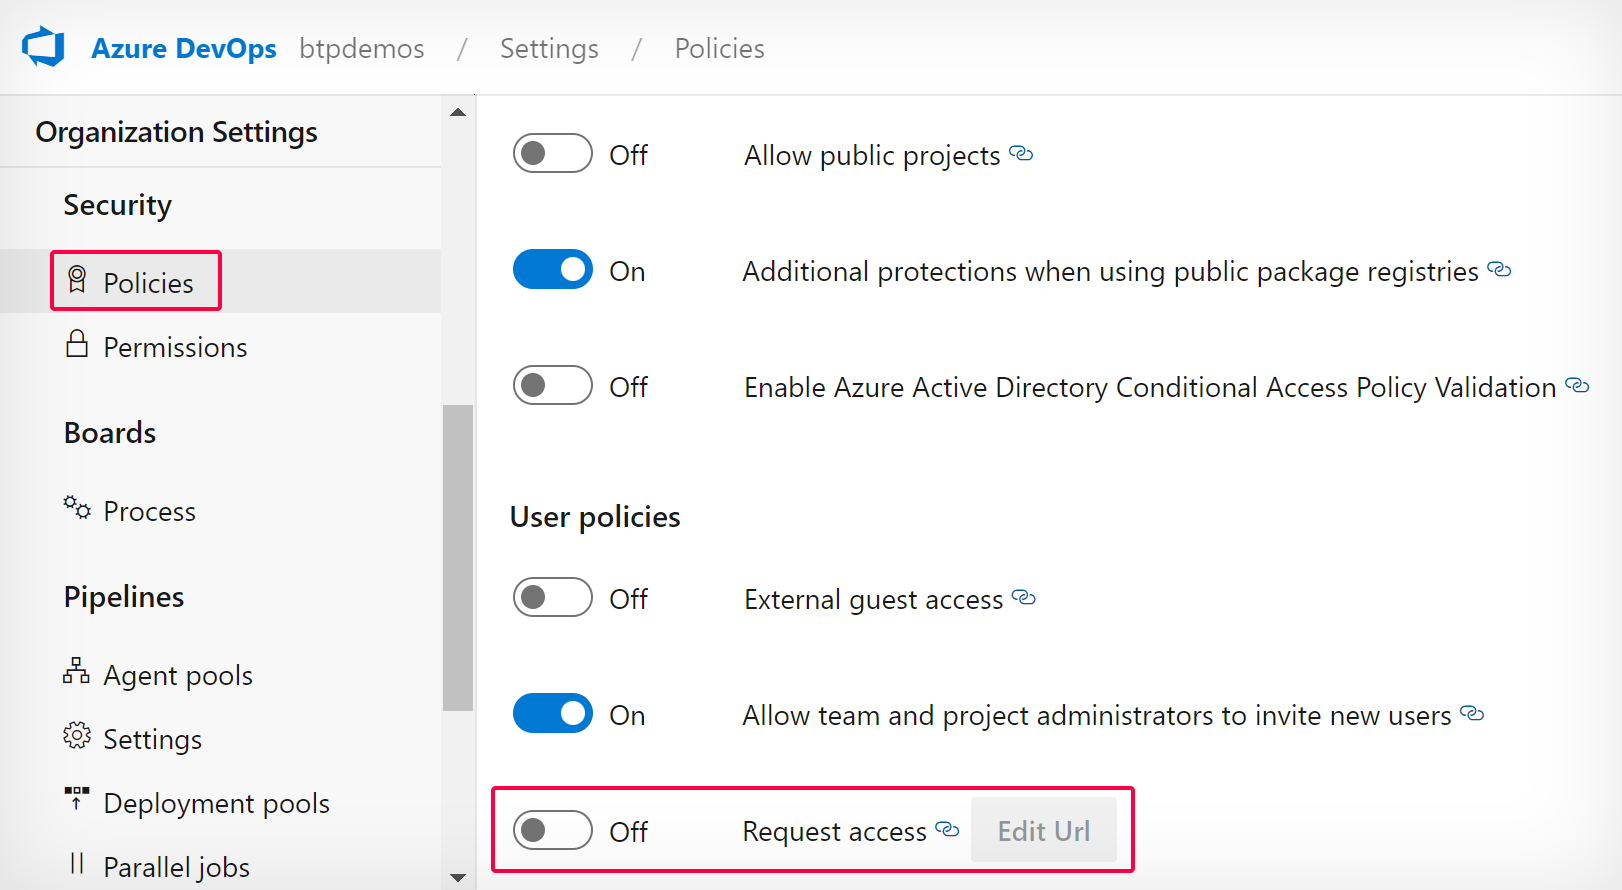
- Select “Policies” on the left menu under the “Security” heading.
- Then toggle off “Request access.”
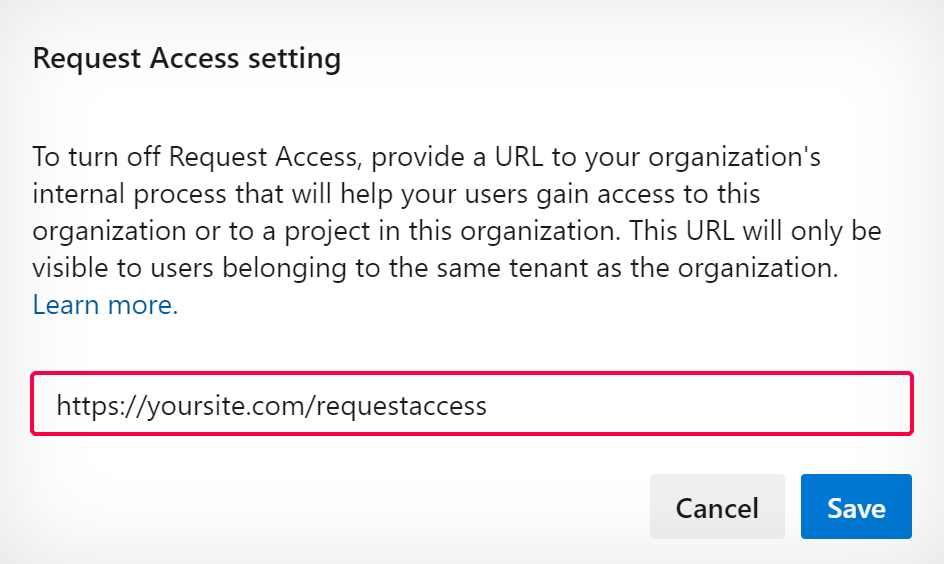
- You will be asked to enter a URL to your organization’s internal process where users can gain access to your project or organization.
- Then click “Save” to finish.
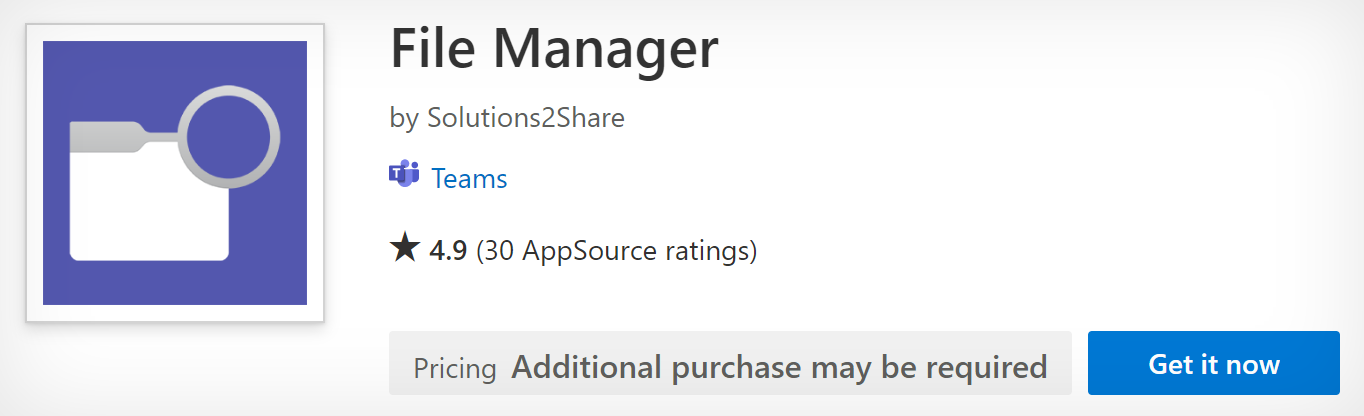
Use the File Manager add-in for Microsoft Teams
File Manager is an excellent app for managing your files in Microsoft Teams. And you can find everything you need to know about File Manager in the section below.
 | File Manager_________________________________________________________________ |
| Key features: | |
| • Tree view navigation • Folder navigation • Metadata preview • Permission overview • External sharing • Document preview • 30-day free trial |   |
| View pricing. |
With File Manager, you can easily control file access and permissions, and share documents or folders. To get started, you can access File Manager from Microsoft’s app store or add it directly in your Teams App.
Get File Manager from the Microsoft Apps store
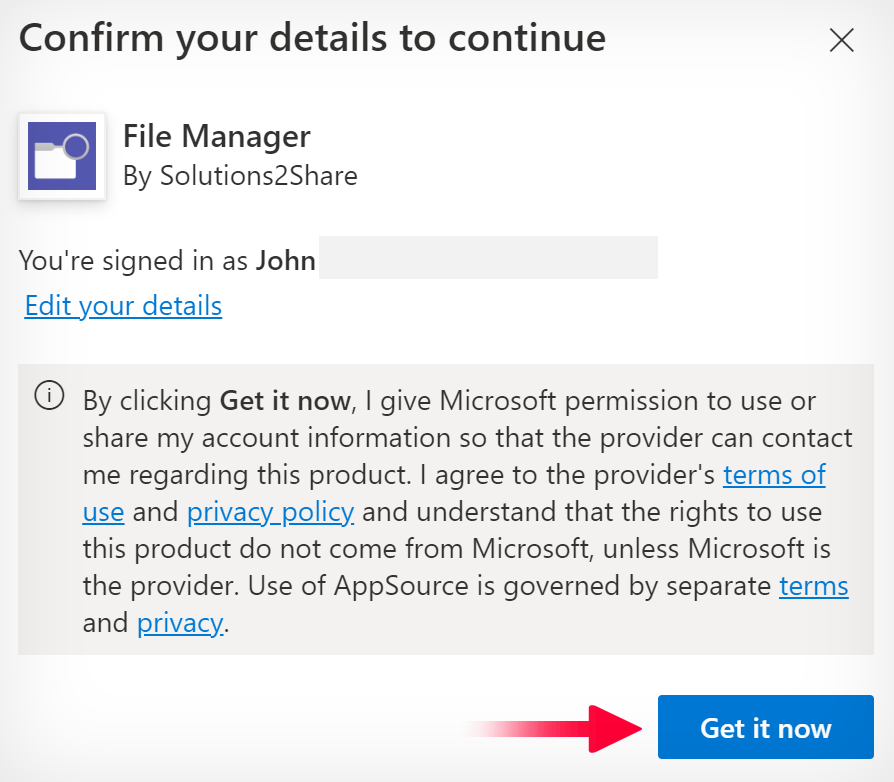
- First, go to the Microsoft Apps store and click on the “Get it now” button.
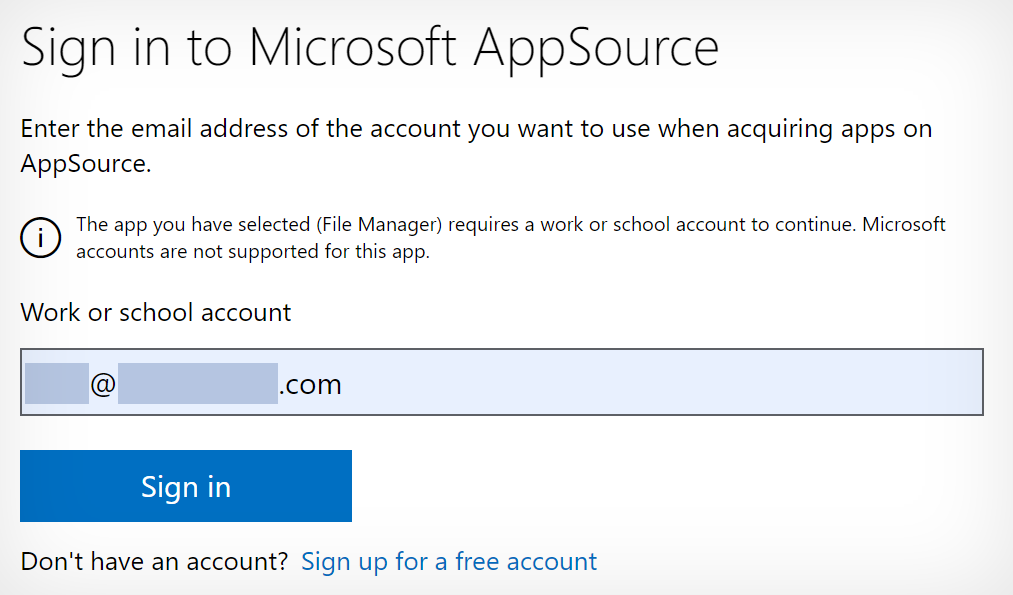
- Enter a work or school email address for your Microsoft account, then click “Sign in.”
- Click “Get it now” again.
- You will be redirected to your Microsoft Teams app to complete the process.
- Once there, click on “Add.”

- Then, add in your details and click “Register trial.”
Add File Manager in your Microsoft Teams app
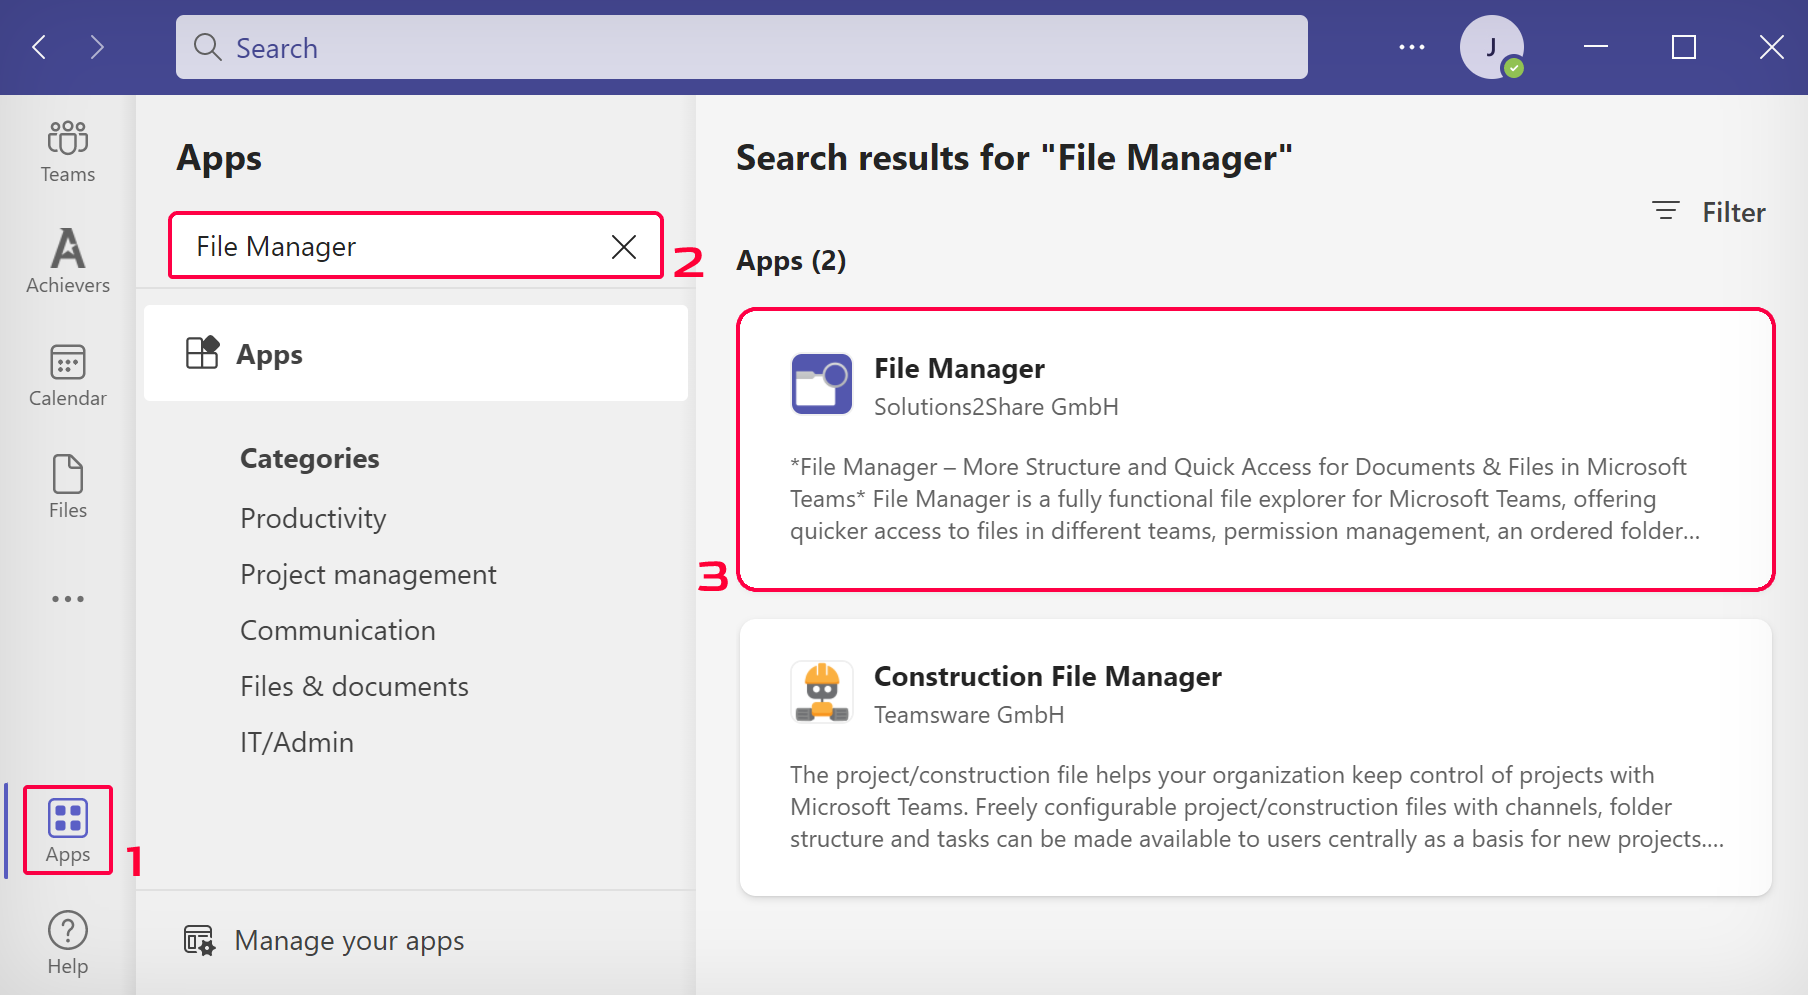
- First, click on the
 “Apps” icon at the bottom of the left menu.
 - Type “File Manager” into the search bar.
- Then click on “File Manager.”
- Click “Add.”
- Then, add in your details and click “Register trial.”
Conclusion
Thank you for reading our content on how you can turn off Request Access for a file in Microsoft Teams. As illustrated above, you must access SharePoint to turn off this feature. A connection for your files between Teams and SharePoint will form; from here, you can make all the necessary changes to those files to help manage them.
I have also provided an in-depth analysis of some of the more complex steps within the process and screenshots to help go through the more complicated steps. I have also provided a reason why you may want to turn off this feature in Microsoft Teams so you can better understand what the feature will help to accomplish. However, if you still require further assistance, drop a comment below, and we will assist you further.