Although Microsoft markets Teams as a communication and collaboration platform, it doubles as much more; Teams’ integrations allow us to expand its capabilities by adding other applications’ functionalities. Microsoft Teams’ best integrations aid project management and productivity. Of course, that doesn’t mean that everyone is worth your time.
After taking some time to experiment with various integrations, I have determined the following five applications are best suited for project management and productivity.
- Trello
- Hive
- Monday.com
- Miro
- Microsoft Tasks
In this post, we’ll be looking at five product management integrations for Microsoft Teams. Although I find Trello to be the best, your thoughts may differ. Thus, I’ve included four additional integrations— each showing good promise.
Below are several labeled links; use each link to access relevant content quickly.
Project management integration for Microsoft Teams: An overview of Trello
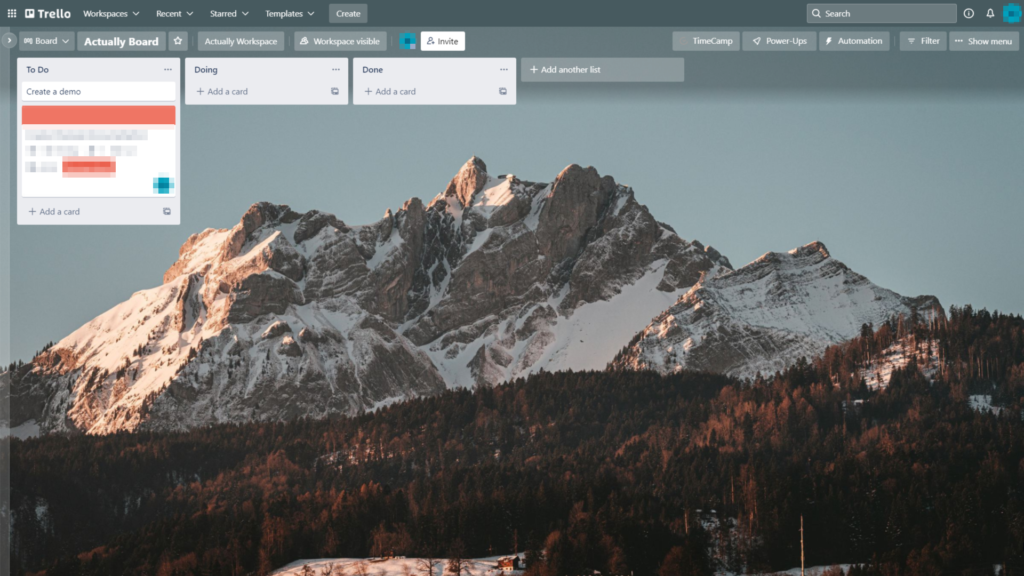
Trello, akin to three of today’s integrations, is a bucket-board-oriented task manager. If you love integrations, you’ll love Trello; the app features several integrations of its own. Albeit, there’ll be more on that later.
Card creation
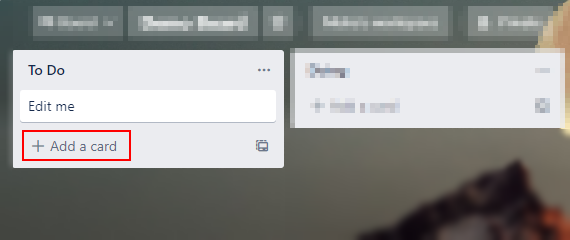
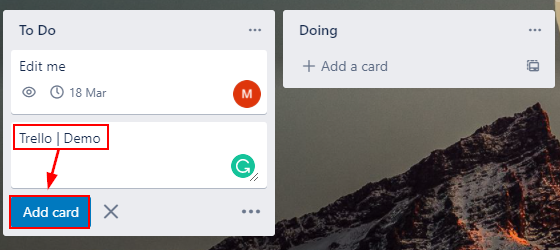
Let’s create a card: cards serve to track tasks. As you can see, the process is short; click “Add a card” under the bucket you’d like to use. I have used the “To Do” bucket in the example below.
Accessing the card editor
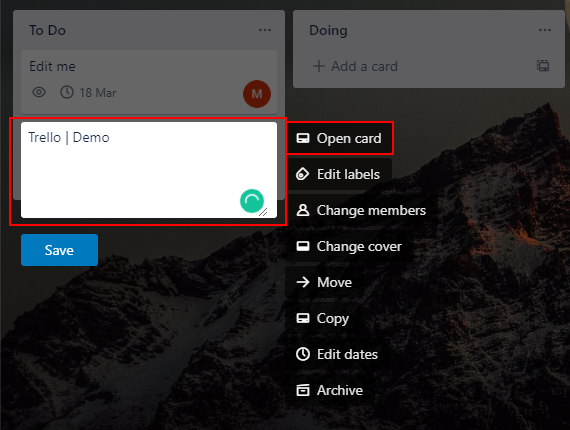
Alright, so you have a card. Albeit, it’s currently useless. Right-click the card and select “Open card” within the resulting menu. You will see the card’s configuration menu. From there, we can give our card some use.
Card descriptions
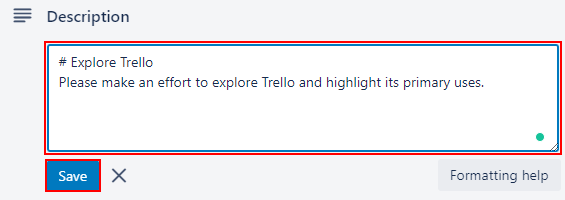
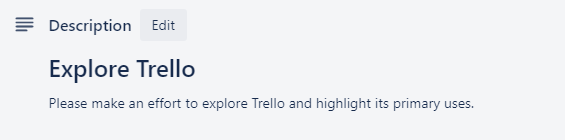
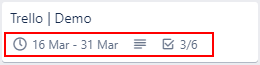
Initially, let’s add a description to our card. The “Description” field can be detailed or brief; it should aim to detail the purpose of this card. For instance, the card below (“Trello | Demo“) tells readers what they want regarding Trello. However, if your title is more specific, take “Clean the office,” for instance— one might specify what needs cleaning or how.
An observant reader may recognize the use of standard markdown; Trello card description’s support most markdown syntax.
Trello’s card checklists
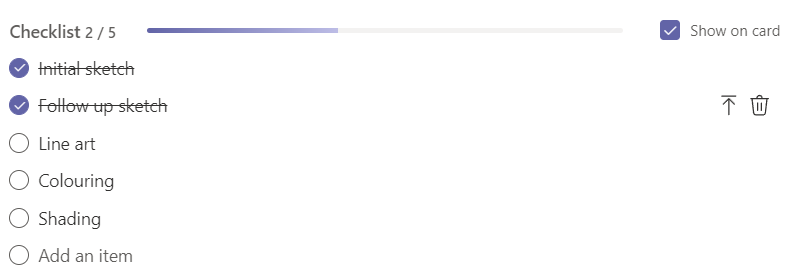
Alright. We have a card, and we know what it’s about but what if we’d like to track the progress of the card’s respective task? That would be where the “Checklist” function comes in. A checklist allows us to set more specific tasks within our cards. While this may seem unnecessary, the feature shines in larger projects where a card for every minor process stops being scalable.
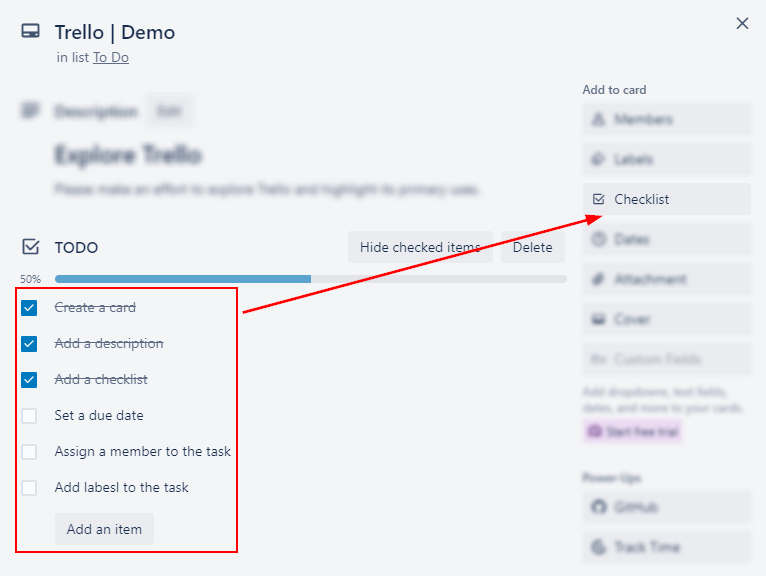
Trello checklists provide a progress marker; completing checklist items will fill your progress bar and increment the associated completion percentage.

(Vanilla) Time tracking for cards in Trello
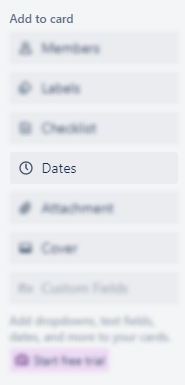
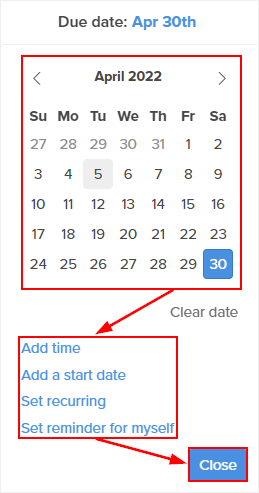
Unless you’re using Trello’s power-ups, a.k.a integrations, time tracking is limited to the basics. However, the basics aren’t lacking in use. To apply a due (and or start) date, click “Dates” in the “Add to card” list.
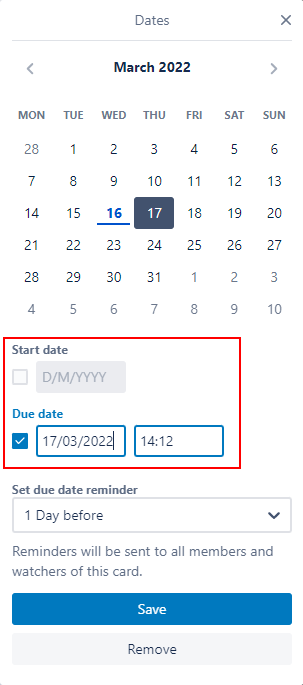
After hitting “Dates,” you’ll see a pop-out form. The form allows you to set a start date, due date, and reminder date for your card’s task. If you check the image below, you can observe the start and due date I’ve set. You may also notice a counter is present, detailing my checklist progress.
Task assignment in Trello
An additional function you’ll want to know about is member-assigned cards. Click the “Members” button and enter the name (or click the name) of a member of your choice. I’ll be using myself for this example.
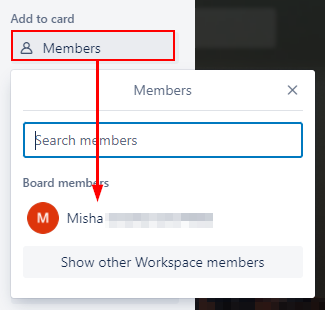
As one might have guessed, Trello reflects our change in the kanban board view of the card.

Labels and card covers in Trello
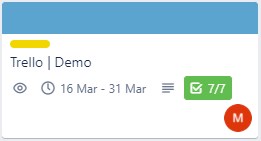
The next thing to consider is labels and covers. While both objectively serve the same purpose, labels are generally used to imply internal information about a card. Take color-coding cards with labels to indicate importance, for instance. In contrast, you may use a cover to stylize a card or depict information relevant to the card’s task.
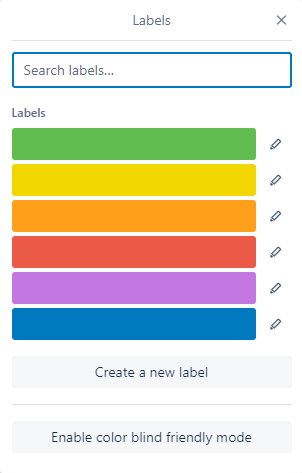

Here’s what a card looks like after receiving a label and cover.

Project management integration for Microsoft Teams: An overview of Hive
Hive, in many regards, is comparable to Trello: both services utilize a bucket-board layout and share several key features. Although Hive offers the same standard functionality granted by Trello, it lacks Trello’s vast number of plugins and integrations. Despite this notable con, you should still consider Hive for the future. Hive makes up for its drawbacks via convenience features that competitors lock behind paywalls. Albeit, that’s not to say Hive does not contain paid subscriptions— we won’t discuss them in detail today.
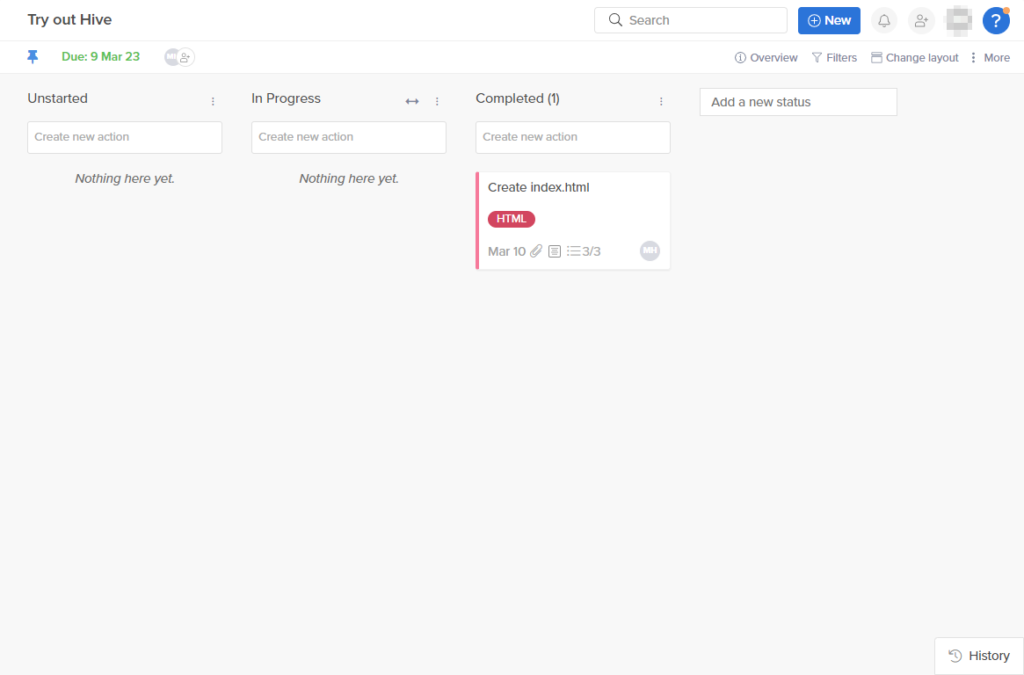
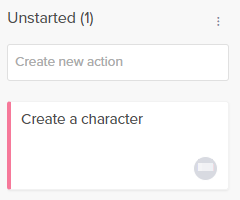
Task creation
Creating a Task in Hive is quite simple. On the board are several text boxes depicting the text “Create a new action.” Click into a box and begin typing your task’s name; you will create your task’s card when you hit enter. If you experience any issues, double-check you are using the default “status” view.

Editing a card
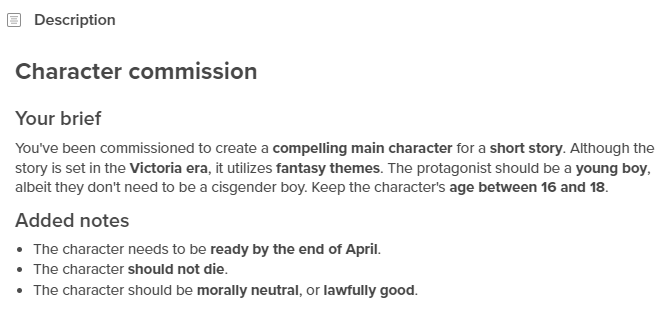
You can begin editing a task by clicking its respective card— you’ll likely edit most tasks due to the limited customizations available when creating a new task or action. For now, create a description: you can format your description via basic markdown. I’ll discuss more advanced features in greater detail later in the post.
Task assignment
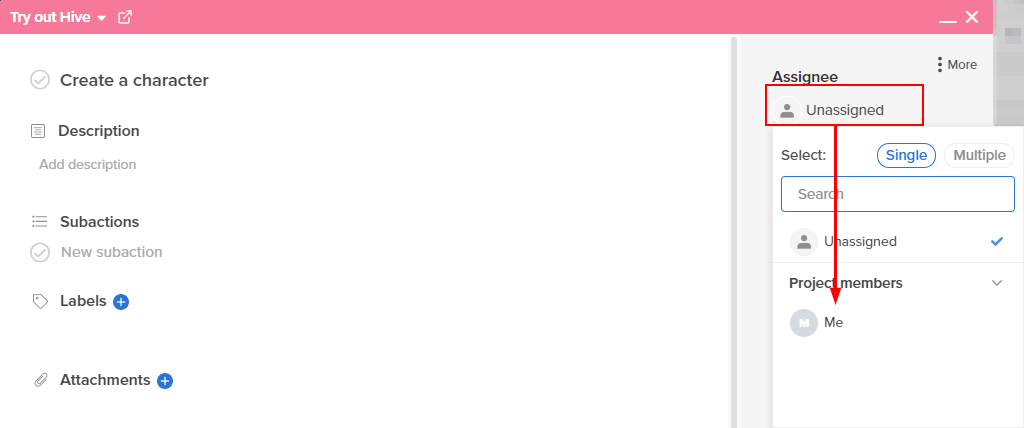
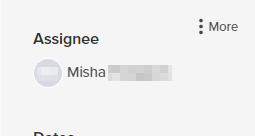
Task assignment is straightforward; head to your task’s card and hit “Unassigned” via the card’s rightmost side panel. In the resulting menu, you’ll notice a list of your board’s members (unless you’re alone)— assign the task to yourself or a colleague. When assigning a task to yourself, you will need to select “Me.“
Labeling tasks
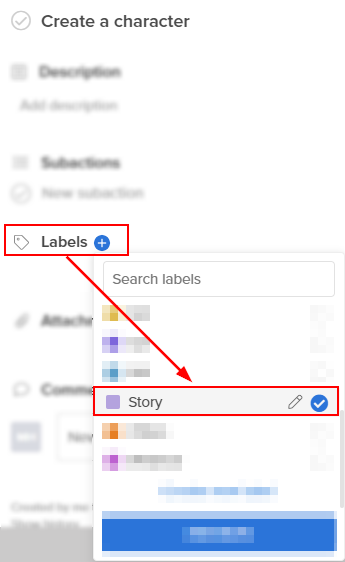
Unlike Trello’s task labels, a label in Hive serves cosmetic and organizational purposes only. In short, they serve no purpose for automation, but you can use them to categorize tasks. Take separating product-design tasks from product-manufacturing tasks, for instance: you can now quickly assess a task’s purpose without needing to read over it.
Creating subtasks
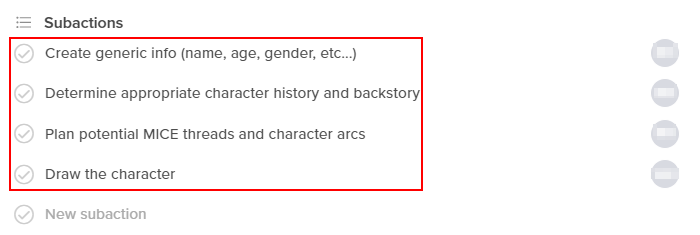
Hive refers to subtasks as “subactions.” To create a subaction, click into the “New subaction” box and begin typing— it’s pretty straightforward. Hitting the Enter key will append your subaction to the list and allow you to start typing additional subactions. You can mark your subactions as complete via the checkmarks suffixing them.

Task scheduling
Setting tasks is useful, scheduling doubly so. When creating a task in Hive, you can utilize four functions intended to aid scheduling.
- “Add time”
- Set a time at which a task would be considered overdue instead of just a date.
- “Add a start date”
- Set the date at which a task should have begun.
- “Set recurring”
- Configure the task to recur on set dates.
- “Set reminder for myself”
- Schedule a reminder for a set date
Project management integration for Microsoft Teams: An overview of Monday.com
Due to Monday.com’s extensive set of functions, we will only be covering its board-style functionality. However, we may publish a more in-depth guide on this integration in the future.
Naming your item group
Monday.com’s boards allow you to organize your tasks into one or more groups. A board must always have at least one group. In the example below, I have named my group “Noumena: The Reclamation Protocol” due to the board’s purpose (planning my stories).

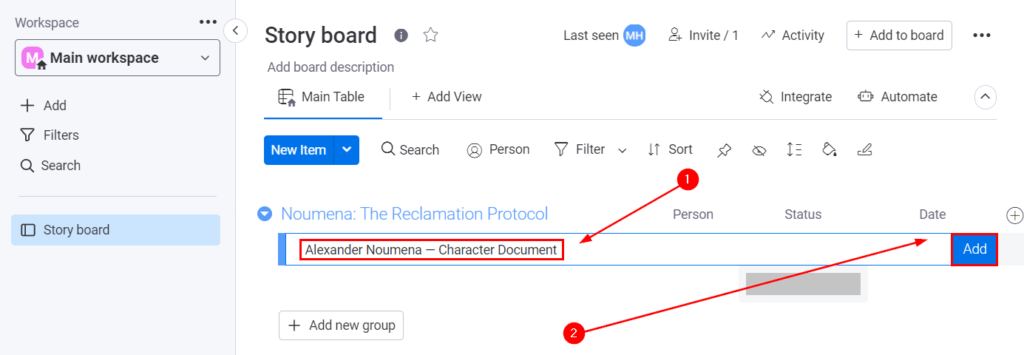
Add your first item
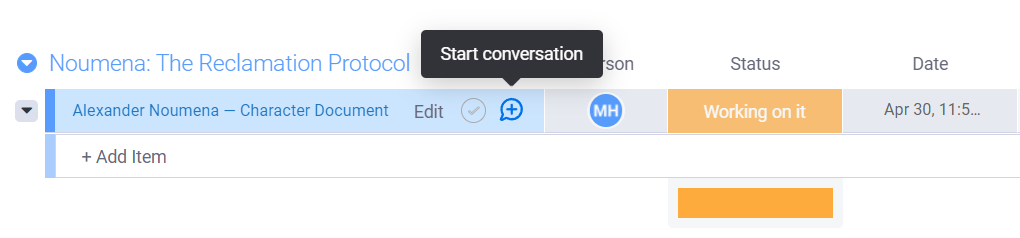
Under your initial group, you should spot a prompt labeled “Add item.” Items refer to tasks. When you click on the prompt, you’ll begin creating (and naming) a task. After entering a task name, hit “enter” or select “Add.” Below, I have made and named my first task: “Alexander Noumena — Character Documents.”
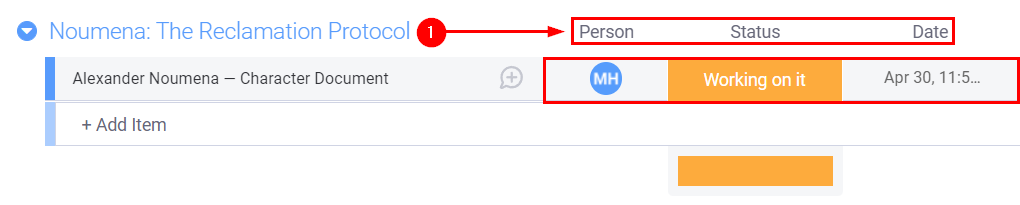
Apply basic configurations
During its initial conception, a task is reasonably useless. However, we can use the “Person,” “Status,” and “Date” properties to change that. The “person” property states who a task is assigned. The “status” property indicates progress on a task. Lastly, the “date” property details the task’s deadline. You can configure each property with a click.
Add an update
Tasks feature threads that store updates. An update can contain additional subtasks, written comments on progress, or changes to the process. To make an update, hover over your task and select the speech bubble.

Additional configuration
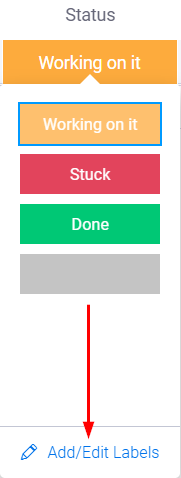
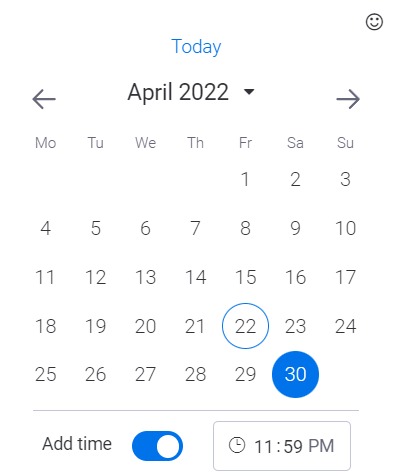
You can further customize Monday.com’s tasks with custom status labels and date-hour scheduling. Custom labels allow you to provide more rapidly-accessible information about a task. For example, let’s say you previously completed a task— if you decide it’s not quite what you need, you could append a custom label like “revisions needed.” You may favor by-the-hour scheduling because it assists you in more accurately tracking your tasks against time.
Project management integration for Microsoft Teams: An overview of Miro
Although our initial entries have been more complex, you may still wish to consider Miro. The service is a standard product management integration that small and large teams can depend on. While the tool features kanban style functions like our previously discussed integrations, Miro does not treat the function as its essential feature. Instead, Miro’s defining trait is versatility; you can vastly simplify a complex system or visually present it and its intricacies in its entirety.
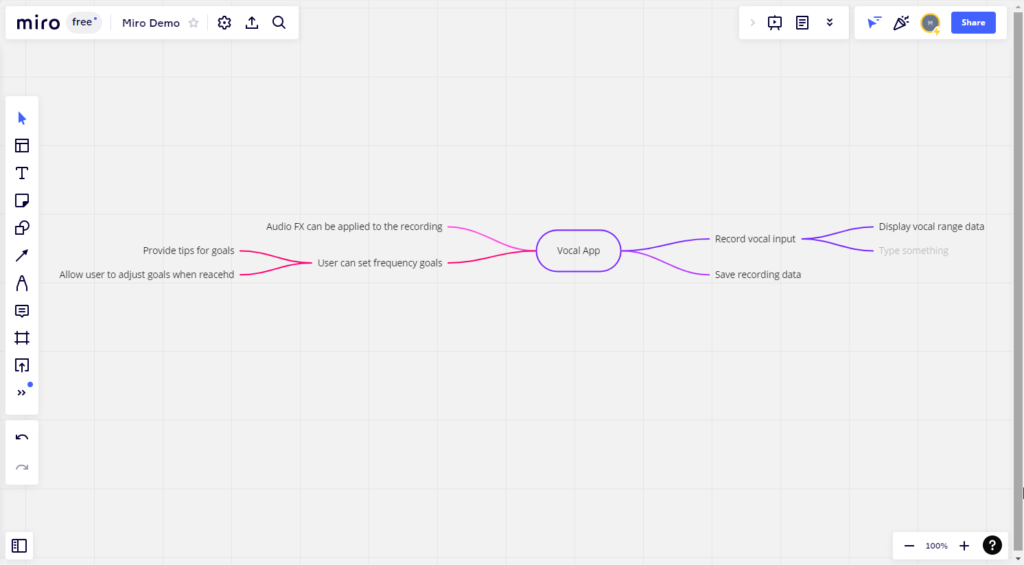
What can I do with Miro
At first glance, Miro is relatively empty; albeit, that’s the whole point. Miro is a blank canvas for you to paint in your image: a sophisticated flowchart, sprawling mindmap, or even a basic Kanban board.
Project management integration for Microsoft Teams: An overview of Microsoft Tasks
Microsoft Tasks is the love child of Microsoft Todo and Microsoft Planner; as one would imagine, Tasks is a project management integration you can use with Microsoft Teams. Equally expectable: Tasks is a kanban based program.
Microsoft Tasks favors Microsoft Todo’s simple layout and process; however, Tasks also favors Microsoft Planner’s more extensive task customization.
Buckets in Microsoft Tasks
Buckets in Tasks function like groups or categories for your tasks. By default, you will possess a single bucket named “To do.” Like any other bucket, you can rename the default bucket at any time. I have added two additional buckets, “In progress” and “Done.” I plan to use “To do” for pending tasks, “In progress” for tasks I have started, and “Done” for tasks that have been completed. However, you can use buckets in your way.
Alternative uses for buckets include:
- Separating tasks by assigned teams
- Tasks can be organized by the teams they’re assigned to.
- Separating tasks by project
- Tasks can be organized based on the projects or campaigns they aim to support.
- Separating tasks by organization
- Personal bucket boards can be organized based on the organizations your work for.

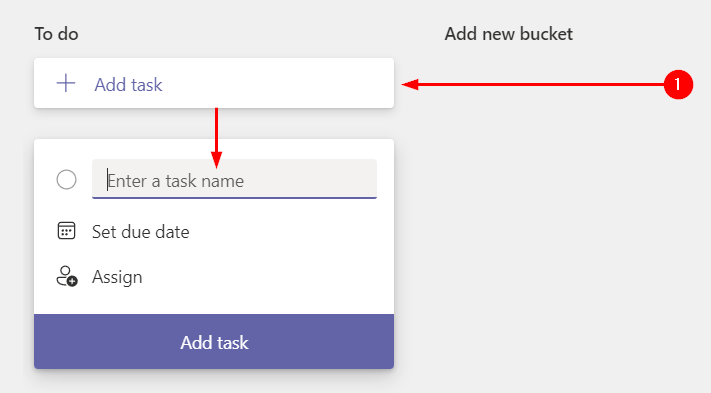
Create your first task
Each bucket features an “Add task” button that we can use to instigate the task creation process. In the example below, I’m prompted to enter my new task’s name. Later in the post, you’ll find I named my task “Art Commission #1.”
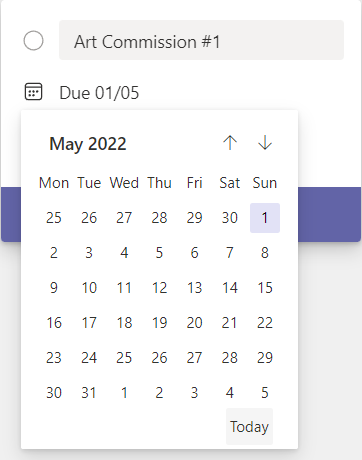
Set a due date for your task
After naming a task, we can quickly establish a due date. While you cannot set a task to be scheduled in the past, you can set tasks due several months into the future. Albeit, I doubt any individual task should take that long.
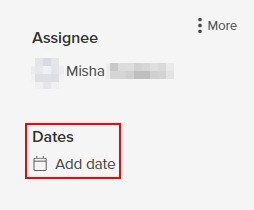
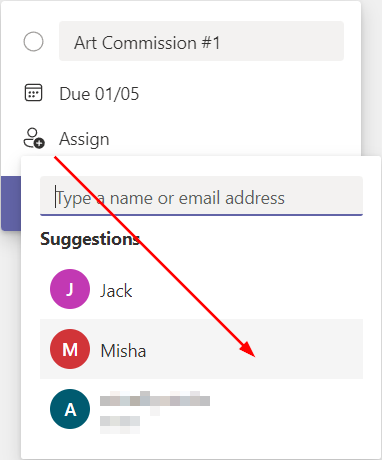
Assign the task to a team member
Lastly, to conclude the creation process, we can assign our new task to a board member. As you can see, I’ve assigned the “Art Commission #1” task to myself (Misha).
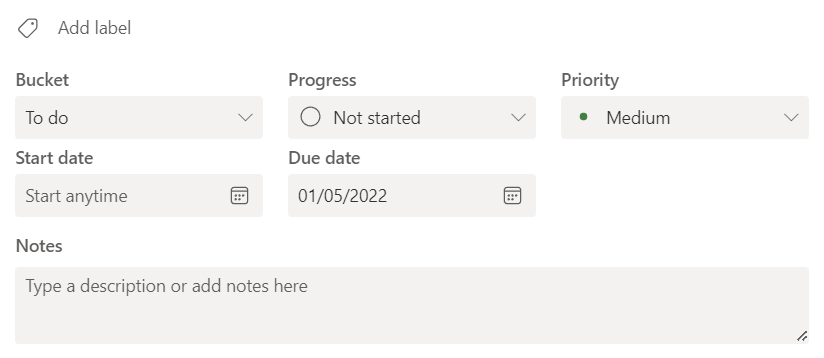
Configure the advanced options
By clicking a created task, we can access its advanced settings and better customize it. Advanced configurations include the following:
- Labels
- You can use labels to tag a task with defining information. For example, a coding-based card may be tagged with the programming language (js, py, cpp, etc.), while an art commission may be tagged with the commission’s features (sketch, line-art, colors, etc.).
- Progress
- Progress indicators are used to determine a task’s state of completion.
- Priority
- Priority indicators indicate the extent to which a step is crucial to your project.
- Start date
- The start date field shows when you should initiate a task.
- Due date
- An initiated or set task should be completed by this date.
- Notes
- The notes field is often used to provide additional information about a task; take contextual information, for instance. Alternatively, one could use this field to illustrate progress towards the task’s completion.
Append subtasks
Below the “Notes,” field, you will find the option to “Add an item” under the “Checklist” category. After clicking into this field, you can begin typing your sub-task name. Clicking out of the text field will append the item to your checklist. Each task is pre-fixed with a marker. Click the marker to mark the task as complete; repeating this action will reverse it.
Blog post recap
“Trello,” “Hive,” “Monday.com,” “Miro,” and “Microsoft Tasks” are among the best project management tools you can integrate with Microsoft Teams. At the same time, you can integrate an app within Teams and developers.
I sincerely thank you for reading this far. If you enjoyed the post or otherwise found it helpful, please consider looking into the related posts I have linked below. Each writer works hard to produce informative, tested, and dependable resources for your work concerning Microsoft 365.