It’s part of Microsoft Outlook’s new ways for giving users more control over the material they transmit to others, adding an extra degree of protection to email sending. This includes the option to password secure emails, unsubscribe from mailing lists, and prohibit others from forwarding, printing, copying, or downloading messages. Messages that vanish are made possible by the option to specify expiration dates for emails, which means they will no longer be visible in your inboxes after a certain period of time. To set an expiration date on Outlook mail, you will need to carry out a few functional changes on the specific email that you’re sending. Follow the steps below to see how you can set an expiration date for an email.
Step by step process: How to set an email so they expire in Outlook?
- First sign into Outlook.
- Compose a new email that you want to send to someone.
- Navigate to “message” using the top menu bar.
- Under “Tags” click the little expansion icon.
- The Properties panel will open, here check the box that says “Expires after”.
- Set a time for expiration.
- You don’t have to save anything this will automatically alter, simply close the panel.
The message stays displayed in the message list with a strikethrough after the expiration date has passed. The message can still be accessed, but the strikethrough indicates that it is out of date or no longer relevant.
If you’ve received one or more messages that have already expired and are marked with a strikethrough in your message list, you may remove them by selecting them and using the Delete key on the keyboard or choosing Delete on the ribbon. There is no method to automatically remove emails that have passed their expiration date.
   |

Purposes of mail expiration in Outlook
Outlook uses expiration dates in a number of ways to help you focus on what’s essential. Because emails that have expired are usually less essential than those that haven’t, Outlook formats expired emails differently.
This informs you that the email has passed its expiration date, allowing you to prioritize more essential communications. If you send an email with an expiration date, it will be formatted in the recipient’s Outlook, but other email clients, such as Thunderbird, or online applications like Gmail or Yahoo! Mail will disregard the date and do nothing with it.
You may also add a column to a folder that displays the email’s expiration date. Click “Field Chooser” after right-clicking a column heading in the folder to which you wish to add the column.
Manage email with expiration dates:
Expiration dates are also used by several of Outlook’s built-in features. You may have seen an option to “Delete expired items (email folder only)” if you’ve set up AutoArchiving in Outlook.
Auto Archive:
If this particular option is enabled, AutoArchive will remove or relocate any emails that have passed their expiration date (depending on the other settings enabled like mail retention policies inhibiting the deletion of email-based content). This is quite an effective method to automatically delete expired emails and prevent them from clogging up your inbox.
Mail synchronisation:
If you don’t want your expired emails erased or transferred, but you also don’t want to view them in Outlook, you may use the synchronization rules in Outlook to block them from being downloaded from the Exchange email server.
This will filter any expired tasks such that if they were due to expire yesterday or earlier, they will not be synced with Outlook and will not display in your inbox. If you wish to see them, they’ll still be available on the Outlook web app. Follow the steps below to activate the sync filter.
- In Outlook go to “Folder” > “Folder Properties”.
- Go to the “synchronisation ” tab.
- Fill out the “Message” panel and click on “OK”.
- As this will have changes to your mailbox or domain you will be prompted with a warning, when it shows click “OK” if you want to proceed.
More information:
You can’t set up rules to automatically add expiration dates to incoming emails or build a fast step that does so at the touch of a button, but you may add an expiration date to all outgoing emails. Scroll down to Send Messages and turn on “Mark emails have expired after this many days.”
Expiration dates are a useful way of managing your priorities and your mailbox by low-lighting messages that are no longer relevant and allowing you to use Outlook tools to delete or hide messages you don’t need anymore. It’s one more tool in the fight to prevent your mailbox from getting out of control and a very useful tool at that.
   |
In depth step by step process: How to set an email so they expire in Outlook?
Step by step – breakdown:
- First sign into Outlook.
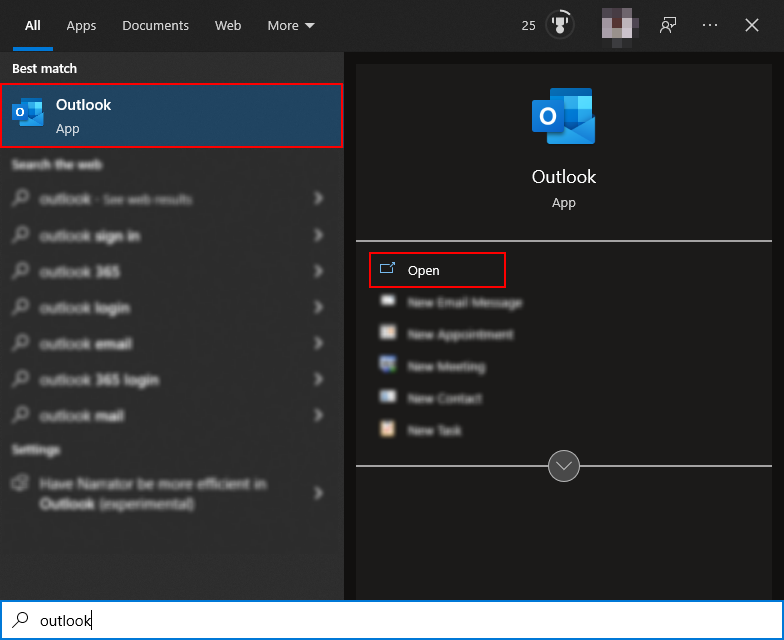
Sign in with your regular credentials which are also set with your Office 365 account.
- Compose a new email that you want to send to someone.

This mail could be to a colleague with the subject being a timed event and the content being some information that is only required until just after the event where its presence is no longer necessary and therefore it expires.
- Navigate to “message” using the top menu bar.

The “Message” tab will be located in the top menu bar, and by default, may even be selected upon the composition of a new email.
- Under “Tags” click the little expansion icon.

The expansion icon will bring up more properties for you to access and it will allow you to also set the expiration mail as the settings for this are located within the tag area.
- The Properties panel will open, here check the box that says “Expires after”.
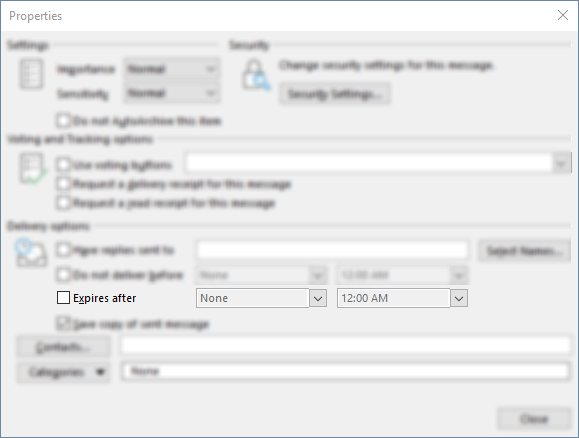
Here all you need to do is select the checkbox and type out the expiry information, Such as the time and date of expiry (Box that says “None” is where the date will go if nothing is selected the mail will expire on the current day at the time set).
- You don’t have to save anything this will automatically alter, simply close the panel.

That’s it for this Blog — thank you for taking time out to read our content. Please feel free to email our team about how it went if you followed the steps or if you need more help with the questions we answered in this Blog.