Microsoft Teams delivers its users a unique set of features that allow for improved workflow within the program. Functions include the ability to hold meetings and calls as well as the ability to install third-party and first-party applications to both improve workflow and increase the functionality of the program. However, users still want to know how you can set appointments and bookings in Microsoft Teams. Do you need to download an application, or can you do it natively within Microsoft Teams? Read through as I give you a guide on how you can set bookings and appointments in Microsoft Teams.
To schedule bookings and appointments in Microsoft Teams, you must first download a first-party app called Bookings. This app allows users to schedule bookings and appointments directly within Microsoft Teams. Upon downloading the app, users will be able to set their calendars and be able to house their booking and appointment system directly within Teams. Users can also add attendees to booking or appointments within Microsoft Teams. I will show you how you can add attendees and set timings for each appointment or booking within Microsoft Teams.
- Firstly, open Microsoft Teams.
- From there, click on “Bookings” in the left-hand menu.
- Select one of your booking calendars.
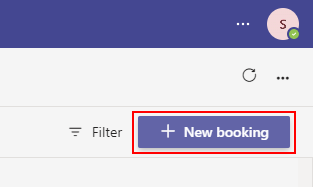
- Now click on the option for “New bookings.”
- Input the booking or appointment information.
- Click on the option for “Send” to complete the process.
The booking or appointment will be made available to the attendees as soon as the process has been completed. The appointment or booking can be about anything related to work, or it can be anything outside of work if necessary. Users will be informed immediately that a booking is scheduled with them as an attendee added to the appointment. You can set as many booking or appointment calendars as necessary. This allows you to categorize different appointments and bookings with different calendars to stay more organized. Microsoft Teams will also allow you to set the duration for the booking or appointment if necessary. If you are quite a time-conscious person and need a better way to manage time, you can do so using the bookings calendar feature. You can set meetings in advance or pre-book appointments if necessary.
An in-depth, step-by-step guide on how to schedule appointments and bookings in Microsoft Teams
If you are struggling to understand the process illustrated above, a better way to understand it is to use the in-depth guide shown below. The guide here includes helpful resources such as screenshots to navigate the process. Screenshots provide a good way for you to visualize the UI, so you have a better understanding of what to do when you are engaged in completing a step. Screenshots will also provide a good way for you to visualize what the step is referring to. You can also use in-depth context to help navigate the process much better.
- Firstly, open Microsoft Teams.
The process will work for both the desktop version of Microsoft Teams and the browser version of Microsoft Teams. You do not need to pick a specific platform to run Microsoft Teams on.
- From there, click on “Bookings” in the left-hand menu.
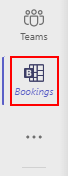
As illustrated earlier, Bookings is an application provided by Microsoft to help you manage bookings within the program. You can also schedule bookings and appointments directly within the application using the method shown here.
- Select one of your booking calendars.
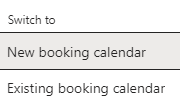
The booking application works with a series of calendars users can have to set various bookings and appointments in a categorized manner. From the list of different calendars you have created, you will need to select one of them. If you require more assistance creating a calendar in the Bookings app, you can use this blog to help.
- Now click on the option for “New bookings.”
- Input the booking or appointment information.
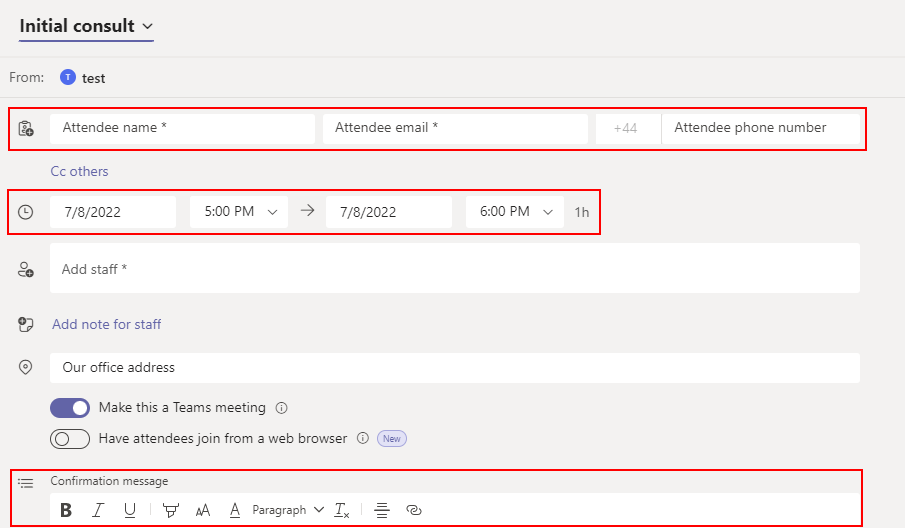
You will need to input the attendees’ details to fill out the information. The attendees’ details include the attendee’s name and e-mail address. As an optional step, you also can add the attendee’s phone number if needed.
You can now input the date and time within the next category. The time and date are the duration of your booking or appointment that you will be hosting.
The final box you should fill out is the confirmation message. The confirmation message is a list of information the user will need to understand before they attend your booking or appointment. The confirmation message may also be information users may need before a meeting. Ensure that this information is relevant to what the user will require for the meeting.
An additional step you may like to use is the ability to have e-mail reminders set at regular intervals. This will allow users to be constantly reminded that a meeting is scheduled. If users don’t use e-mail and prefer text messages, you also can set text reminders if necessary.
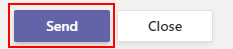
- Click on the option for “Send” to complete the process.
Once you have completed the steps above, you will have successfully managed to set a booking or appointment in Microsoft Teams. Users will be reminded at the regular interval you have set within the meeting or appointment information panel. Setting a booking or appointment in Microsoft Teams is also a fantastic way to make use of a full array of different tools within the program. For instance, can set a booking in Microsoft Teams, and if you require the use of the meeting functionality within the program, you have the option to do so.

Conclusion
Thank you for reading our content on how you can set bookings or appointments in Microsoft Teams. I have given you a full list of steps to set a booking or appointment in Microsoft Teams. I have also provided an in-depth guide if you need more help with the steps shown. Overall, booking an appointment or booking the Microsoft Teams Booking app is quite simple. Using the guide shown above, you can create a booking or appointment without any issues. If you require more assistance with the abovementioned process, you can drop a comment below, and I will address your issues.