There are several reasons why a Word document might be locked for editing. In this post, we will take you through each possible cause and guide you through the process of how to fix it.
How to fix a Word Document locked for editing:
- Method 1: Check if other users have the document open.
- Method 2: Delete the temporary owner file.
- Method 3: Remove temporary Word files.
- Method 4: Make sure the document is not in read only.
- Method 5: Prevent email attachments opening in read view.
- Method 6: Change the password protection.
We’ve also created a video to help guide you through the steps:
- Get Microsoft Word for just $8.25 per month with Microsoft 365 Apps for business.

PerfectIt – Proofread in MS Word
Proofread your Word document to fix style and consistency!
Method 1: Check if other users have the document open to fix a Word Document locked for editing
This is the simplest solution out of all the ones here. If your document that you are trying to open is on a shared network the problem could be someone else already having the file open. To solve this, just ask anyone on the network whether they have that file open and if they are not using it to close it so that you can do what you need to do.

Method 2: Delete temporary owner file to fix a Word Document locked for editing
Microsoft word automatically creates a temporary owner file when you open a document which had already been saved. An owner file is temporary and holds the logon name of the person who opens the document. These owner files normally remove themselves automatically when word is closed however sometimes a problem can occur where these files do not remove themselves, for example if word crashes these folders sometimes get left behind.
Step by Step guide to deleting temporary owner file
Follow the steps below to try resolve this issue:
Step 1) Save all your work/files on word that you currently have open
Step 2) Quit all programmes so that you have none open
Step 3) Open the Windows Security Dialog Box by clicking ‘Ctrl, Alt, Delete’
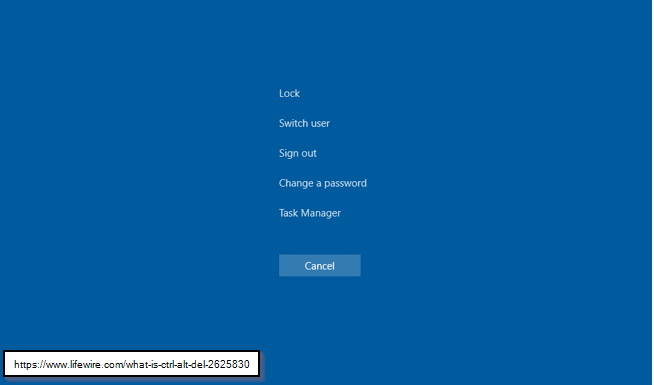
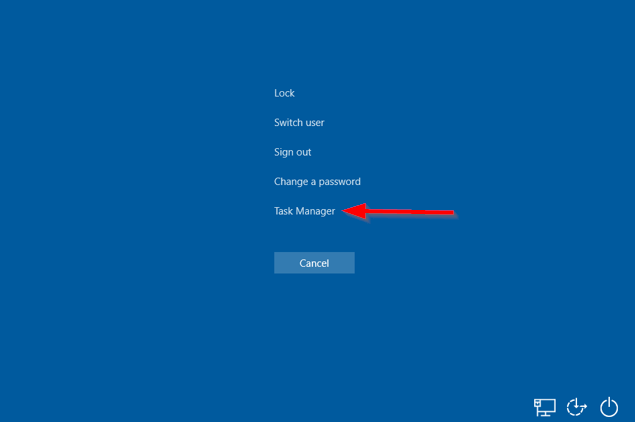
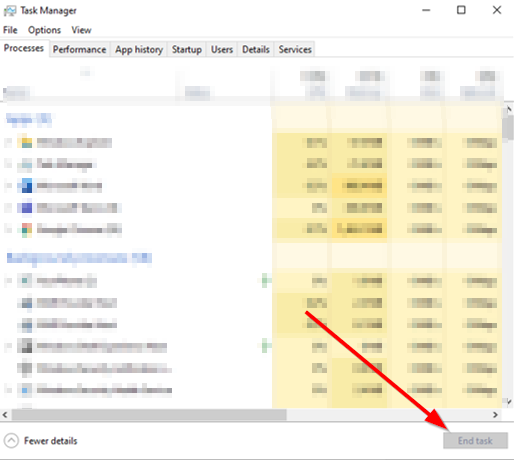
Step 4) Choose the ‘Task Manager’ selection
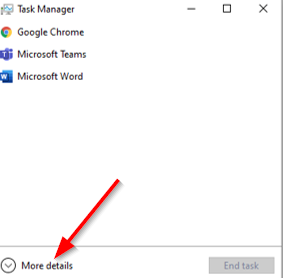
Step 5) Choose ‘More Details’ at the bottom of the box
Step 6) Select the ‘Processes’ tab
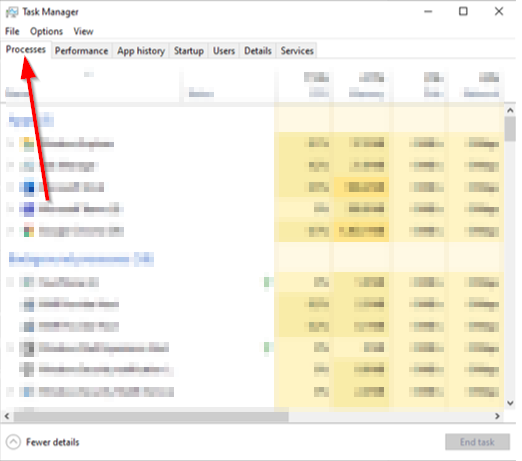
Step 7) Scroll until you find ‘winword.exe’
Step 8) Select ‘winword.exe’ and then press ‘end task’
Step 9) Open Windows Explorer
Step 10) Find the document file you were trying to open
Step 11) Locate the owner file (This is in the same folder with same name but the first two letters are replaced with ‘~$’. For example, ‘Bills.docx’ would be ‘~$lls.docx’.)
Step 12) Delete the owner file
Step 13) Start Word
Step 14) If you are asked if you want to load the changes that were made to the global or normal template select ‘no’
Step 15) Open your document
Now, you should be able to edit your file without a problem.
Depending on your version of Microsoft, these steps could be a bit different. If this does not work then check your product documentation and follow the steps there.
However, if this has not worked then below is a plan B that you can follow in another attempt to get it to work.
Method 3: Remove temporary Word files to fix a Word Document locked for editing
If removing the owner file did not work then there is a chance there are still some other temporary files that need to be found and deleted for you to be able to edit your document. There a few places these could be found. Deleting the temporary files is safe and nothing will be lost.
Location 1: Windows Temporary Folder
Step 1) Open windows explorer
Step 2) Click ‘view’ along the top

Step 3) Make sure ‘file name extensions’ and ‘hidden items’ are both checked

Step 4) In the search bar, type in ‘%temp%’ and press enter

Step 5) Delete any folders in there
Location 2: User Templates Folder
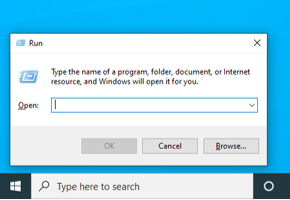
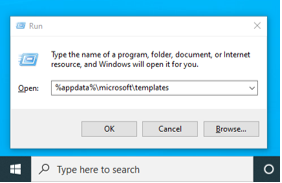
Step 1) Press ‘Windows’ with ‘R’

Step 2) Type in ‘%appdata%\microsoft\templates’
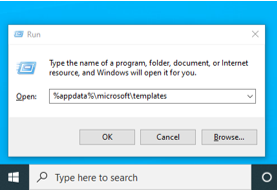
Step 3) Delete any temporary files in there
Location 3: Word Start Up Folder
Step 1) Press ‘Windows’ with ‘R’
Step 2) Type in ‘%appdata%\microsoft\word\startup’
Step 3) Delete any temporary folders in there
After all three locations are checked, start up word again and retry to open your document. You should now have no issues with editing it.
Below are two more small things which could be checked if required.
Method 4: Make sure the document is not in read only to fix a Word Document locked for editing
When you have a saved file in your documents, there is a simple check to make sure it is not read-only.
Step 1) Open windows explorer
Step 2) Locate the file which you want to edit
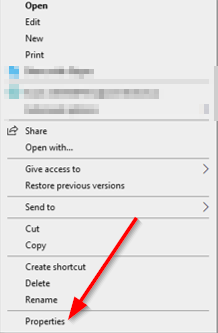
Step 3) Right click on the file
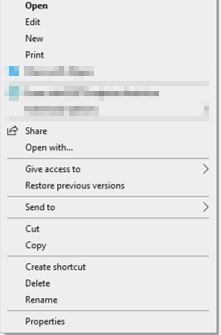
Step 4) Choose ‘Properties’
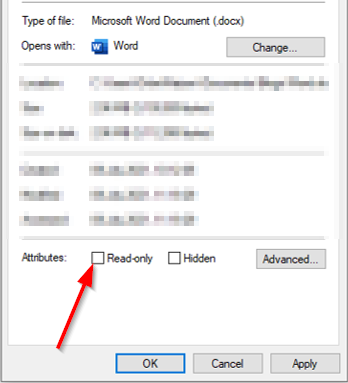
Step 5) Make sure ‘read-only’ is not ticked
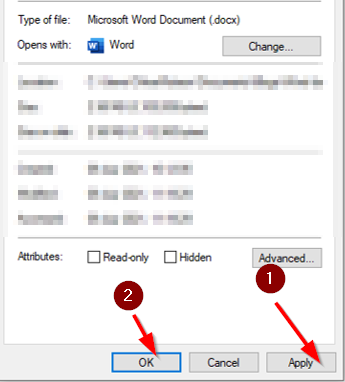
Step 6) Click ‘apply’ and then ‘ok’
Method 5: Prevent email attachments opening in reading view to fix a Word Document locked for editing
There is a way to stop attachments from emails automatically opening in reading view.
Below are the steps to follow:
Step 1) Open word
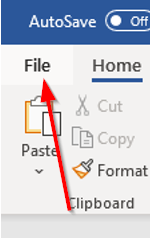
Step 2) Click ‘File’
Step 3) Click ‘Options’

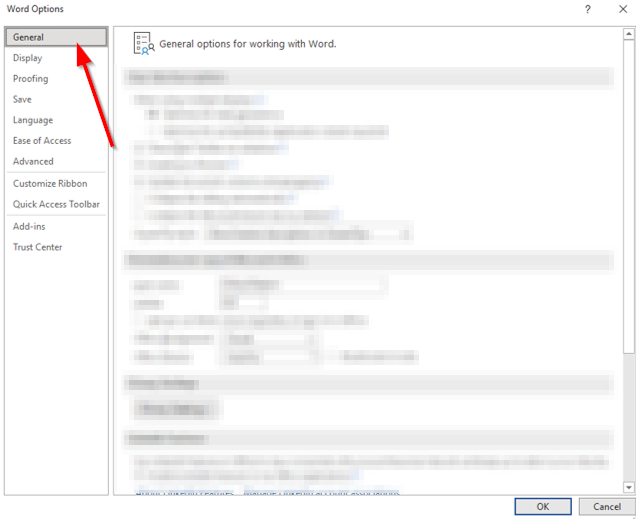
Step 4) Click ‘General’
Step 5) Scroll down to ‘Start Up Options’
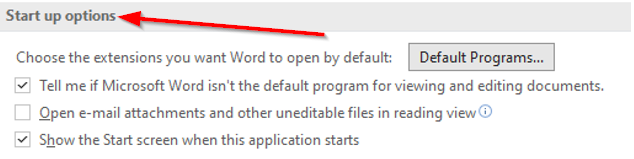
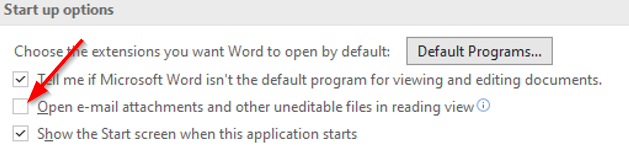
Step 6) Make sure that ‘Open email attachments and other uneditable files in reading views’ is unchecked
Step 7) Press ‘ok’
Method 6: Change password protection to fix a Word Document locked for editing
If you are the creator of the document or if you know the password (if it is a password protected document) then a simple way to allow editing for yourself or others you are sending it to is to remove the protection that stops editing.
Below are the steps on how to do this if you are unsure:
Step 1) Open the document which you or others need to edit
Step 2) Go to the ‘Review’ section

Step 3) Go to the ‘Protect’ section
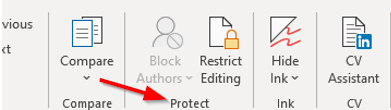
Step 4) Go to the ‘Restrict Editing’ section
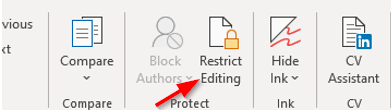
Step 5) click ‘Stop Protection’
Step 6) At this point, if a password is needed it will need to be entered
Step 7) Press ‘ok’
Now that the protection is not on the document, anyone should be able to edit it where needed.
   |