Within Microsoft Word, there is an automatic feature by which the more content you type, the more the document expands, with new pages being formed to continuously contain the ever expanding work you are writing. Sometimes though, a page may be added automatically that you don’t end up using, and you may wish to delete that.
But if you’re unable to delete an unwanted page, don’t worry — we’ll show you how in this blog post.
It is likely that you have created the page in some way, be it through deliberately forming it or with it being automatically generated, with the application expecting you to eventually need the space. Again though, the process of deleting such a page is easy enough, and as you could probably guess, is what we will be discussing here today.
In order to delete a page from your document on Microsoft Word, you must access the Navigation Pane and delete it from there.
Now, if this alone is not enough detail for you to work with, then do not worry. As is the case with every article we write, not only will we first offer you a step by step guide, but we will then break the process down further.
Step by step: How to delete a page in Word
- Open your Microsoft Word application, and find the document you wish to delete a page from.
- From here, navigate to the ‘View’ tab at the top of your screen.
- Find the ‘Show’ subsection of your View tab.
- Under this should be a tick box labelled ‘Navigation Pane’.
- Make sure you tick this box, and the navigation pane should appear on your left.
- Here, you will be able to see the pages of your document.
- Make sure the one you want to delete is highlighted, and then simply press ‘Delete’ on your computer until it disappears.
- Get Microsoft Word for just $8.25 per month with Microsoft 365 Apps for business.
   |
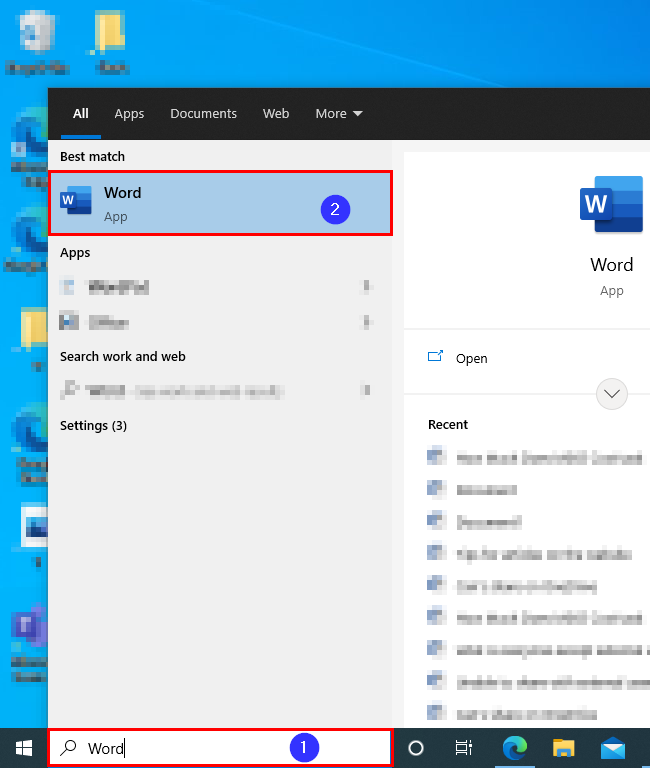
So, your first step, as you could probably guess, is to open Microsoft Word. Presumably, you the reader will have your own shortcut or other means of quick access in order to get to Microsoft Word. If not though, and you are using a Windows device, you can look to the search tool within your navigation bar at the bottom of your screen, searching for Microsoft Word as thus:
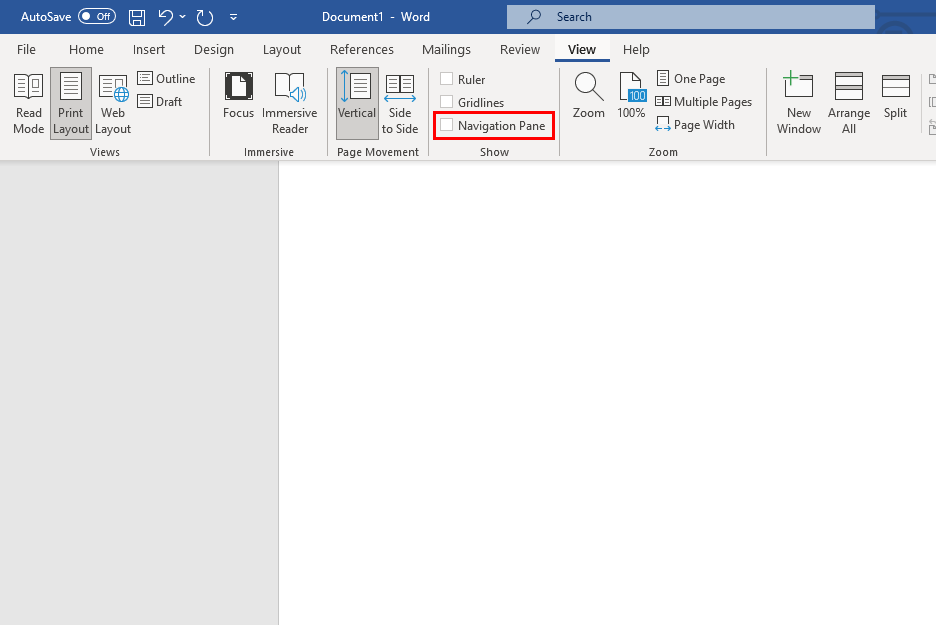
After opening your Microsoft Word application, and the document on which you want to fix the error, you should look towards the top of your screen. Here, you will be able to see the ‘View’ tab of options, and it is this that you should look to click.

Clicking the ‘View’ tab will, as you would and should expect, cause the navigation bar to expand into a small menu of settings. In this case, they will obviously be the settings grouped under the titular ‘View’ category.
Within the View subsection of options, there will be a further subsection titled ‘Show,’ the fourth bracket of settings from the left of your screen. Under this, there will be a tick box that, by default, is unticked. This box is accompanied by the label, ‘Navigation Pane.’ In order to show the pane, make sure to tick that box, as is the case in the below screenshot:
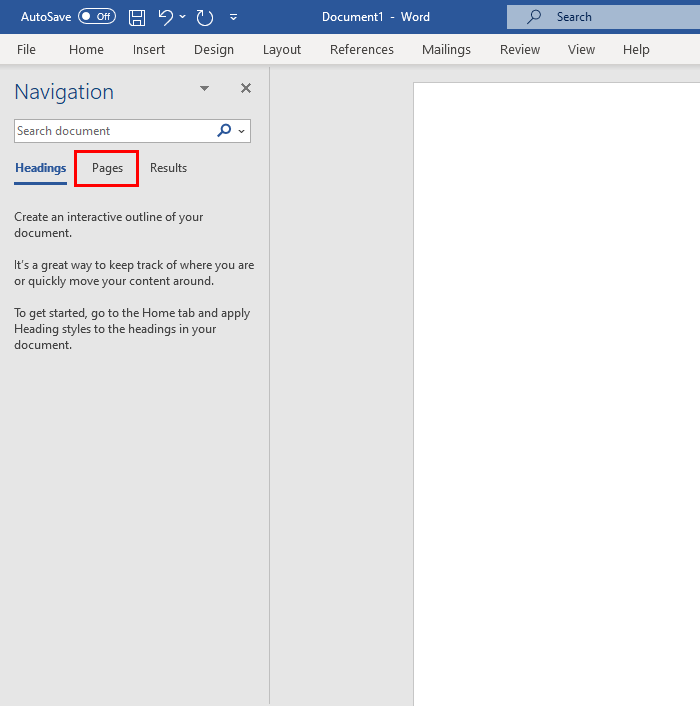
After ticking this box, the navigation pane of your Microsoft Word application will appear on the left hand side of your work. Here, you will be provided with a comprehensive overview of the document on which you are working, becoming able to headings, pages and results of a search, all within a window.
By default, upon opening the navigation pane, you will be on the Headings section of it. For this tutorial, you will need to click onto the ‘Pages’ heading, which has been highlighted below should you need the assistance.
Here, you will be able to see the pages of your document. In this tutorial, there are only two, but of course, you may have far more and this process is easily applicable regardless of the volume of your work.
Hover over, and highlight, the page of your document you wish to delete. It should glow with a faint blue that surrounds the border of the page, as thus:

Now, in order to delete the page you have highlighted, find the delete key on your computer. It’s as simple as you would expect, press the delete button until the page no longer appears in the navigation pane of your Word document. It may be that you have to press the button a handful of times, but be careful not to accidentally delete another page of your document.
Eventually, the page will delete and you will have successfully deleted a page of your Microsoft Word document that you were previously unable to remove!
Thank you for taking the time to read this blog, I hope you found it as helpful as you wanted it to be! As is the case with every article we publish, if you encounter any issues whatsoever when attempting to follow the walkthrough we have provided, or simply wish to share some thoughts you may have, please do not hesitate to get in contact with a member of our team.
Below are a couple of links to pieces we have published that are of a similar nature to this one. Perhaps they will be of use to you if this article didn’t quite answer the questions you had! These articles relate to error codes within Microsoft Word, errors that you may encounter when using the application.
How to fix Word error code 24 – Business Tech Planet
(Error code 24 relates to Word crashing when operating. It can be solved via the Control Panel of your computer).
How to fix Word error code 142 – Business Tech Planet
(Error code 142 can be caused by the likes of malware infections, and can be fixed through the Windows Update within the Update & Security section of settings).