Notifications are a great way to monitor activity on your Team’s account; whether it may be an important announcement from your employer or an update message from a colleague, notification helps you keep informed with all that information. With so many potential benefits and customization options for users, it helps better understand the notification settings in much more detail. So, in this blog, we will go over the steps and how you can manage notifications in Microsoft Teams.
- Manage the appearance and sound of Teams notifications.
- How to set custom notification prompts for both teams and channels.
- How to manage chat and meeting notifications in Microsoft Teams.
Above are some of the most important factors users may want to know when understanding how to manage notifications in Microsoft Teams. How notifications appear on your display, how you may want to have a more customized approach to notifications, such as what types of notifications you want to display on the prompt banner, and of course, managing the actual notifications— which we explain below.
Manage the appearance and sound of Teams notifications.
Suppose you are quite visually conscious of what’s being displayed. In that case, you may find that managing the appearance and sound of notifications in Microsoft Teams is an effective way to get the looks you require for the notifications. Whether you want to use the inbuilt Microsoft Teams notification visuals, all you want is to use the visuals provided by your OS that integrates with Microsoft Teams. You can do so by using the notification settings panel within the app.
Step by step guide on managing the appearance and sound of Microsoft Teams notifications.
Below I have included a step-by-step guide on setting the sound and appearance of notifications in Microsoft Teams. The steps include visual screenshots to help users better understand managing appearance and sound in Microsoft Teams.
- Firstly, open Microsoft Teams.
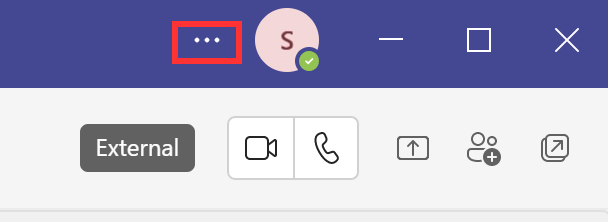
- Access “Settings and more” by clicking on the three dots.
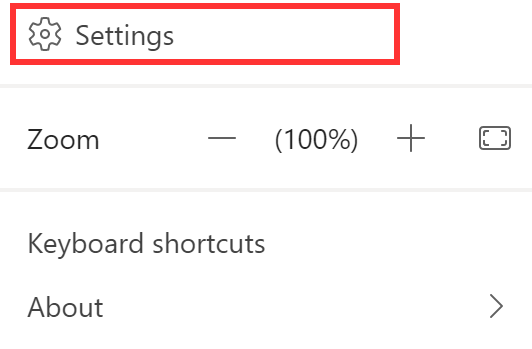
- From there, click on “Settings.”
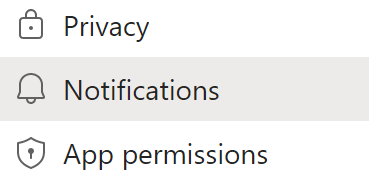
- Now click on “Notifications.”
- Finally, change the “Notification style” dropdown to your preference.
You have two options for changing the style of your notifications; you can either have the default notification style from Microsoft Teams or use the OS version of notifications. Regardless of what you choose, the notification prompt will always be in the bottom right corner of the display; it’s the most optimal location on your desktop as it’s both not obstructive and looks minimal.
In-depth, step-by-step guide [with screenshots] – on managing the appearance and sound of Microsoft Teams notifications.
Here is a more in-depth guide on changing and managing notification styles in Microsoft Teams. The guide includes a series of visual imagery to help you better understand the process and allow you to follow along even if you don’t fully understand the steps.
- Firstly, open Microsoft Teams.

- Access “Settings and more” by clicking on the three dots.

- From there, click on “Settings.”
- Now click on “Notifications.”
- Finally, change the “Notification style” dropdown to your preference.
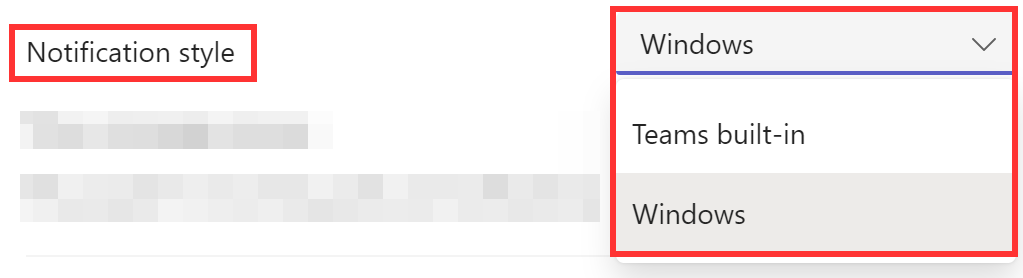
You may choose between using the default notification style from Microsoft Teams or using the OS version of notifications to change the design of your alerts. Whatever you pick, the notification prompt will always appear at the bottom right corner of the screen; it’s the best spot on your desktop since it’s hidden and attractive.
What do the notification styles look like for Microsoft Teams

Teams in built for Mac:
This is what the notification prompt looks like for Mac OS devices; the prompt shows in the top right corner of the display; here, we can see the color is solid and reminiscent of the Teams color pallet for Mac OS devices.
Mac OS for Teams:
This is the Mac OS prompt for Teams notifications. The opaque and translucent style is adopted from the Mac UI to keep the theme consistent.
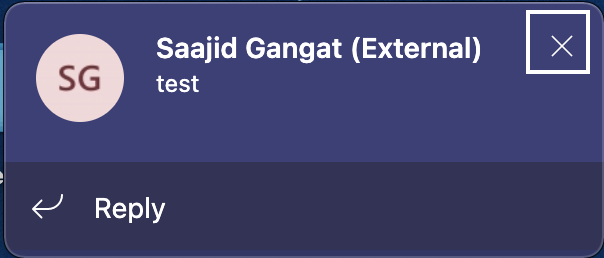
Teams in built for Windows:
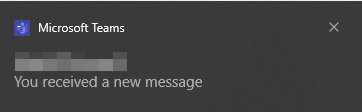
This is what the Teams inbuilt notification prompt for Windows looks like; here, we can see the color pallet is reminiscent of the app itself.

Windows OS for Teams:
This is what the Windows notification for Teams looks like. It’s pretty much in line with what the Windows UI offers in color pallet and style.

How to set custom notification prompts for both teams and channels.
Changing the appearance and looks of your Team’s notification prompts also helps to funnel exactly what type of notification you want. Whether you want the prompt to show or not, or you want to allow prompts for certain notification types, you can achieve this using specific settings within the program. Read through for more information on how you can achieve this.
- Firstly, open Microsoft Teams app or browser client.
- Now click on “Settings and more,” illustrated by three dots.
- From there, click on “Settings.”
- After that, click on “Notifications.”
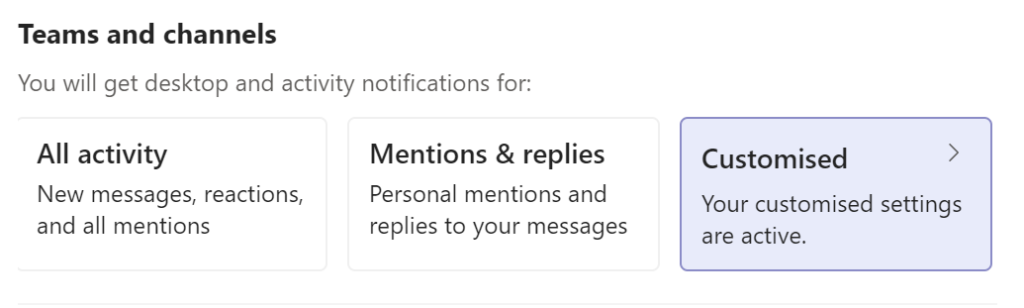
- Under “Teams and channels,” click on “Customised.”
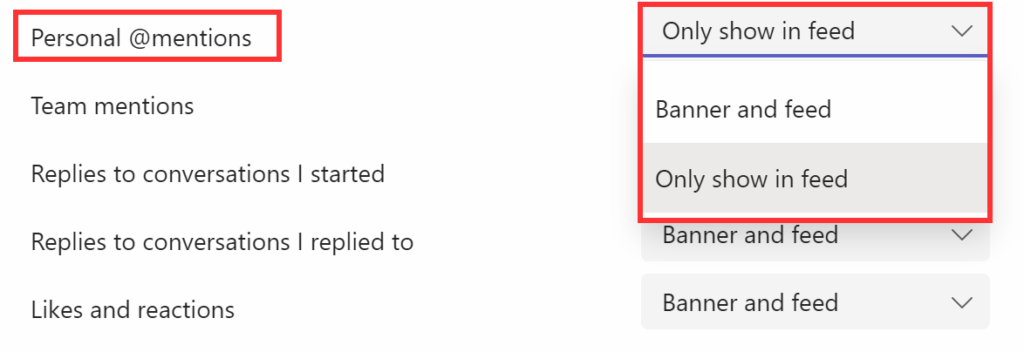
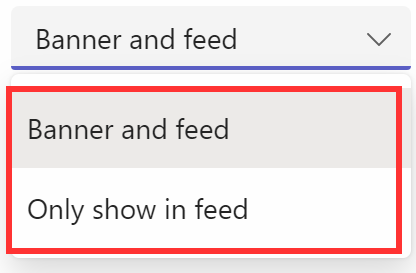
- For each option, either select “Banner and feed” or “Only show in feed.”
- Once you are done, you can close the settings panel.
Once the steps have been completed, you will be able to customize the notification prompts and manage them in a way that suits your preferences. If there is a notification that says you want to only show in the inbox feed, you can change those settings to “Only show in feed” this will prevent the notification from showing in the banner, and it will only show in the inbox feed.
In-depth, step-by-step guide [with screenshots] – Setting custom notification prompts for both teams and channels.
Here is a more in-depth guide on setting custom notification prompts in Microsoft Teams; this guide features screenshots that provide visual context on the steps illustrated above; this will allow you to better understand the steps and proceed without any issues understanding what the steps want.
- Firstly, open Microsoft Teams app or browser client.

- Now click on “Settings and more,” illustrated by three dots.

- From there, click on “Settings.”

- After that, click on “Notifications.”

- Under “Teams and channels,” click on “Customised.”
- For each option, either select “Banner and feed” or “Only show in feed.”
- Once you are done, you can close the settings panel.

That’s all; once you’ve finished the steps, you’ll be able to customize and control the notification prompts according to your preferences. If you want a notice to appear in the inbox feed, alter the notification’s settings to “Only display in the feed;” this will prevent the notification from appearing in the banner and only appearing in the inbox feed.
What will the custom notification prompts show?
How to manage chat and meeting notifications in Microsoft Teams.
The final notification management steps id like to cover are for chats and meeting prompts; these are important for many users of Microsoft Teams as it directly governs the notifications for pretty much the entire communications base for Teams. Knowing how to manage these is crucial; follow the guide below to see how you can manage chat and meeting notifications in Microsoft Teams.
- Firstly, open the Teams app or browser.

- Now click on the “Settings and more option.”
- From there, click on “Settings.”

- Now click on “Notification.”

- After that, scroll down to “Chat” and click on “Edit.”

- Again, change the option to either “Banner and feed” or “Only show in feed.”
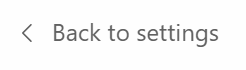
- Now click on “Back to settings.”
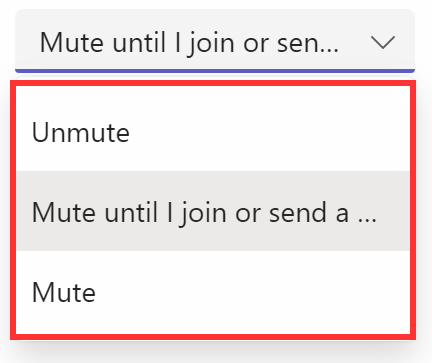
- Select “Edit” next to “Meetings and Calls.”

- Finally, select one of the three options and close the panel.
Once the steps above have been completed, you will have successfully edited the notifications for both meetings and chats in Teams. This option helps in allowing you to properly manage the notification in a way that suits your preference. You can choose to keep the options for certain notification prompts or reject them upon request.
Conclusion
With the final steps evaluated, this concludes the blog; we hope the answers provided above give you good context on managing notifications in Microsoft Teams. If there are any areas of concern or you require more assistance to proceed, please add a comment, and we will aim to resolve any issues you may have when following the steps or with any element of the blog.