Users can screenshot Microsoft Teams using software without the host knowing about it; this can be done for many reasons, such as saving content that was covered in the meeting for a later time. This process won’t notify the host, but people want to know if you can prevent this from happening.
The simple answer is no; there is no way to prevent users from screenshotting other people’s content while writing this. The only way this would change would be if people go to Microsoft Teams Uservoice and request the change, and there is a chance they will make it a feature.
Content list
- Can you prevent screenshotting in Microsoft Teams?
- What software can take screenshots
- How to take screenshots on Snipping Tool
- How to take screenshots on Greenshot
- Conclusion
Can you prevent screenshotting in Microsoft Teams?
While Microsoft Teams won’t stop you from screenshotting anything, it also won’t send a notification whenever someone screenshots; this is the same for any screenshot software, even those on your device by default, such as Microsoft’s Snipping Tool.
Microsoft Teams doesn’t have any screenshotting option, so users will have to use a default system screenshotting software or download some third-party software. This kind of software lets users take screen captures of anything on their screen no matter what software they are using; this includes Microsoft Teams and its many features like chats, calls, meetings, and its ability to import excel and other documents.
There isn’t a solution to this, but people in the Microsoft community recommend leaving a request and sending a post to the Microsoft engineers on Uservoice. UserVoice is a place where people can send suggestions for any features they want to be added to Microsoft Teams in the future. You can do this by going to Microsoft teams Uservoice.

What software can take screenshots
There are dozens or even hundreds of apps and software that you can download to take a screenshot, the level of quality and ease of use does vary, but most of them are at least decent. A few of these examples include Greenshot and Microsoft Snipping tool, which I will cover in this article in more detail, and how to use them. Greenshot, like many others, needs to be downloaded, but the Microsoft Snipping tool doesn’t.
How to take screenshots on Microsoft Snipping Tool
As it is with most screen capture apps, you can use a shortcut key/keybind to activate it— this is the same for the Microsoft Snipping Tool, which is the software that will be already downloaded and built into your system; this tool has been a part of Windows since it was released in 2002 on Windows Vista, and it is still around today. To way to active, this tool is by pressing “Windows key + Shift + S,” this will bring up a cursor to drag over a space to take a screenshot and a few other options I will cover.
Rectangular Snip
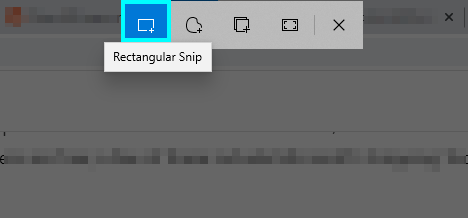
Rectangular Snip is the default choice when you press the shortcut; this lets you choose an area in a square or rectangular box. The best time to use this is when there is a group of data, an image, or a large amount of text, and it can be used to ignore things in the background; for this article, I have screenshotted the google search bar and home logo.

Freeform Snip
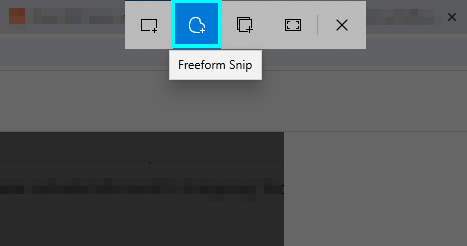
The Freeform snip tool allows you to use the mouse to capture whatever you want freely. You can draw it in any way you want; for example, you can try to circle whatever you want; however, it will appear crude if you want to share the screenshot with someone.

Window Snip
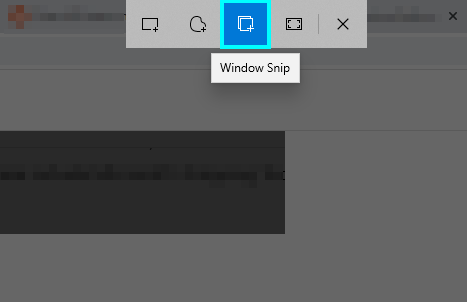
The Window Snip option lets you click once on the screen, and it will take a screenshot of whatever Window you have open; this can be useful when you need to show everything on the screen to someone, and it won’t show the taskbar as well. The main issue with this is because it shows the whole screen, it can make it more challenging to see the more minor details on the capture,
Full-screen Snip
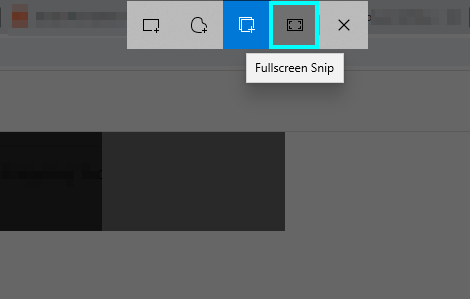
The final option is the fullscreen snip screenshot, this lets you press fullscreen snip once, and it will take a screenshot of the whole screen, including the taskbar.
Editing the screenshots
After taking a screenshot using this tool, you can click on the smaller icon that will appear on the side of the screen, and it will open it up in an editor; this will allow you to edit the image by sketching over and drawing on it.
Screenshot saved to clipboard pop up.
Snip & Sketch homepage
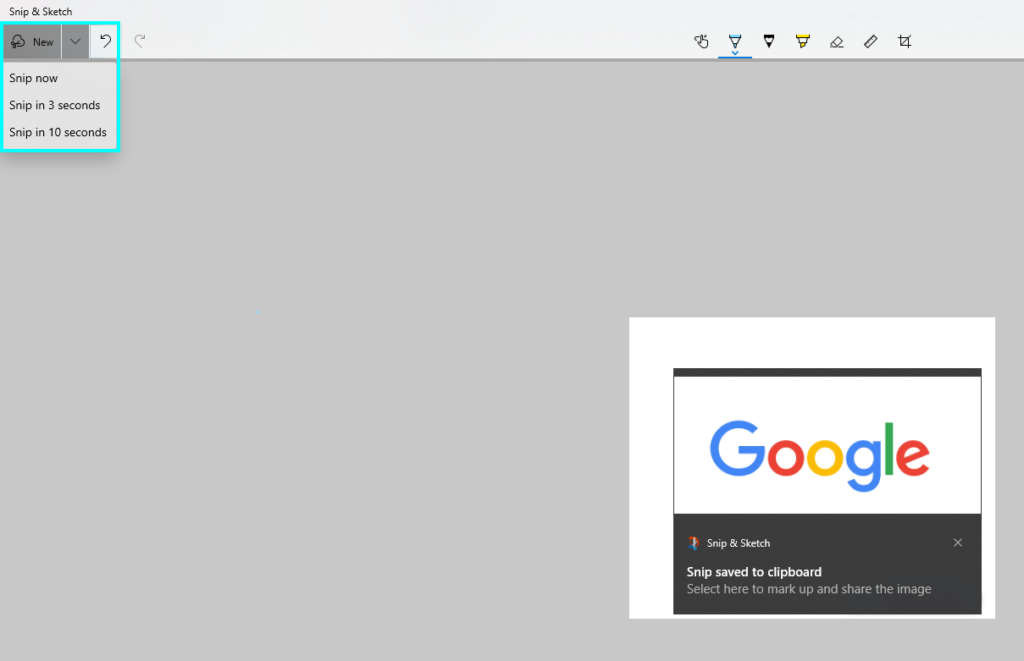
New + Timed Screenshots
Editing Options
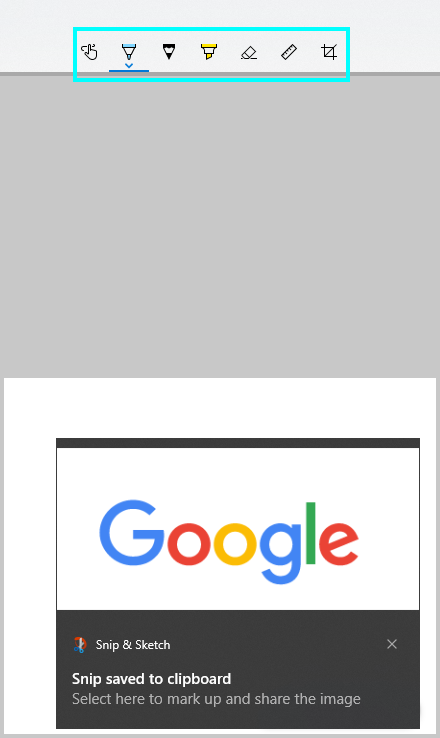
The editing options available to you are:
| Editing Option | What it does |
| Touch Writing | Allows you to draw freely with the mouse. |
| Ballpoint Pen | Draws with a solid line that you can use to draw over an image. |
| Pencil | Draws with a digitalized pencil that can be dragged with the mouse, not as solid as the pen. |
| Highlighter | Allows you to highlight certain parts of an image. |
| Eraser | Removes any other editing you have done. |
| Ruler | Shows a digital rule that can display angles. |
| Image Crop | Allows you to crop an image and change how big it is. |
Greenshot
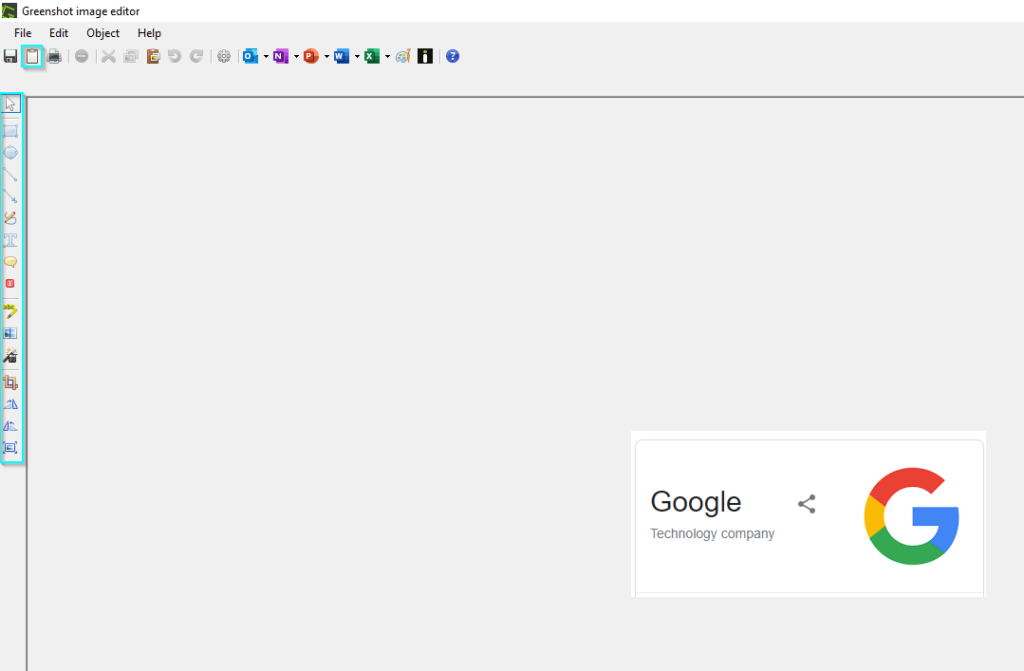
Another screenshotting software I am going to cover is “Greenshot.” This software is free for Windows users and will cost $1.99 on Mac. Like most screenshotting software, it can be activated by a shortcut; for Greenshot, you need to press the “Print Screen” button, then drag over whatever you want. It will open a new window with more extensive editing options.
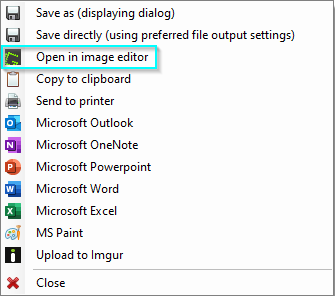
List of options after dragging the cursor
List of editing options
After you edit the image in a way that you want, you can choose to save it or press the clipboard icon to copy it, and then you can paste it elsewhere.
Conclusion
In conclusion, there is no way to prevent people from screenshotting things in Microsoft Teams, as well as there is no way to be notified when someone takes a screenshot on Teams.