There may be a number of scenarios you find yourself in where having a different display or view of your document library in SharePoint Online would be so much more convenient that the default view. For example, if you want to view your document library as tiles so you can see the file extension icons and the created-by fields just by looking at the document library, or you might even want to create a completely new view. In this blog post, we will explore how to change and customize your document view in SharePoint Online.
How to change your document library view:
- Go to the site where your document library is
- Select the document library you want to make changes to
- From the right hand side of the command bar, select ‘All Documents’
- From The drop down list, click on the view that you’d like to choose (list, compact list, tiles)

How to customize your document library view:
- Go to the site where your document library is
- Select the document library you want to make changes to
- From the right hand side of the command bar, select ‘All Documents’
- From the drop down list, select ‘Create new view’
- Under ‘view name’ enter the name for your new view.
- Under ‘show as’ select the type of view you want to create (list, calendar, gallery)
- If you select calendar view, enter a start and end date on the calendar
- If you want to change the how the title of the items appear on the calendar, click on ‘more options’
- Then click in the title box and select a title from the drop down list
- Once all your options are entered and selected, click on ‘Create’
Why customize your document library view?
As briefly mentioned above, there are many situations you may be in where changing or customizing your document library view in SharePoint Online can prove to be helpful. It allows you to display your items and documents in a way that makes sense for you and your needs. Customizing your document library means you can adjust and rearrange the order of your files and documents or group items to create a view that is more organised, resulting in easier access and efficiency. Once you have created your new customized view, a link to the custom view will appear in the view menu at the top right corner of the document library page where you created the view.
Step by step process of changing your document library view:
- Go to the site where your document library is
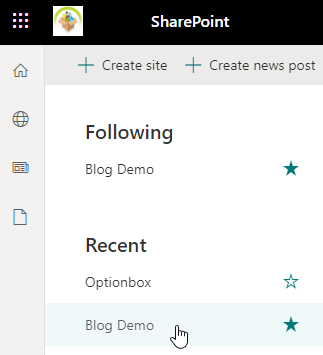
For the purpose of this demonstration, I will go to my ‘Blog Demo’ site.
- Select the document library you want to make changes to

Since my files are stored in the ‘Documents’, this is the document library I will be selecting.
- Then select ‘All Documents’

The ‘All Documents’ option can be found on the right hand side of the command bar.
- From The drop down list, click on the view that you’d like to choose

The document library view options include list, compact list, and tiles.
Here is what each document view option looks likes
| Document library view option | Display |
| List | 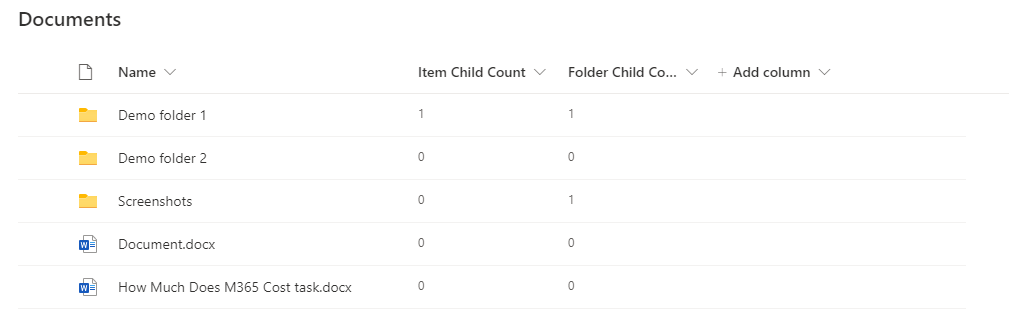 |
| Compact list |  |
| Tiles |  |
Step by step process of customizing your document library view:
- Go to the site where your document library is
For the purpose of this demonstration, I will go to my ‘Blog Demo’ site.
- Select the document library you want to make changes to
Since my files are stored in the ‘Documents’, this is the document library I will be selecting.
- Then select ‘All Documents’
The ‘All Documents’ option can be found on the right hand side of the command bar.
- From The drop down list, select ‘Create new view’
- Under ‘view name’ enter the name for your new view.

For the purpose of this tutorial, I have called this view ‘Calendar’ as I will be selecting the calendar view in the next step.
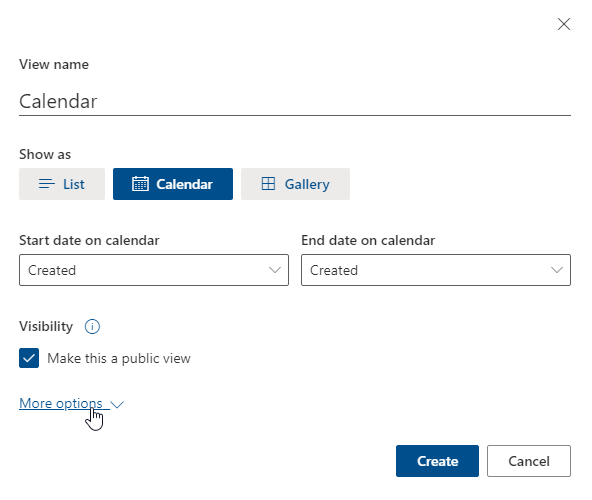
- Under ‘show as’ select the type of view you want to create

The options include list, calendar, and gallery.
- If you select calendar view, enter a start and end date on the calendar

- If you want to change the how the title of the items appear on the calendar, click on ‘more options’
- Then click in the title box and select a title from the drop down list
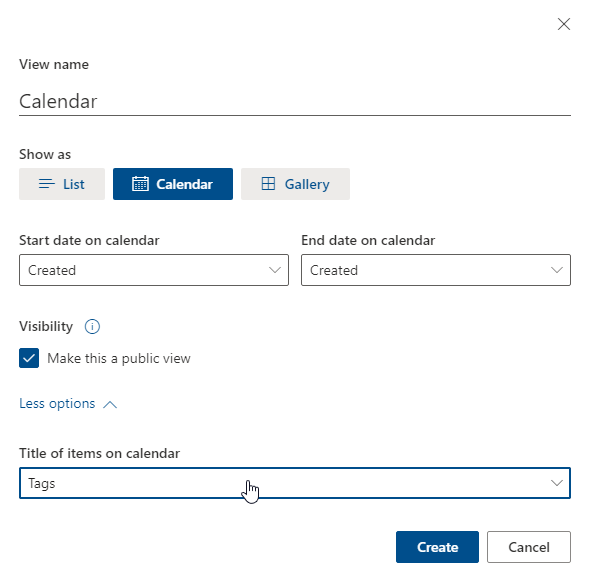
For example, I selected the title ‘Tags’ from the drop down list.
- Once all your options are entered and selected, click on ‘Create’

Thanks for reading! We hope this blog post has been helpful. If you have any further questions, feel free to leave a comment and we’ll be more than happy to help.