SharePoint allows users to upload and store files from the local desktop. However, sometimes users may encounter an issue preventing them from uploading their files. The user will be faced with an error stating, “Cannot load a resource from a ResourceScope that has been disposed of.” In this blog, I will provide a couple of solutions you can use to help fix this error.
- The first solution is to check your storage metrics to make sure you have enough space within SharePoint. You will need to access the Site settings section, and then you will be able to enter the storage metrics area.
- The second solution is to return to the classic version of SharePoint and upload a file. Uploading a file via the classic version of SharePoint will allow you to remove a checkmark that reforms the content to the current version accepted by SharePoint. Returning to classic SharePoint will help fix the error, as a resource section in SharePoint can receive the file.
To ensure that you have consistent information on what you need to fix the error, I highly suggest you go through both methods provided so you can complete the process without issues.
- Check storage metrics in the Site setting section of SharePoint to fix the error.
- What can you do to upload a file using the classic version of SharePoint to fix the error?
How to check storage metrics in the Site setting section of SharePoint to fix the error
A lack of storage space can be a potential cause for content not uploading to SharePoint. So the first solution is to check your storage metrics to ensure enough space is available for upload.
- Firstly, open Office 365.
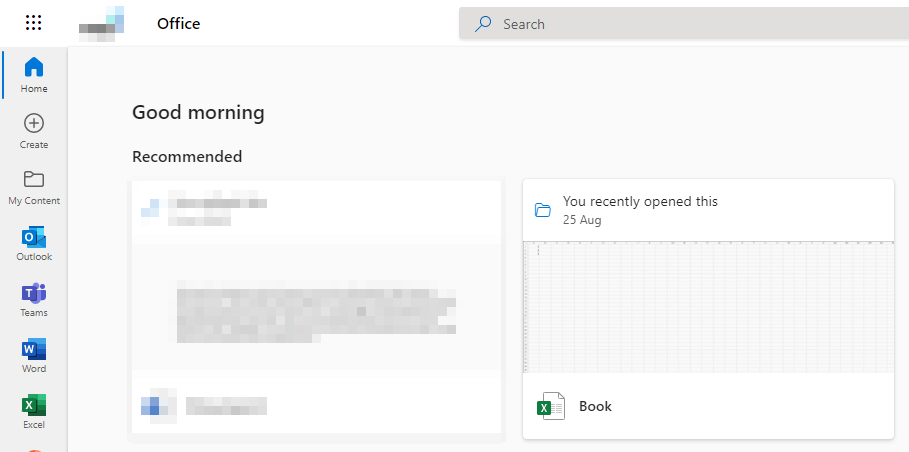
To begin the process, open Office 365 and log in with your credentials.
- Now click on the launcher.
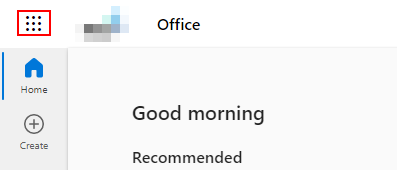
Nine dots illustrate the launcher in Office 365 on the top left-hand side of the Office 365 dashboard.
- Click on the option for SharePoint.
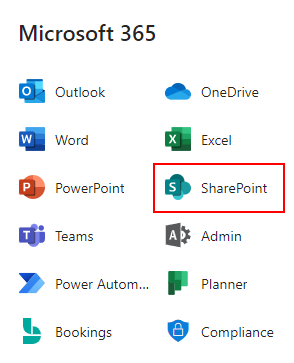
From the list of different applications, click on SharePoint.
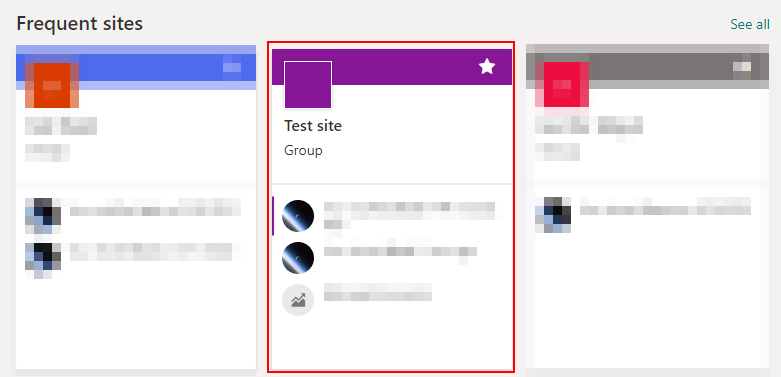
- Choose one of your sites.
- Click on the “Settings” icon followed by “Site information.”
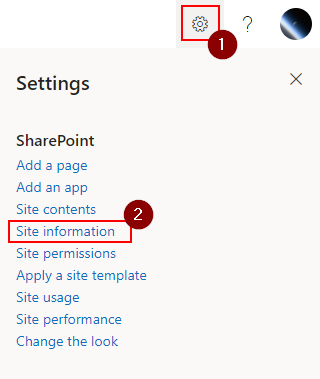
When you open your site, click on the cog icon to open settings. You then need to click on the “Site information” link.
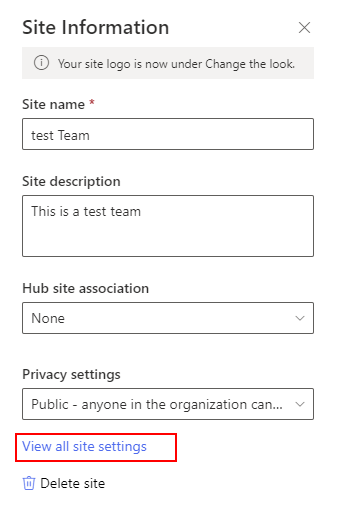
- From there, click on “View all site settings.”
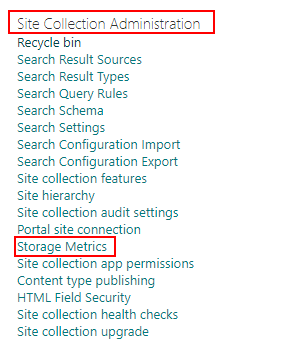
- Under “Site Collection Administration,” choose “Storage Metrics.”
- View the storage metrics on the top-right side.
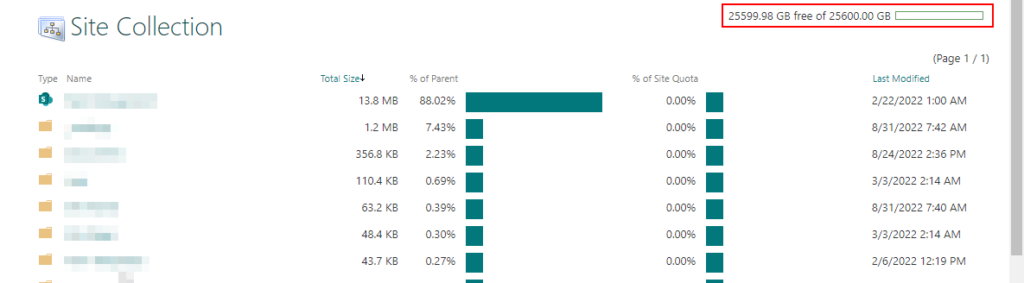
You can view your storage information on the right side of the display. Here you can view information such as how much space a piece of content is using and how much content is on your SharePoint site overall.
- Remove any files or folders that are no longer required to create space.
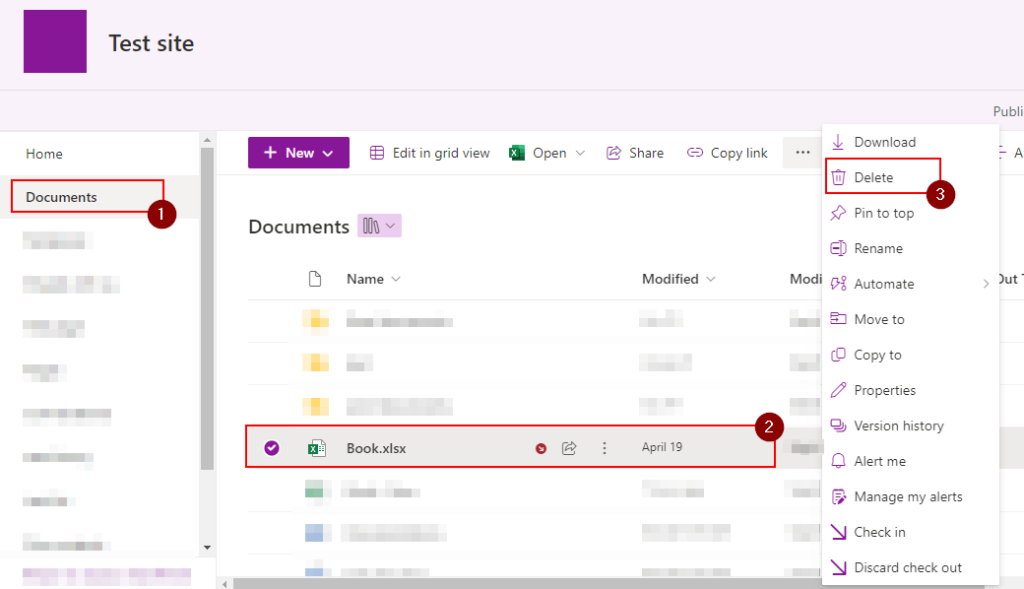
To remove a file, you will need to go into the location of that file and then proceed from there. To select the file, click on the three dots and then click on the option for Delete. File deletion will occur once the process is complete. Deleting the file or folder will also restore the storage allowing you to upload more content which will help to resolve the error.
Once you have completed the process, you will have managed to remove all unnecessary bits of information from your SharePoint site, which will make way for new content. If you have unnecessary bits of information in this section and it is taking a space that prevents you from uploading new content, you can remove it and then try uploading the file. If you complete all the steps, you can upload a file without the error showing.

What can you do to upload a file using the classic version of SharePoint to fix the error?
The second solution is to return to the classic version of SharePoint and then try to upload the file using the following method. The classic version of SharePoint offers uses additional features that are unavailable in the newer versions.
These additional features are why Microsoft decided to keep the old version of SharePoint available for its users so they can access these extra features. Of these additional features, the classic version of SharePoint allows users to upload a file which automatically reforms to the version that SharePoint uses.
- Firstly, open SharePoint.
- Select one of your sites.
- Now click on “Return to classic SharePoint.”

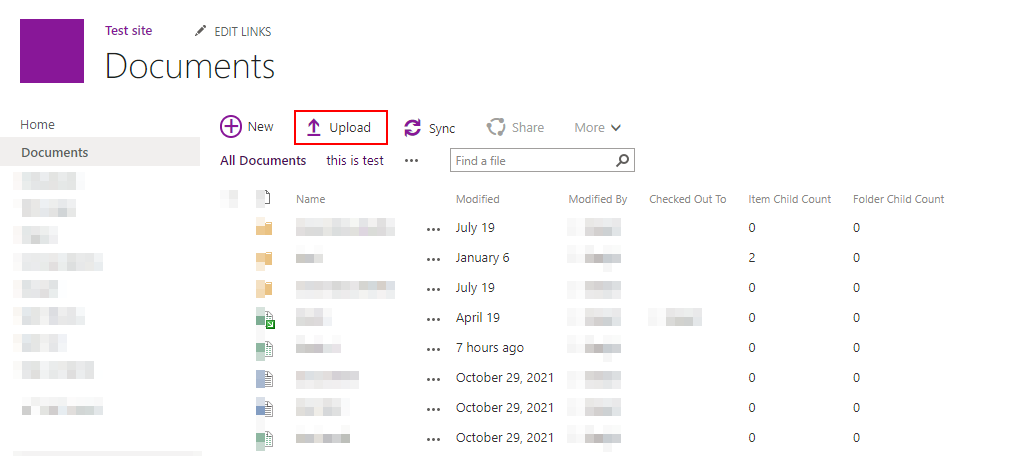
- Click on the option for “Upload.”
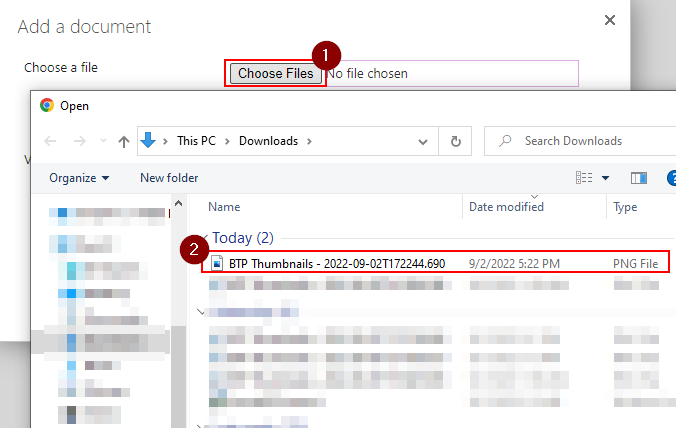
- Click on “Choose files” and then select one of your files.
- Make sure you uncheck the box that says “Add as a new version to existing files.”

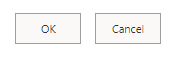
- Press “OK” to complete the process.
If you have done all the steps, you can upload a file without the error showing. A resource issue causes an upload error that prevents you from uploading content. But you can work around this problem by uploading a file with consistent formatting.
Conclusion
Thank you for reading our content on how you can fix the SharePoint upload error. I have provided two different methods you can use to help resolve the error in SharePoint. We have tested both solutions to ensure they work and yield the required results. If you need further assistance with the steps, drop a comment below, and we will address the issues.