Microsoft Outlook offers a mail tracking system that helps users track sent mail to see if it has reached the end-user or not. This form of tracking documentation is called delivery receipts, and they are used to verify that your email message was sent to the recipient’s inbox, but it does not imply that the recipient has seen or read it. Microsoft Outlook will state that the message was opened, as evidenced by a read receipt displayed to you. The message receiver in Outlook has the option to opt-out of receiving read receipts. Read receipts are also not delivered in other cases, such as when the recipient’s email software does not support them. A receiver cannot be forced to send a read receipt. So how do you add a read receipt? Follow the steps below to see exactly how.
Step by step process: How to add a read receipt in Outlook?
- Firstly, sign into Outlook.
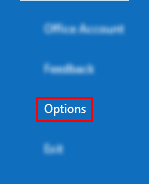
- Now go to “File”.
- From there go to “Options”.
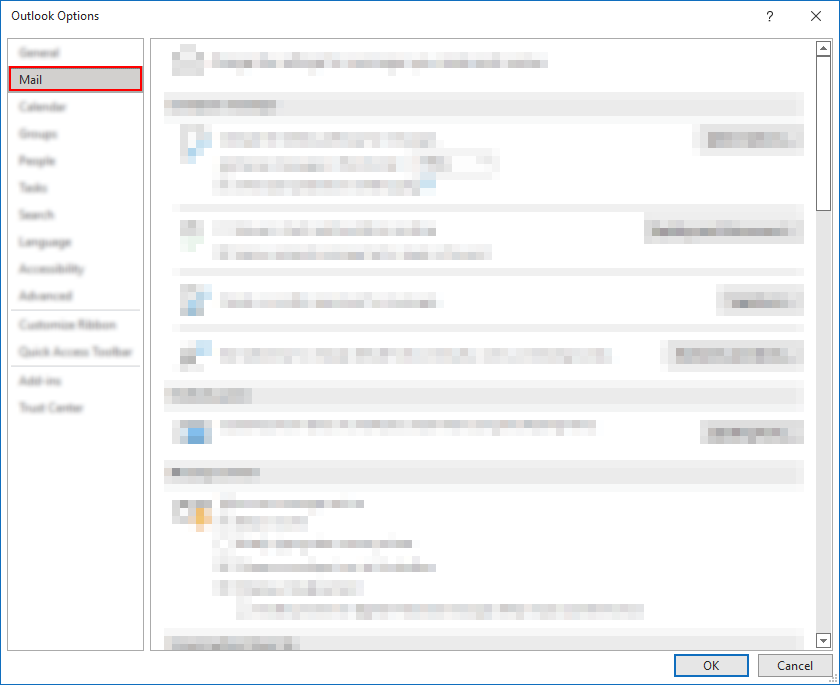
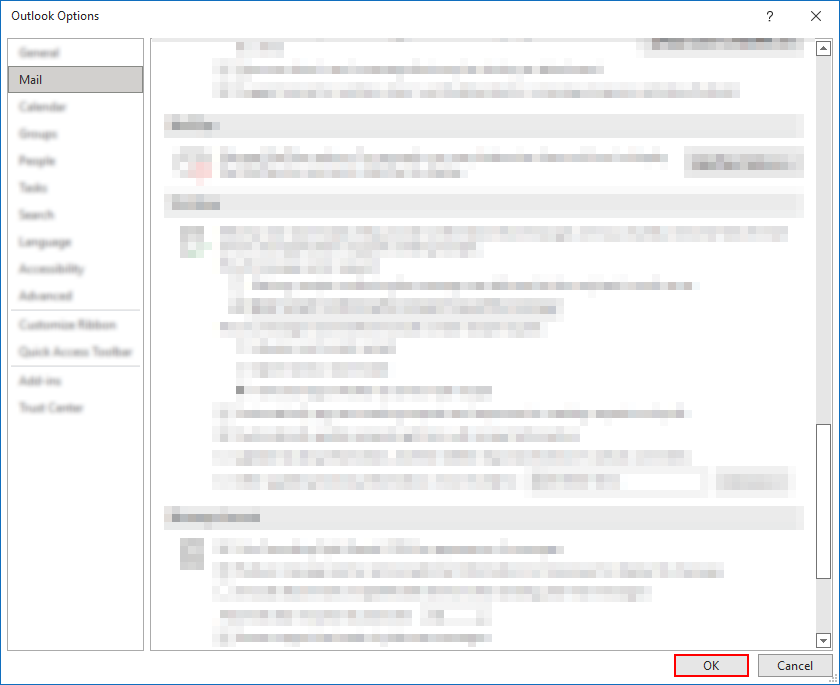
- You now need to go to “Mail”.
- Under “Tracking”, select “Read receipt confirming the recipient viewed the message” check box.
- Click OK to apply your changes.
A delivery receipt verifies that your email message was sent to the recipient’s inbox, but it does not imply that the recipient has seen or read it. Your message was opened, as evidenced by a read receipt.
The message receiver in Microsoft Outlook can opt out of receiving read receipts. Read receipts are also not delivered in other cases, such as when the recipient’s email software does not support them.

Mail Delivery reports to add a read receipt in Outlook:
For e-mail communications you send to other individuals, Outlook allows you to request delivery and read receipts. Microsoft Outlook 2010 and subsequent versions of Outlook allow you to select how you wish to respond to read receipt requests that are delivered to you with e-mail communications.
Step by step: Enable mail delivery reports:
- To enable a delivery report for a single email, go to the settings tab and tick the box next to “Request a Delivery Report” under tracking. Your email will now include a delivery report option.
- To see the delivery reports, open the email message from your sent items folder, click the file tab, and then pick Info from the drop-down menu. The ability to open a delivery report may be found under Info.
- When you access the delivery report, it will provide information on the message delivery.
Get mail confirmation:
A delivery receipt verifies that your email message was sent to the recipient’s inbox, but it does not imply that the recipient has seen or read it. Your message was opened, as evidenced by a read receipt.
The message receiver in Microsoft Outlook can opt out of receiving read receipts. Read receipts are also not delivered in other cases, such as when the recipient’s email software does not support them.
Get Mail tracking in Outlook to add a read receipt in Outlook:
As well as adding a read receipt to confirm emails being received by the recipient you can also set up tracking to ensure the user displayed as the recipient has actually viewed the sent email. Follow the instructions below to see how you can set up email tracking.
Consider monitoring just important communications rather than all messages as a best practice. Recipients who are notified only infrequently that a read receipt is required on your message are more likely to send one than those who are alerted every time they get a message from you.
Step by step: How to set up mail tracking
- Select File from the drop-down menu.
- Select Options from the dropdown menu.
- Select Mail.
- Select the Delivery receipt proving the message was sent to the recipient’s email server or the Delivery confirmation certifying the message was delivered to the recipient’s email server under Tracking. Check the box to ensure the recipient saw the message on the read receipt.
Track only one mail:
Select the Request a Delivery Receipt or Request a Read Receipt check box on the message’s Options tab, Tracking group.
Response receipt tracking:
- Open the original message you sent with a delivery or read receipt request. The Sent Items folder is generally where you’ll see this message.
- Click Tracking in the Show group on the Message tab.
The tracking feature isn’t available until at least one receipt has been received. It may take several minutes for the Tracking button to appear once you receive the first receipt in your Inbox.
In depth step by step process: How to disable the auto-complete feature in Outlook?
Step by step breakdown:
- First, sign into Outlook.
You will need to sign in with the application version as this process will only work on the application version of Outlook.
- Go to “file” in the toolbar at the top.

As mentioned above the file option and the application version are the only ways to edit the add-ins as the web version does not directly sync add-in data with your desktop as there is no connected output, unlike the application version.
- From there visit “options”.
Options are located at the bottom of the menu bar on the left side.
- You now need to go to “Mail”.
Mail is the option where you will be able to manage email-based including the auto-complete feature.
- Under “Tracking”, select “Read receipt confirming the recipient viewed the message” check box.
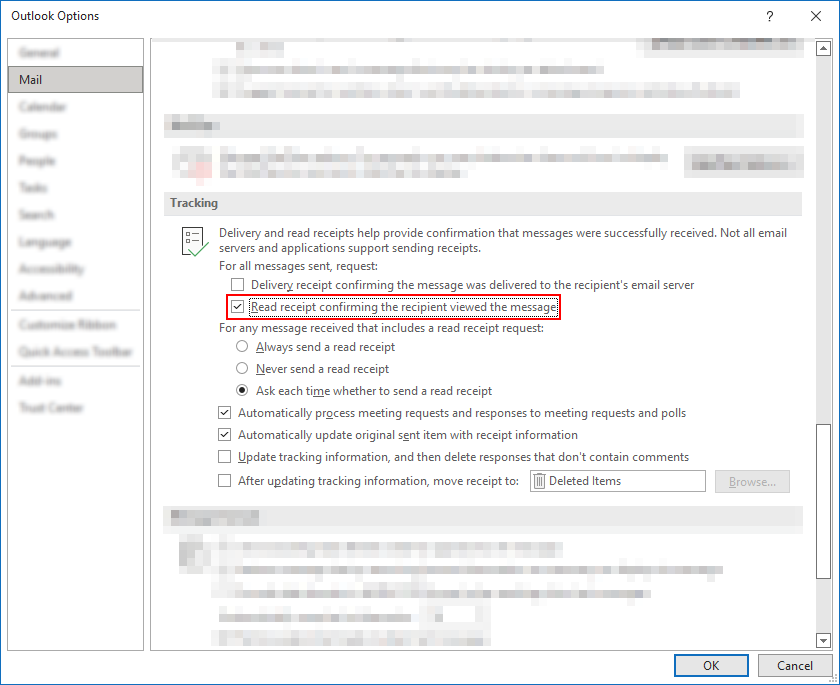
Selecting “Read receipt confirming the recipient viewed the message” will allow users to receive a confirmation receipt that the mail has been viewed by the recipient. The one above can also be selected and what this will do is allow for the sender to receive a confirmation that the sent email or message via email has been successfully delivered to the recipient’s email address or company-associated mailbox.
- Click OK to apply your changes.
That’s it for this Blog — thank you for taking time out to read our content. Please feel free to email our team about how it went if you followed the steps or if you need more help with the questions we answered in this Blog.