HR and IT departments of organizations that use Office 365 may be concerned when an employee leaves. That is because incorrect termination procedures can result in data loss or security implications. So converting a standard user account to a shared mailbox will be helpful if you are about to fire an employee. Here, I will demonstrate how to change a user’s mailbox in Office 365 from a general user mailbox to a shared one after the person has left the company.
Convert a user’s mailbox to a shared mailbox in Office 365:
- Firstly, open Office 365.
- Click on the launcher followed by “Admin.”
- From the list of admin centers, select the one called “Exchange.”
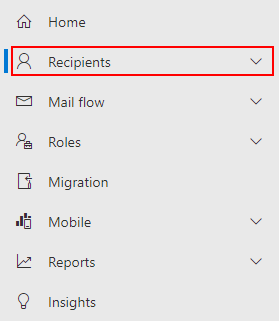
- In the exchange admin dashboard, click on the drop-down for “Recipients.”
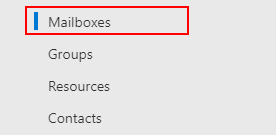
- From the recipient drop-down, click on the option called “Mailboxes.”
- In the Manage mailboxes section, select a terminated user.
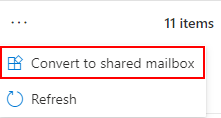
- Click on “More options,” illustrated by three horizontal dots.
- Now click on the option for “Convert to shared mailbox.”
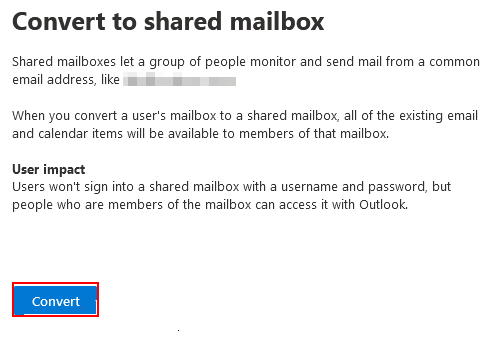
- Click on “Convert” to complete the process.
Upon completion, you will have converted a standard user mailbox into a shared mailbox that executive members can access. You can now access the content of this mailbox to ensure there are no miscellaneous activities that could cause a potential security breach. You can also retain information and communications that may be stored in that mailbox.
Converting a regular mailbox into a shared one should be done immediately after a user leaves the organization. Do not hesitate, as they may still have access to the content in the organization. Converting to a shared mailbox will ensure that the information inside the mailbox is no longer compromised.
An in-depth guide on how to convert user mailbox to shared after user termination in Office 365
If you need help with the steps, you can use our in-depth guide, which includes a list of resources and screenshots to help you through the process.
- Firstly, open Office 365.
You will need admin permissions to complete these steps. A global administrator must assign you the correct permissions if you do not currently have them.
- Click on the launcher followed by “Admin.”
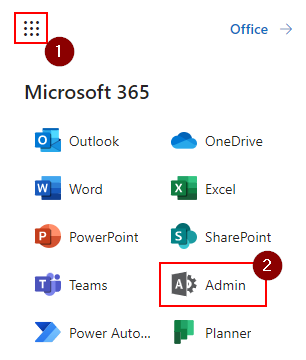
Nine dots illustrate the launcher in Office 365 in the left corner. You will need to click on this to access the applications. And from the applications, you will need to click on “Admin.” If you do not have permission, you will not be able to access the required options in the Admin center.
- From the list of admin centers, select the one called “Exchange.”
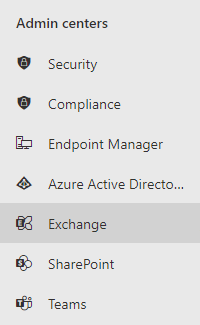
If you do not see the option for Exchange, you must click on the option “Show all.” Sometimes if you do not pin certain applications, they will not appear in the main menu.
- In the Exchange admin dashboard, click on the drop-down for “Recipients.”
- From the recipient, drop-down click on the option called “Mailboxes.”
- In the mailboxes section, select a terminated user.

- Click on “More options,” illustrated by three horizontal dots.

- Now click on the option for “Convert to shared mailbox.”
- Click on “Convert” to complete the process.

Here are some additional points to keep in mind when converting a regular account to a shared mailbox
Before changing the user mailbox to a shared one, the user’s mailbox must have a license. Otherwise, you won’t have the option to convert the mailbox. In that case, reinstall the license if you deleted it so you may convert the mailbox. Then you can delete the license from the user’s account after changing the user mailbox to a shared mailbox.
The user’s account password doesn’t need to be changed. The original username and password will still function on the shared mailbox once the conversion is complete if you don’t change the password. However, I suggest you change the password to protect the account.
How to block Office user sign-in for more security
If you have recently made changes to protect your company from users who have left an organization, you want to make sure they have no way to get back into the account. One way to do this is to block the sign-in process onto their user account. If you cannot instantly delete the user account, you can block their sign-in access to the account. If that user tries to log into their Office 365 account, they will get a restriction preventing them from entering.
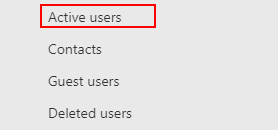
- In the Office 365 admin dashboard, click on “Users.”
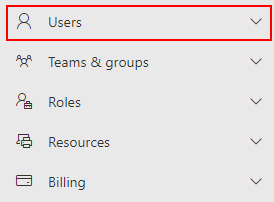
- From the user drop-down, click on “Active users.”
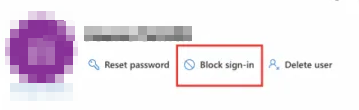
- Choose the user that has recently been terminated.
- Click on “Block sign-in.”
- Finally, click on “Save.”
Upon completion, you will have managed to restrict sign-in from terminated users. The user will no longer be able to access their Office 365 account as they have been restricted. If they have already signed into the account and they are active on the Office 365 program, the next action they perform will immediately lock them out.
Conclusion
Thank you for going through our guide and how you can convert a regular user mailbox into a shared mailbox for a user terminated from a company. I have provided the steps on how you can achieve this as well as an in-depth guide if you require further assistance. If you want to add an extra layer of security, I have also provided a guide on how you can block sign-in for the terminated user. If you need more help, drop a comment below, and we will address the issues.