Creating a multilingual SharePoint site can benefit organizations with a diverse user base. This feature enhances usability by presenting site navigation, titles, and descriptions in the user’s preferred language. Plus, you can easily translate news posts and other page content.
 This blog post will cover the following:

Once you’ve set the correct default language in SharePoint, you can turn it into a multilingual site. You will need to enable multilingual features and language options to do that. Then, you’ll need to create the pages for the languages of your choice. Finally, view the pages to ensure they are correctly translated.
How to create a multilingual SharePoint site:
| Multilingual features and languages | Creating translations pages |
|---|---|
| 1. Go to the SharePoint site. 2. Select ‘Settings,’ then ‘Site settings.’ 3. Go to ‘Site settings.’ 4. In ‘Site Administration,’ select ‘Language settings.’ 5. Switch the toggle to ‘On‘ for ‘Enable translation into multiple languages.’ 6. Choose a language from the drop-down list. 7. If you’re going to translate pages, start typing the name of a person you want to be a translator and then select the name from the list. 8. Select ‘Save.’ | 1. Go to the default language page. 2. Select ‘Translation.’ 3. If you want to create a page for translation for all languages available for your site, select ‘Create for all languages.’ If not, select ‘Create’ only for the languages you want. |

Creating a SharePoint Site: A Step-By-Step Guide
The Importance of the Default Language
Setting the correct default language is crucial when creating a SharePoint site. Once set, the default language cannot be changed. If you’ve set an incorrect default language, the only recourse is to create a new SharePoint site.
Steps to Create a New SharePoint Site
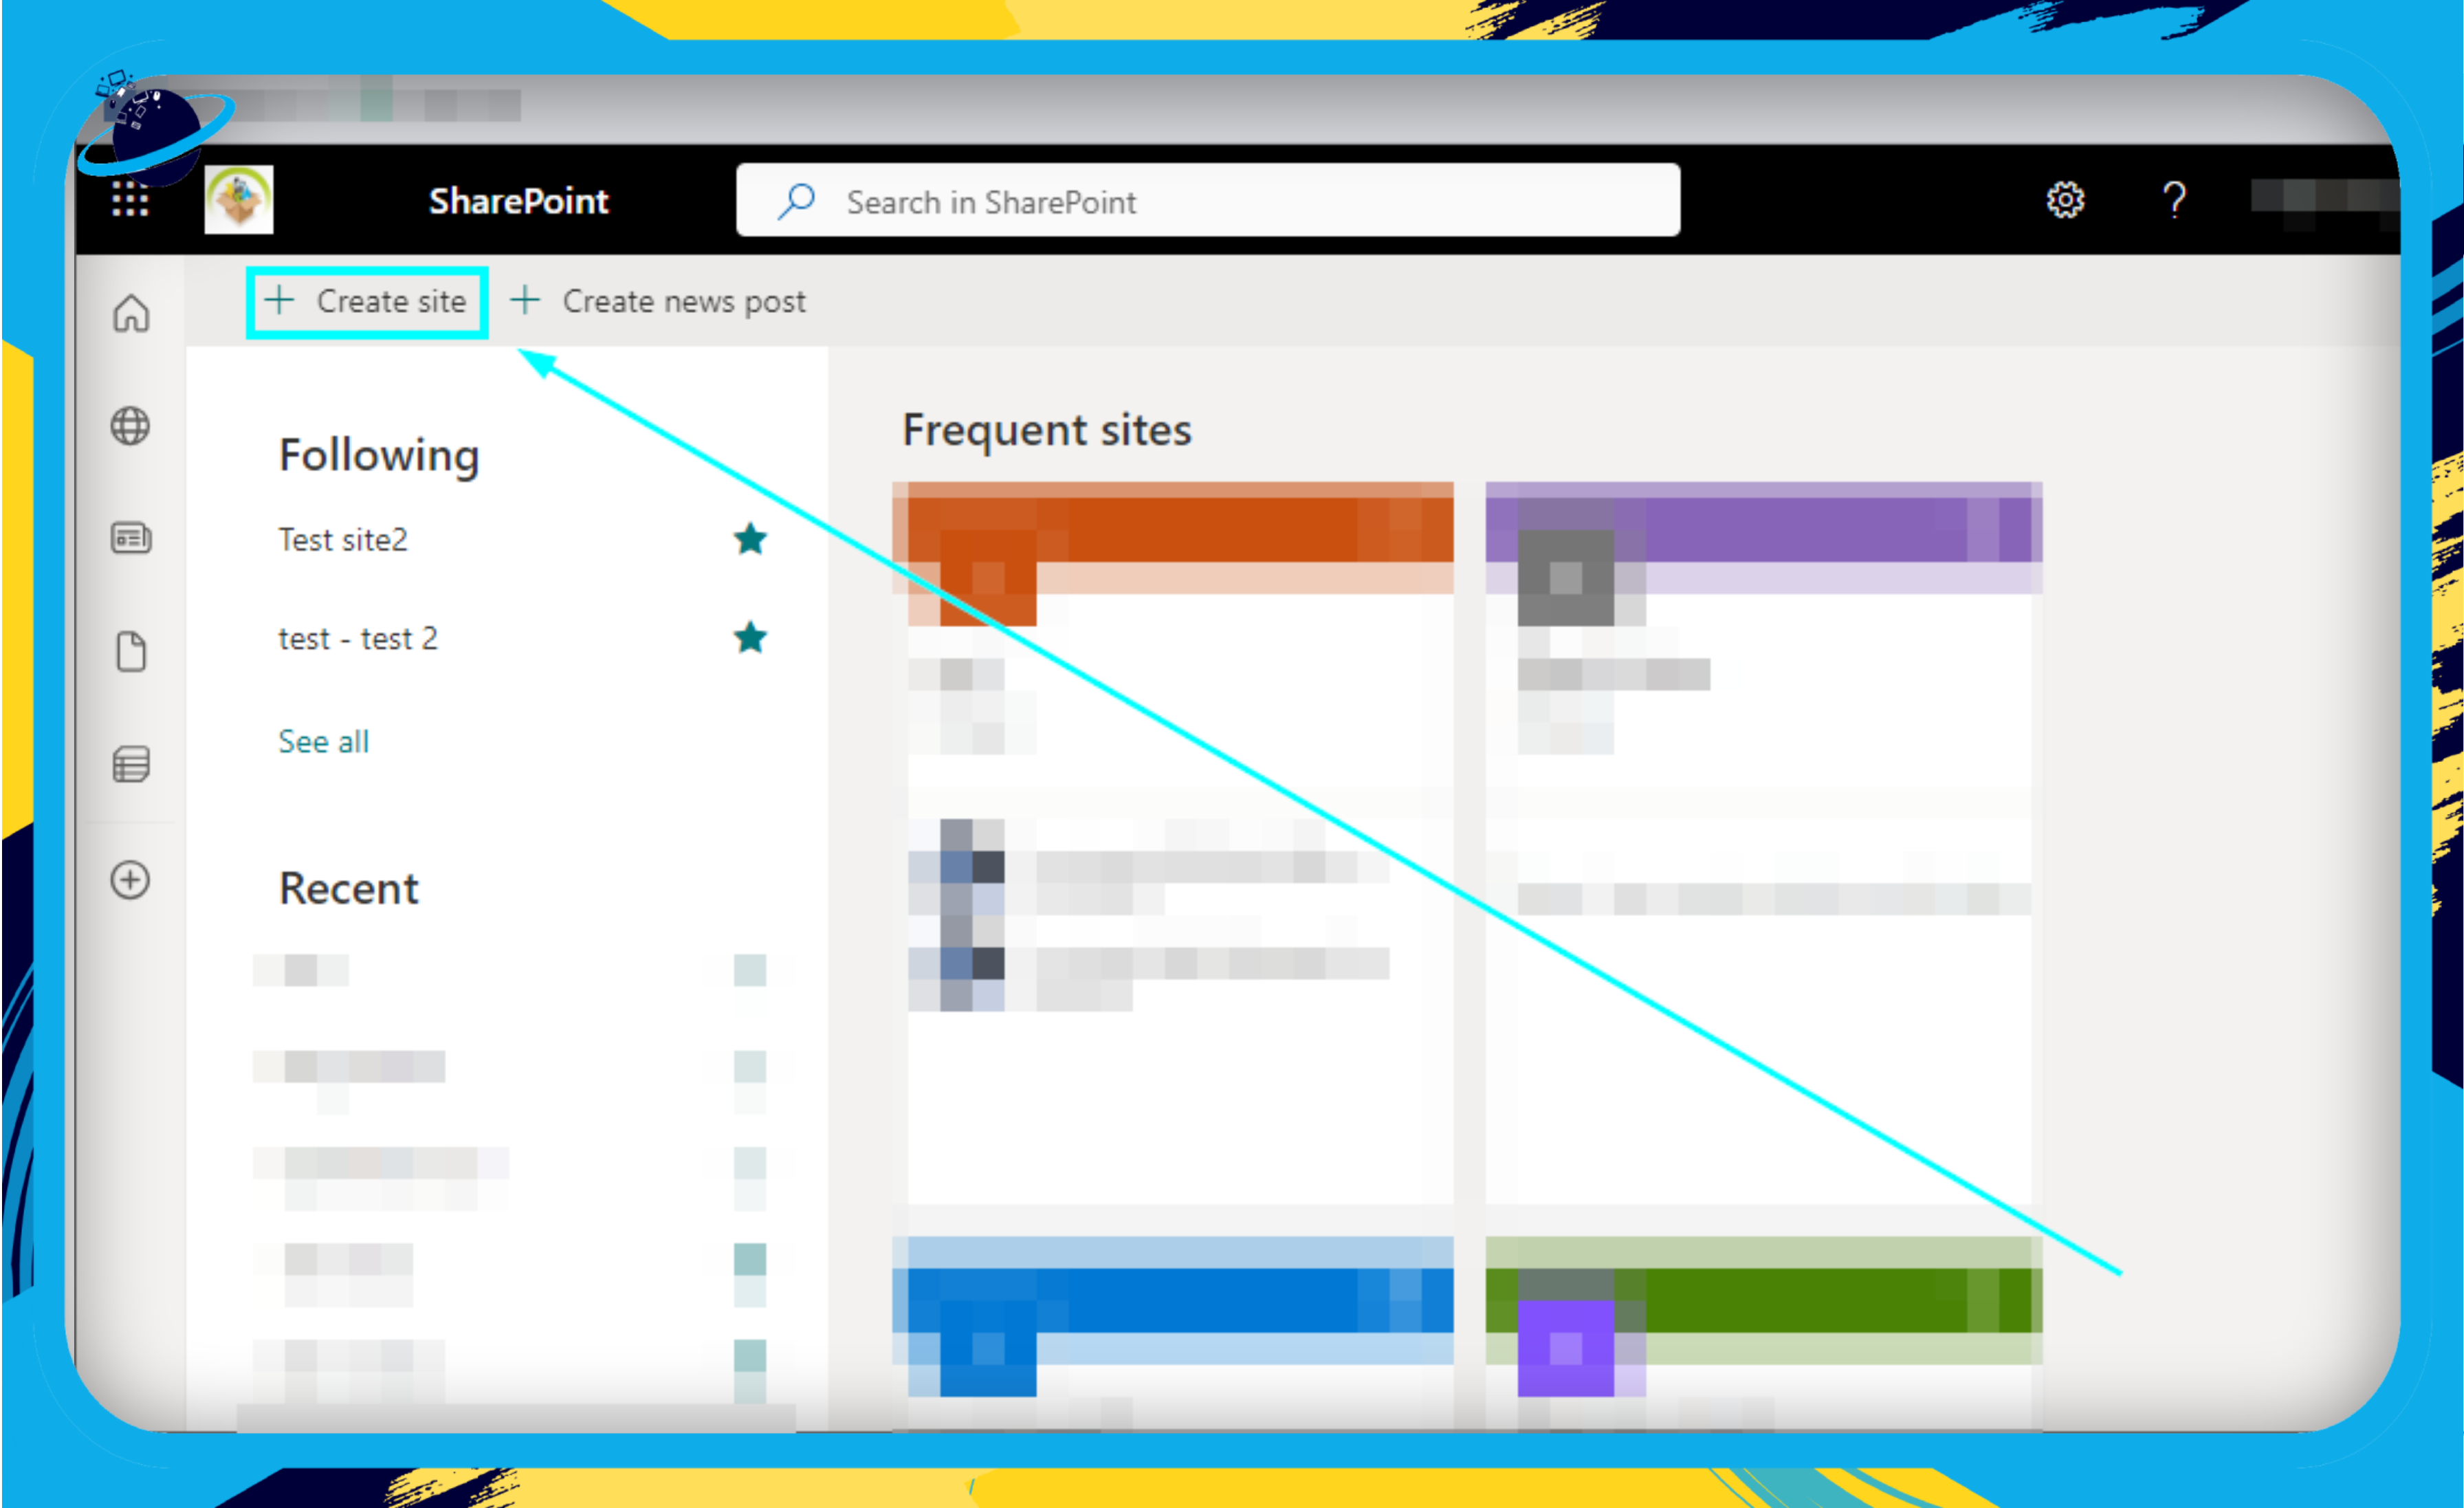
- Navigate to SharePoint:
- Click on ‘Create site’ located at the top left-hand corner of the SharePoint homepage.
- Choose the Type of Site:
- You’ll have options like a team site or a communication site.
- For the purpose of this tutorial, we’ll choose a communication site.

- Name Your New Site:
- Enter your desired site name in the ‘Site name’ field.
- In this example, the site is named ‘Test Site.’
- Add a Site Description:
- You have the option to add a description for your site.
- Although this is optional, a description can offer users a better understanding of the site’s purpose.
- Select the Default Language:
- Choose your preferred language from the drop-down list.
- Be sure to pick the correct language as this can’t be changed later.
- Complete the Creation:
- Click on ‘Finish’ to finalize the creation of your new SharePoint site.

Following these steps ensures that you have configured your new SharePoint site correctly.
Enabling Multilingual Features and Language Options on SharePoint
This section provides a detailed walkthrough on enabling multilingual features and setting language options in your SharePoint site.
Steps to Activate Multilingual Capabilities
- Navigate to Your SharePoint Site
- Access SharePoint and choose the site you aim to make multilingual.
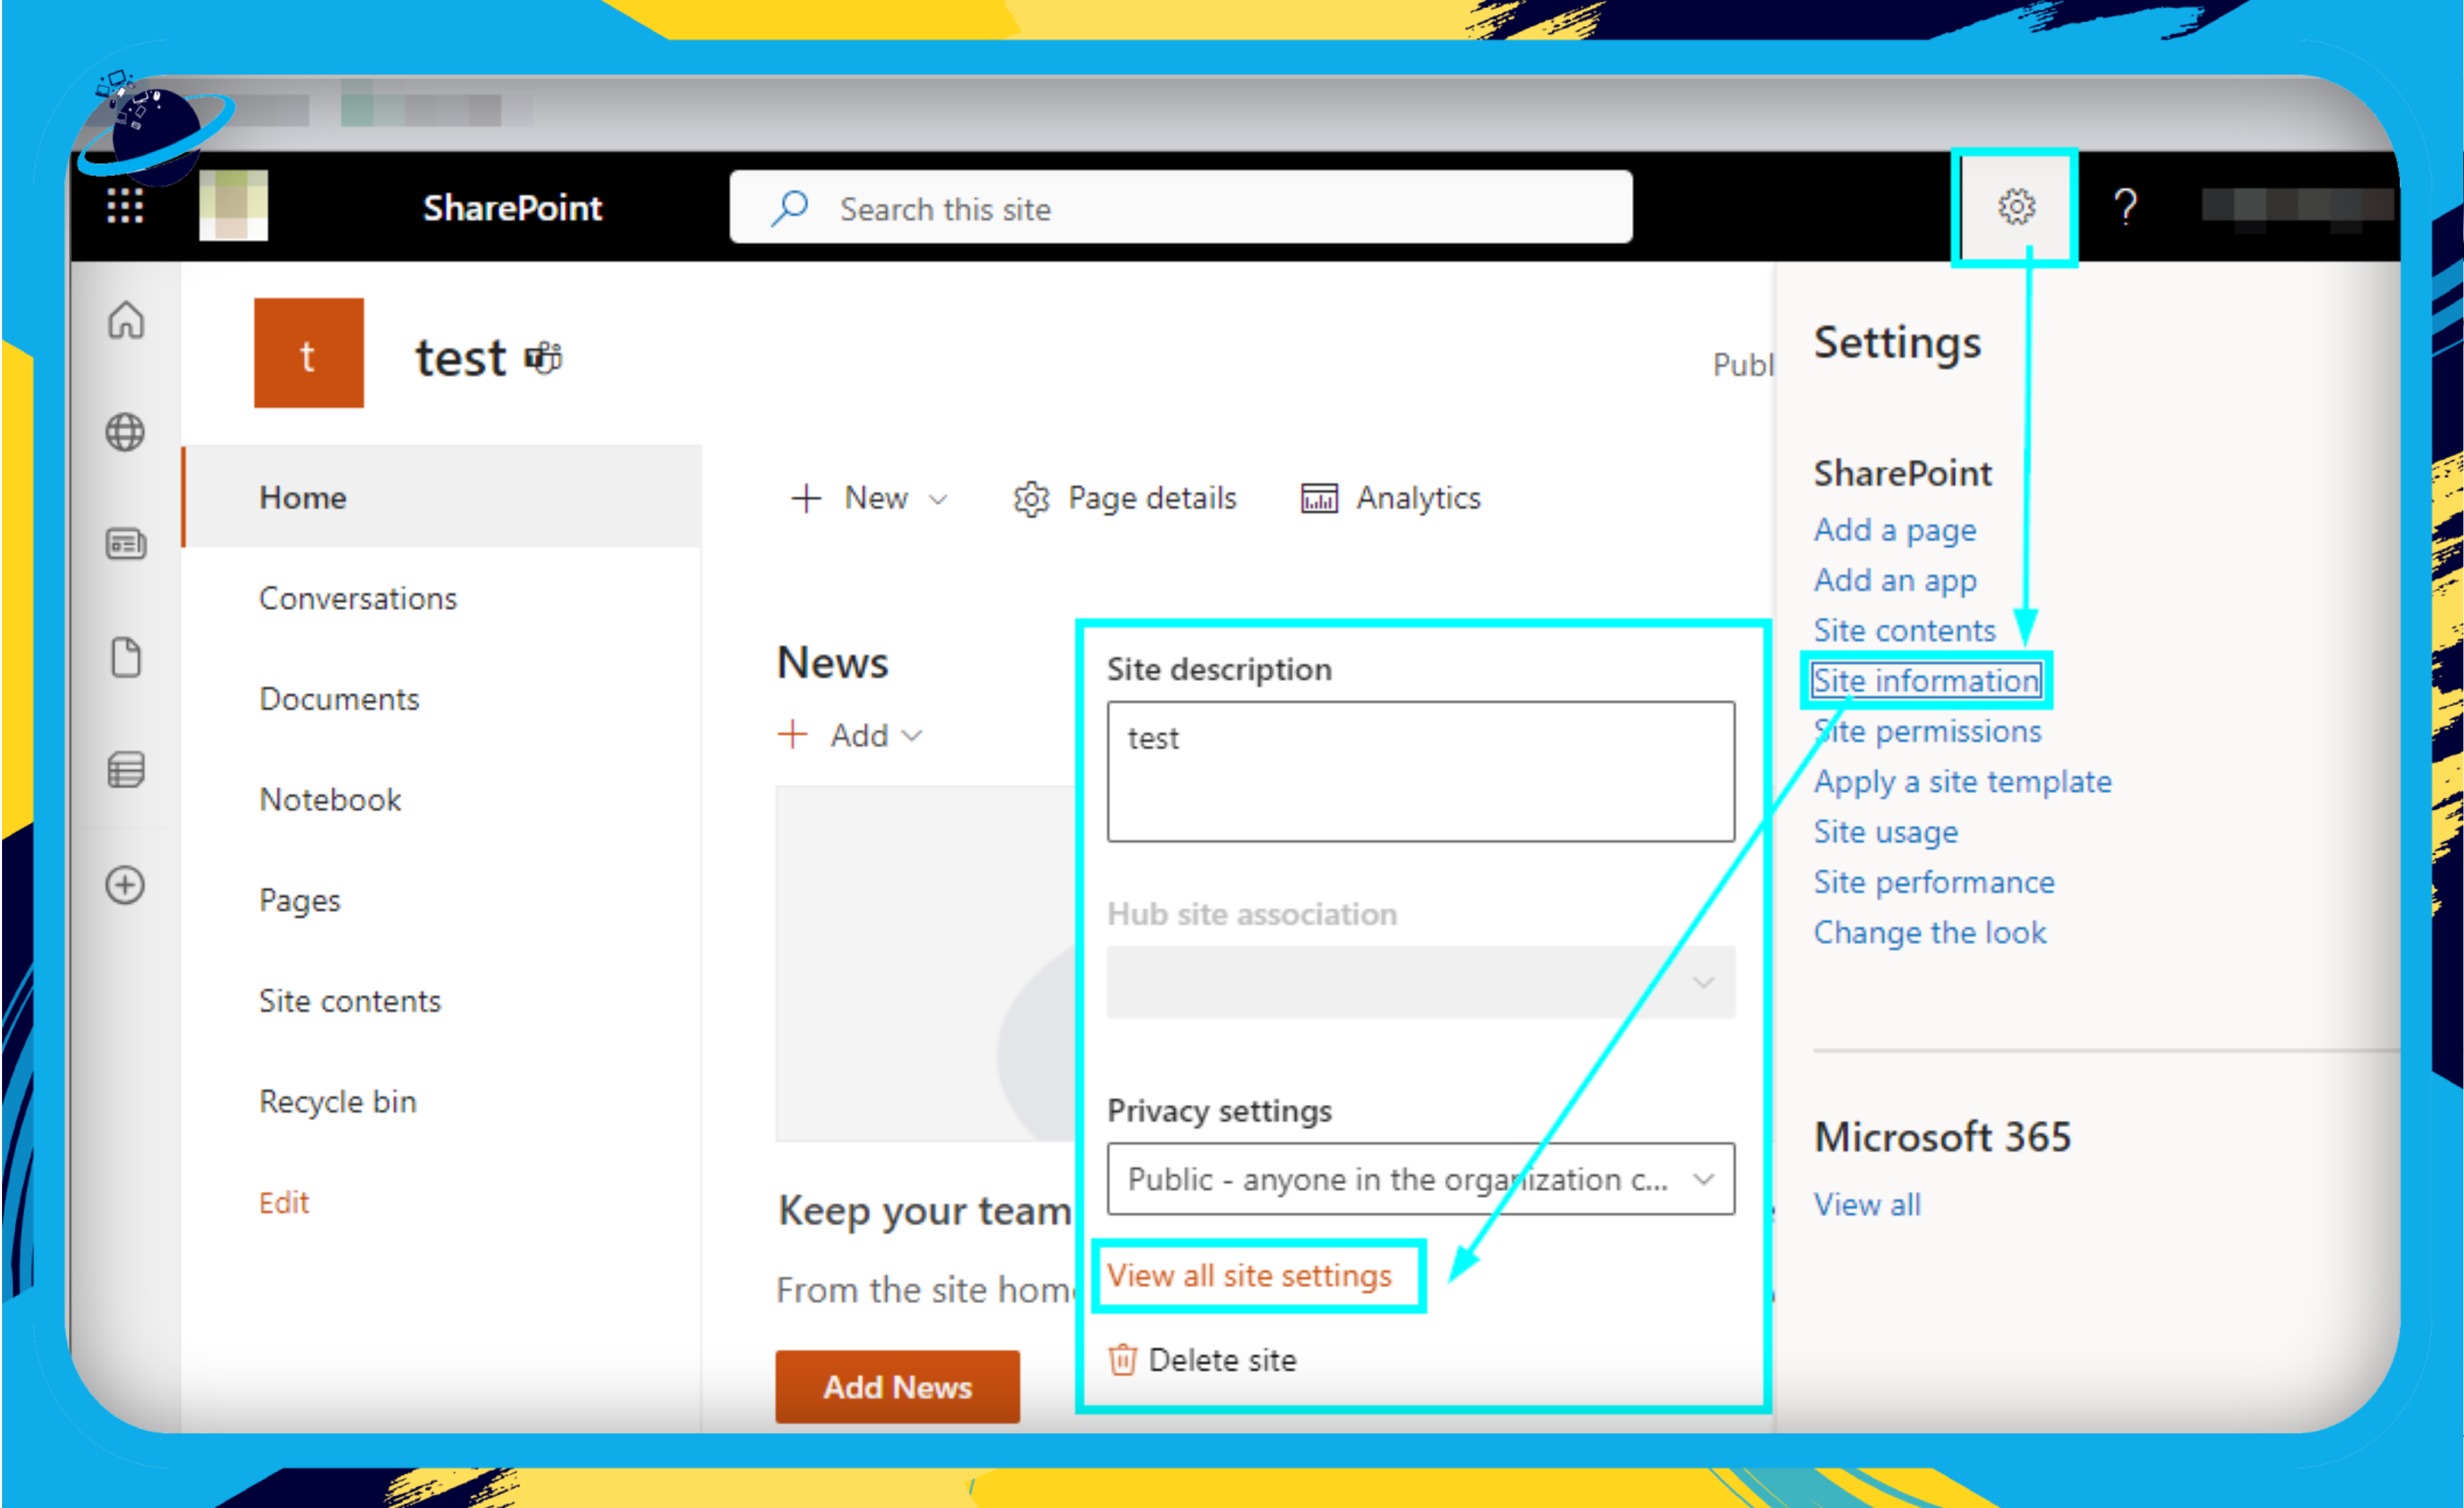
- Open Site Settings
- Click the settings icon on the top right-hand corner of the page.
- Then select ‘Site information.’
- Click on ‘View all site settings.’
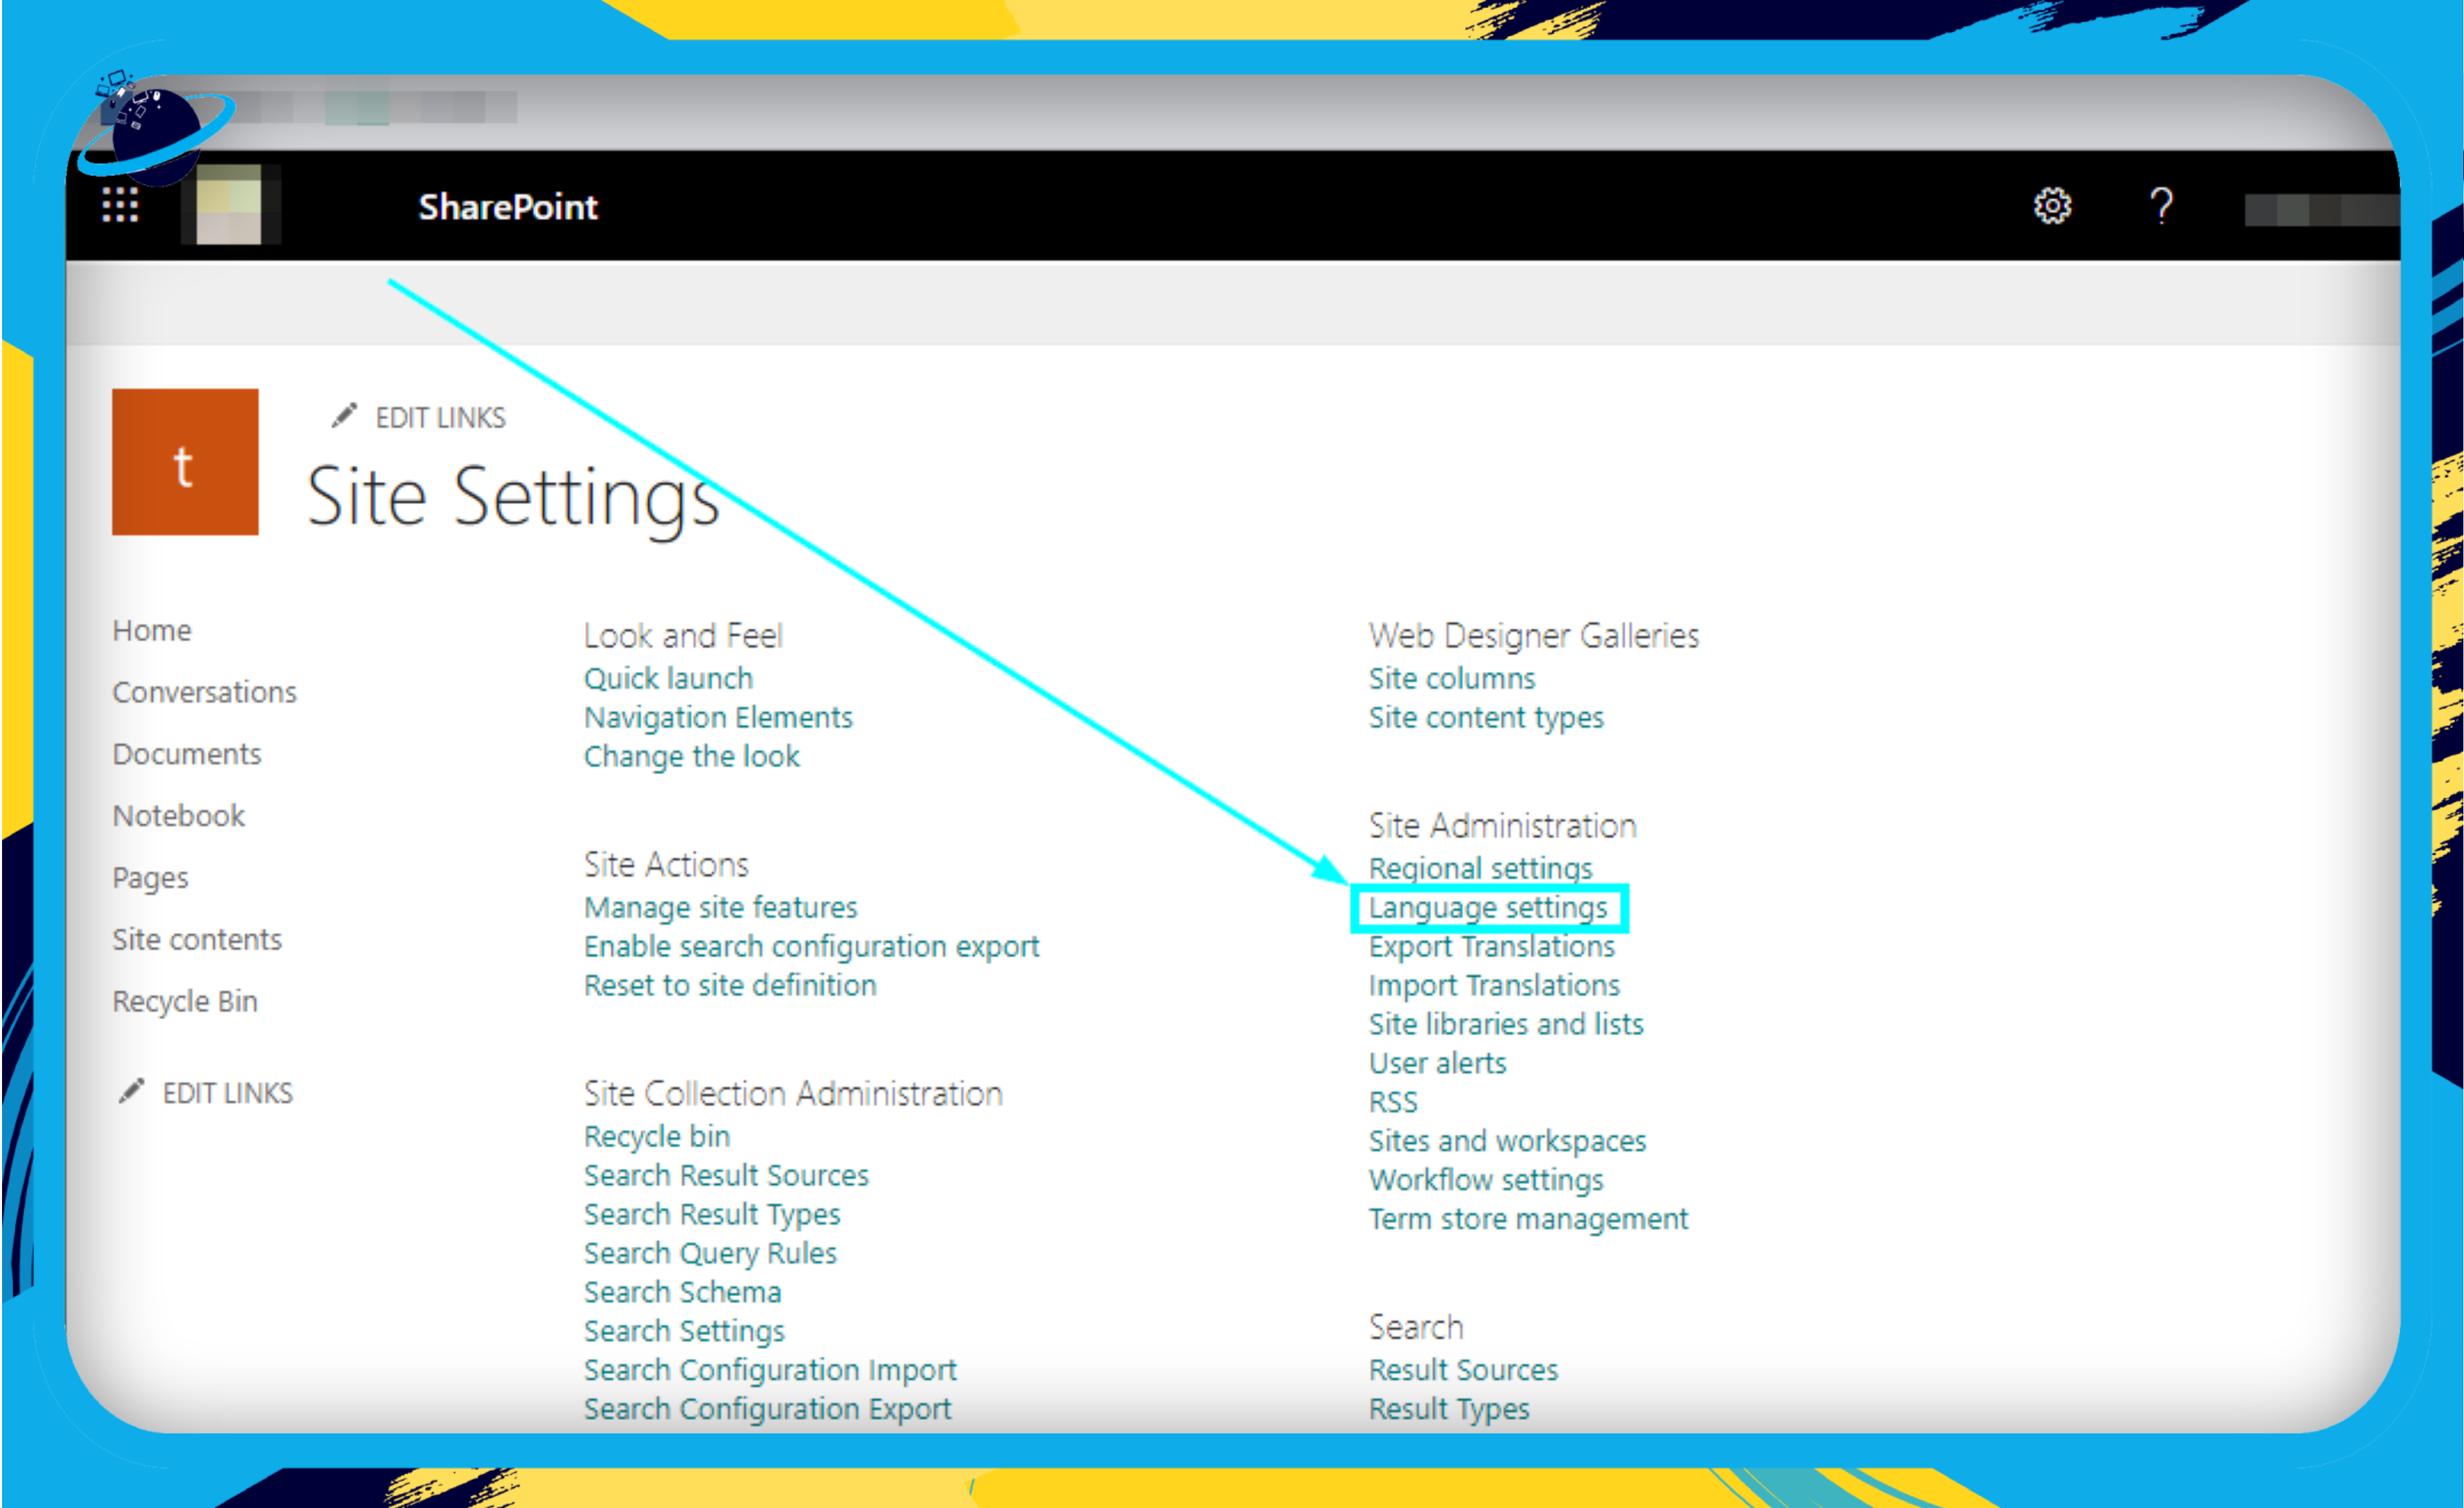
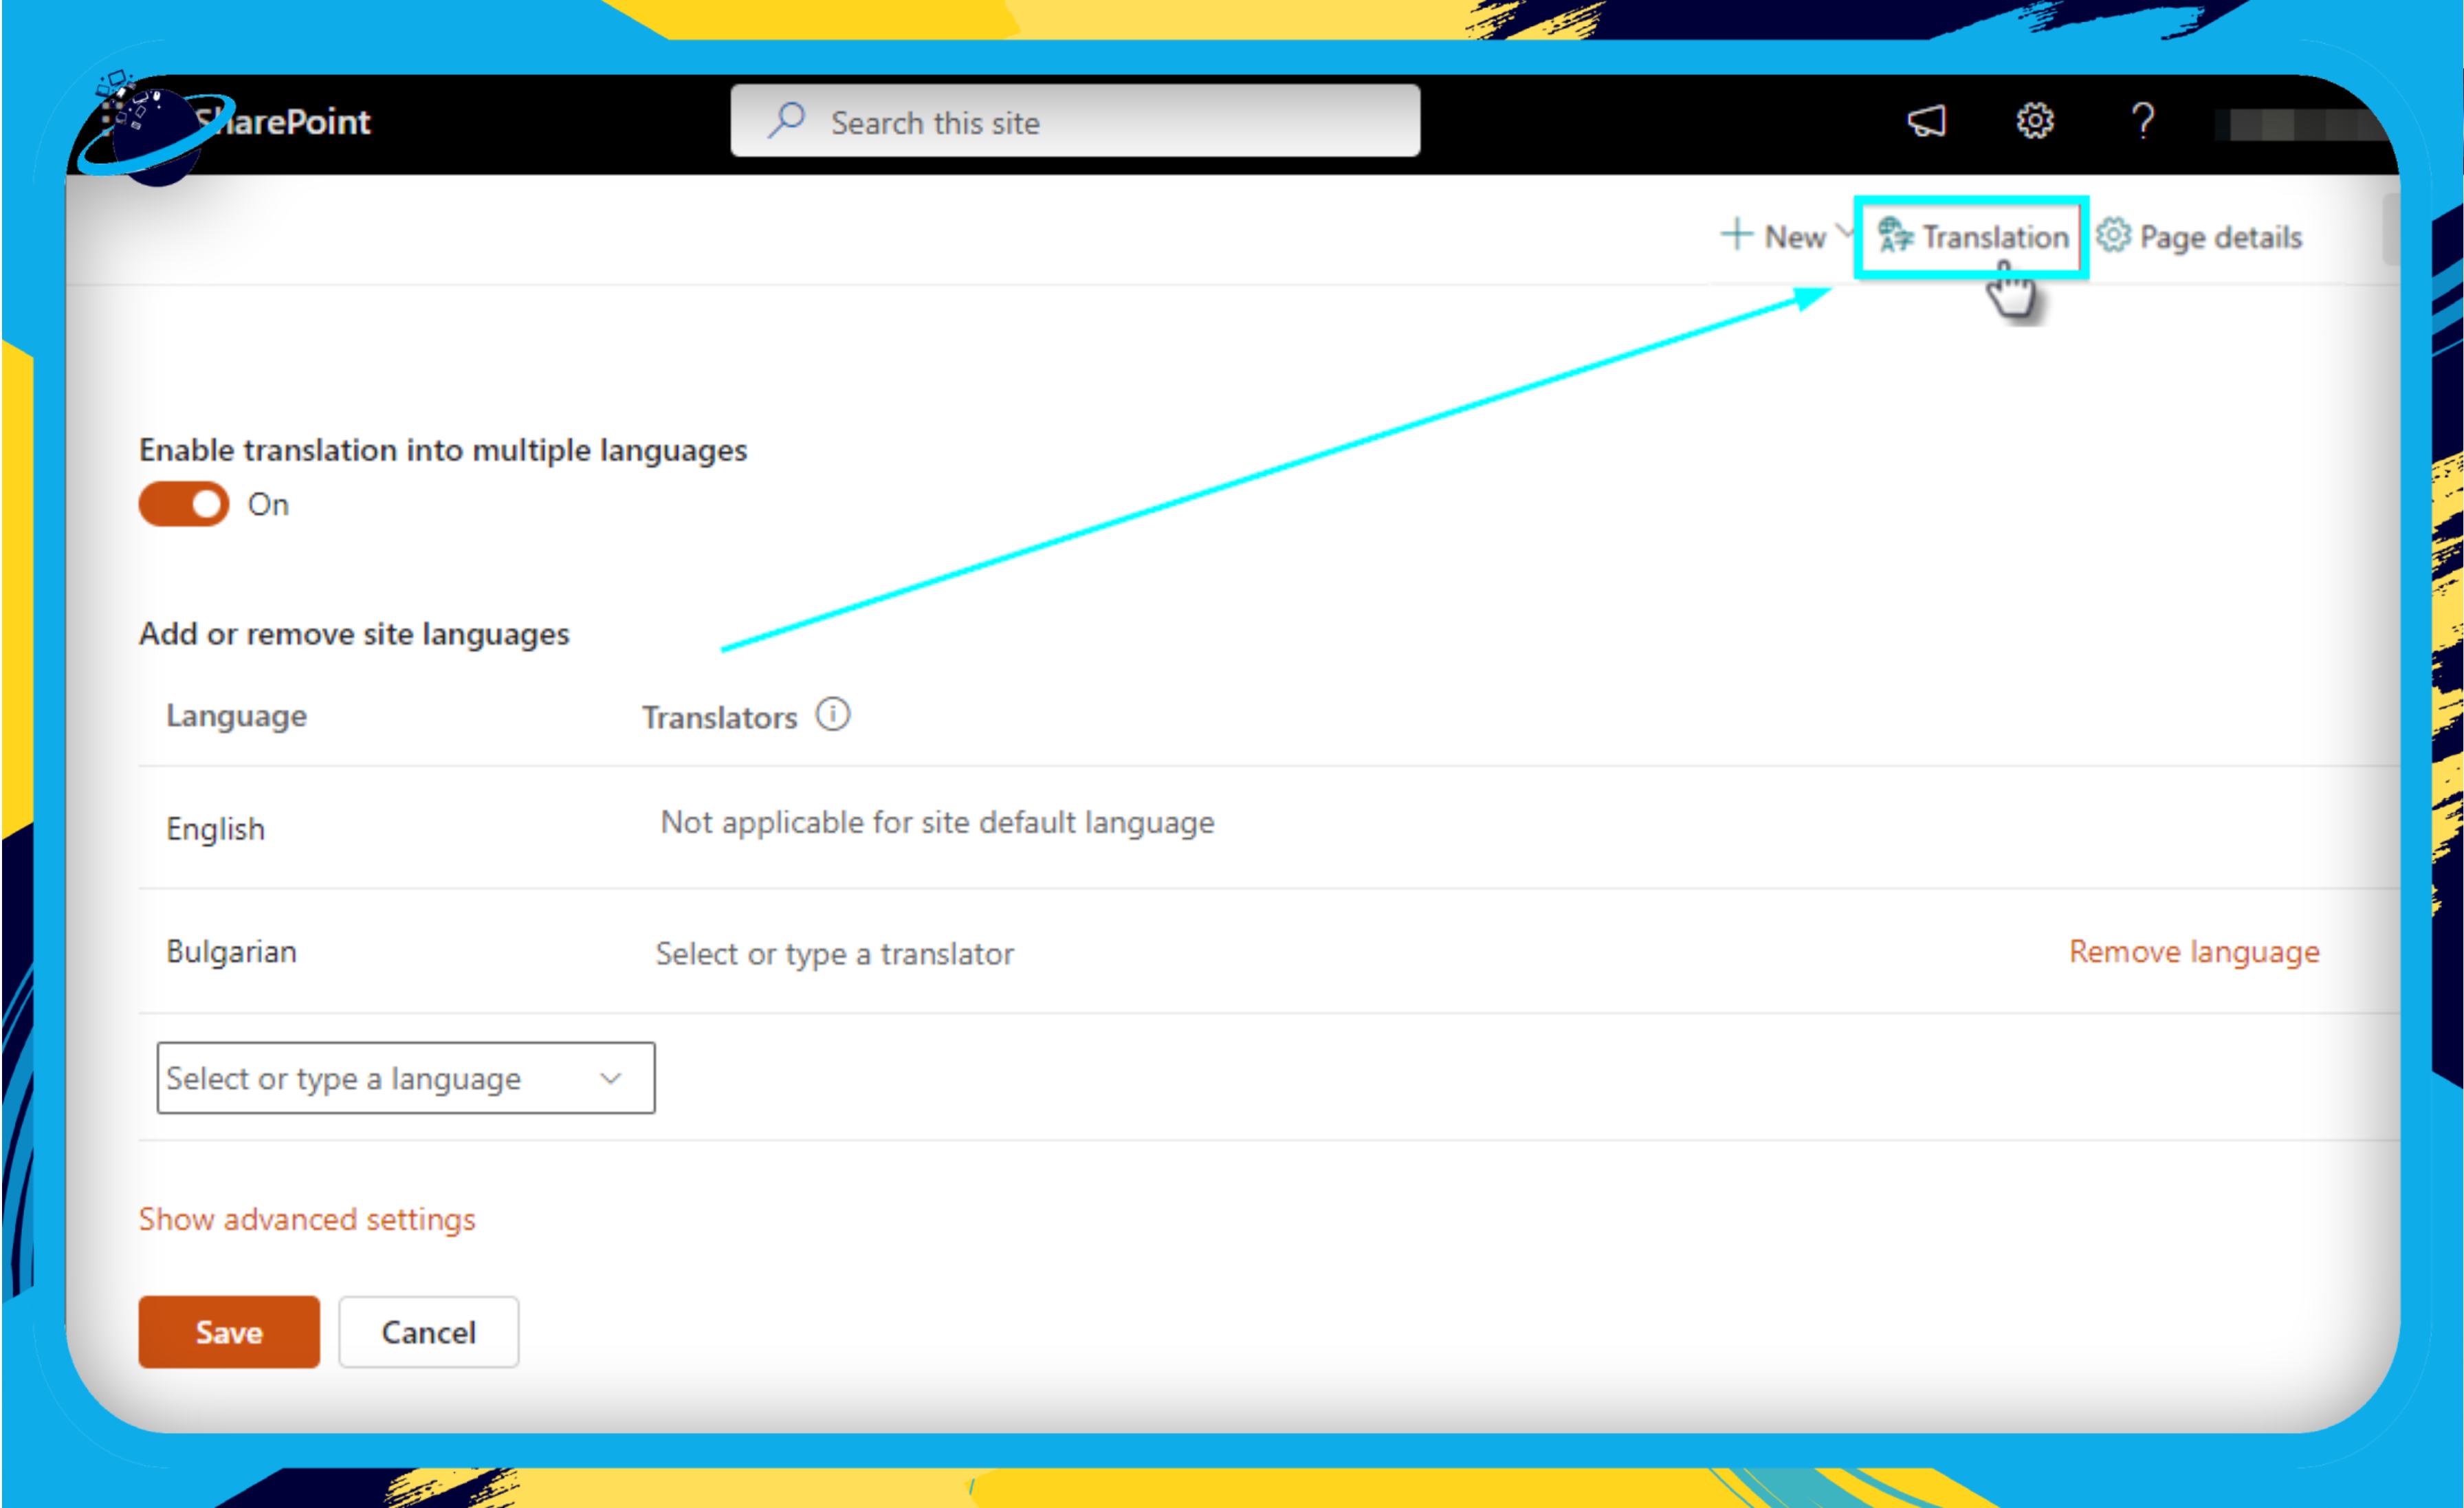
- Access Language Settings Under Site Administration
- Navigate to the ‘Site administration’ section and choose ‘Language settings.’
- Enable Multiple Languages
- In the ‘Site languages’ area, toggle the switch to ‘On’ for the ‘Enable translation into multiple languages’ option.
- Choose Your Desired Language
- Use the drop-down list to select a language for your site. For this example, we’re using simplified Bulgarian.
- Save Changes
- Lastly, click ‘Save’ to confirm and implement the language settings you’ve selected for your SharePoint site.

![]() Note: It’s crucial to carefully review each step to ensure that your SharePoint site effectively supports multiple languages.
Note: It’s crucial to carefully review each step to ensure that your SharePoint site effectively supports multiple languages.
Creating Translation Pages
Introduction
Creating translation pages is vital for making your SharePoint site accessible to a diverse audience. This section will guide you through the steps to establish these translated pages.
Step-by-Step Guide to Create Translation Pages
- Navigate to Default Language Page
- Go to the section labeled ‘Site administration.’
- From there, click on ‘Language settings.’
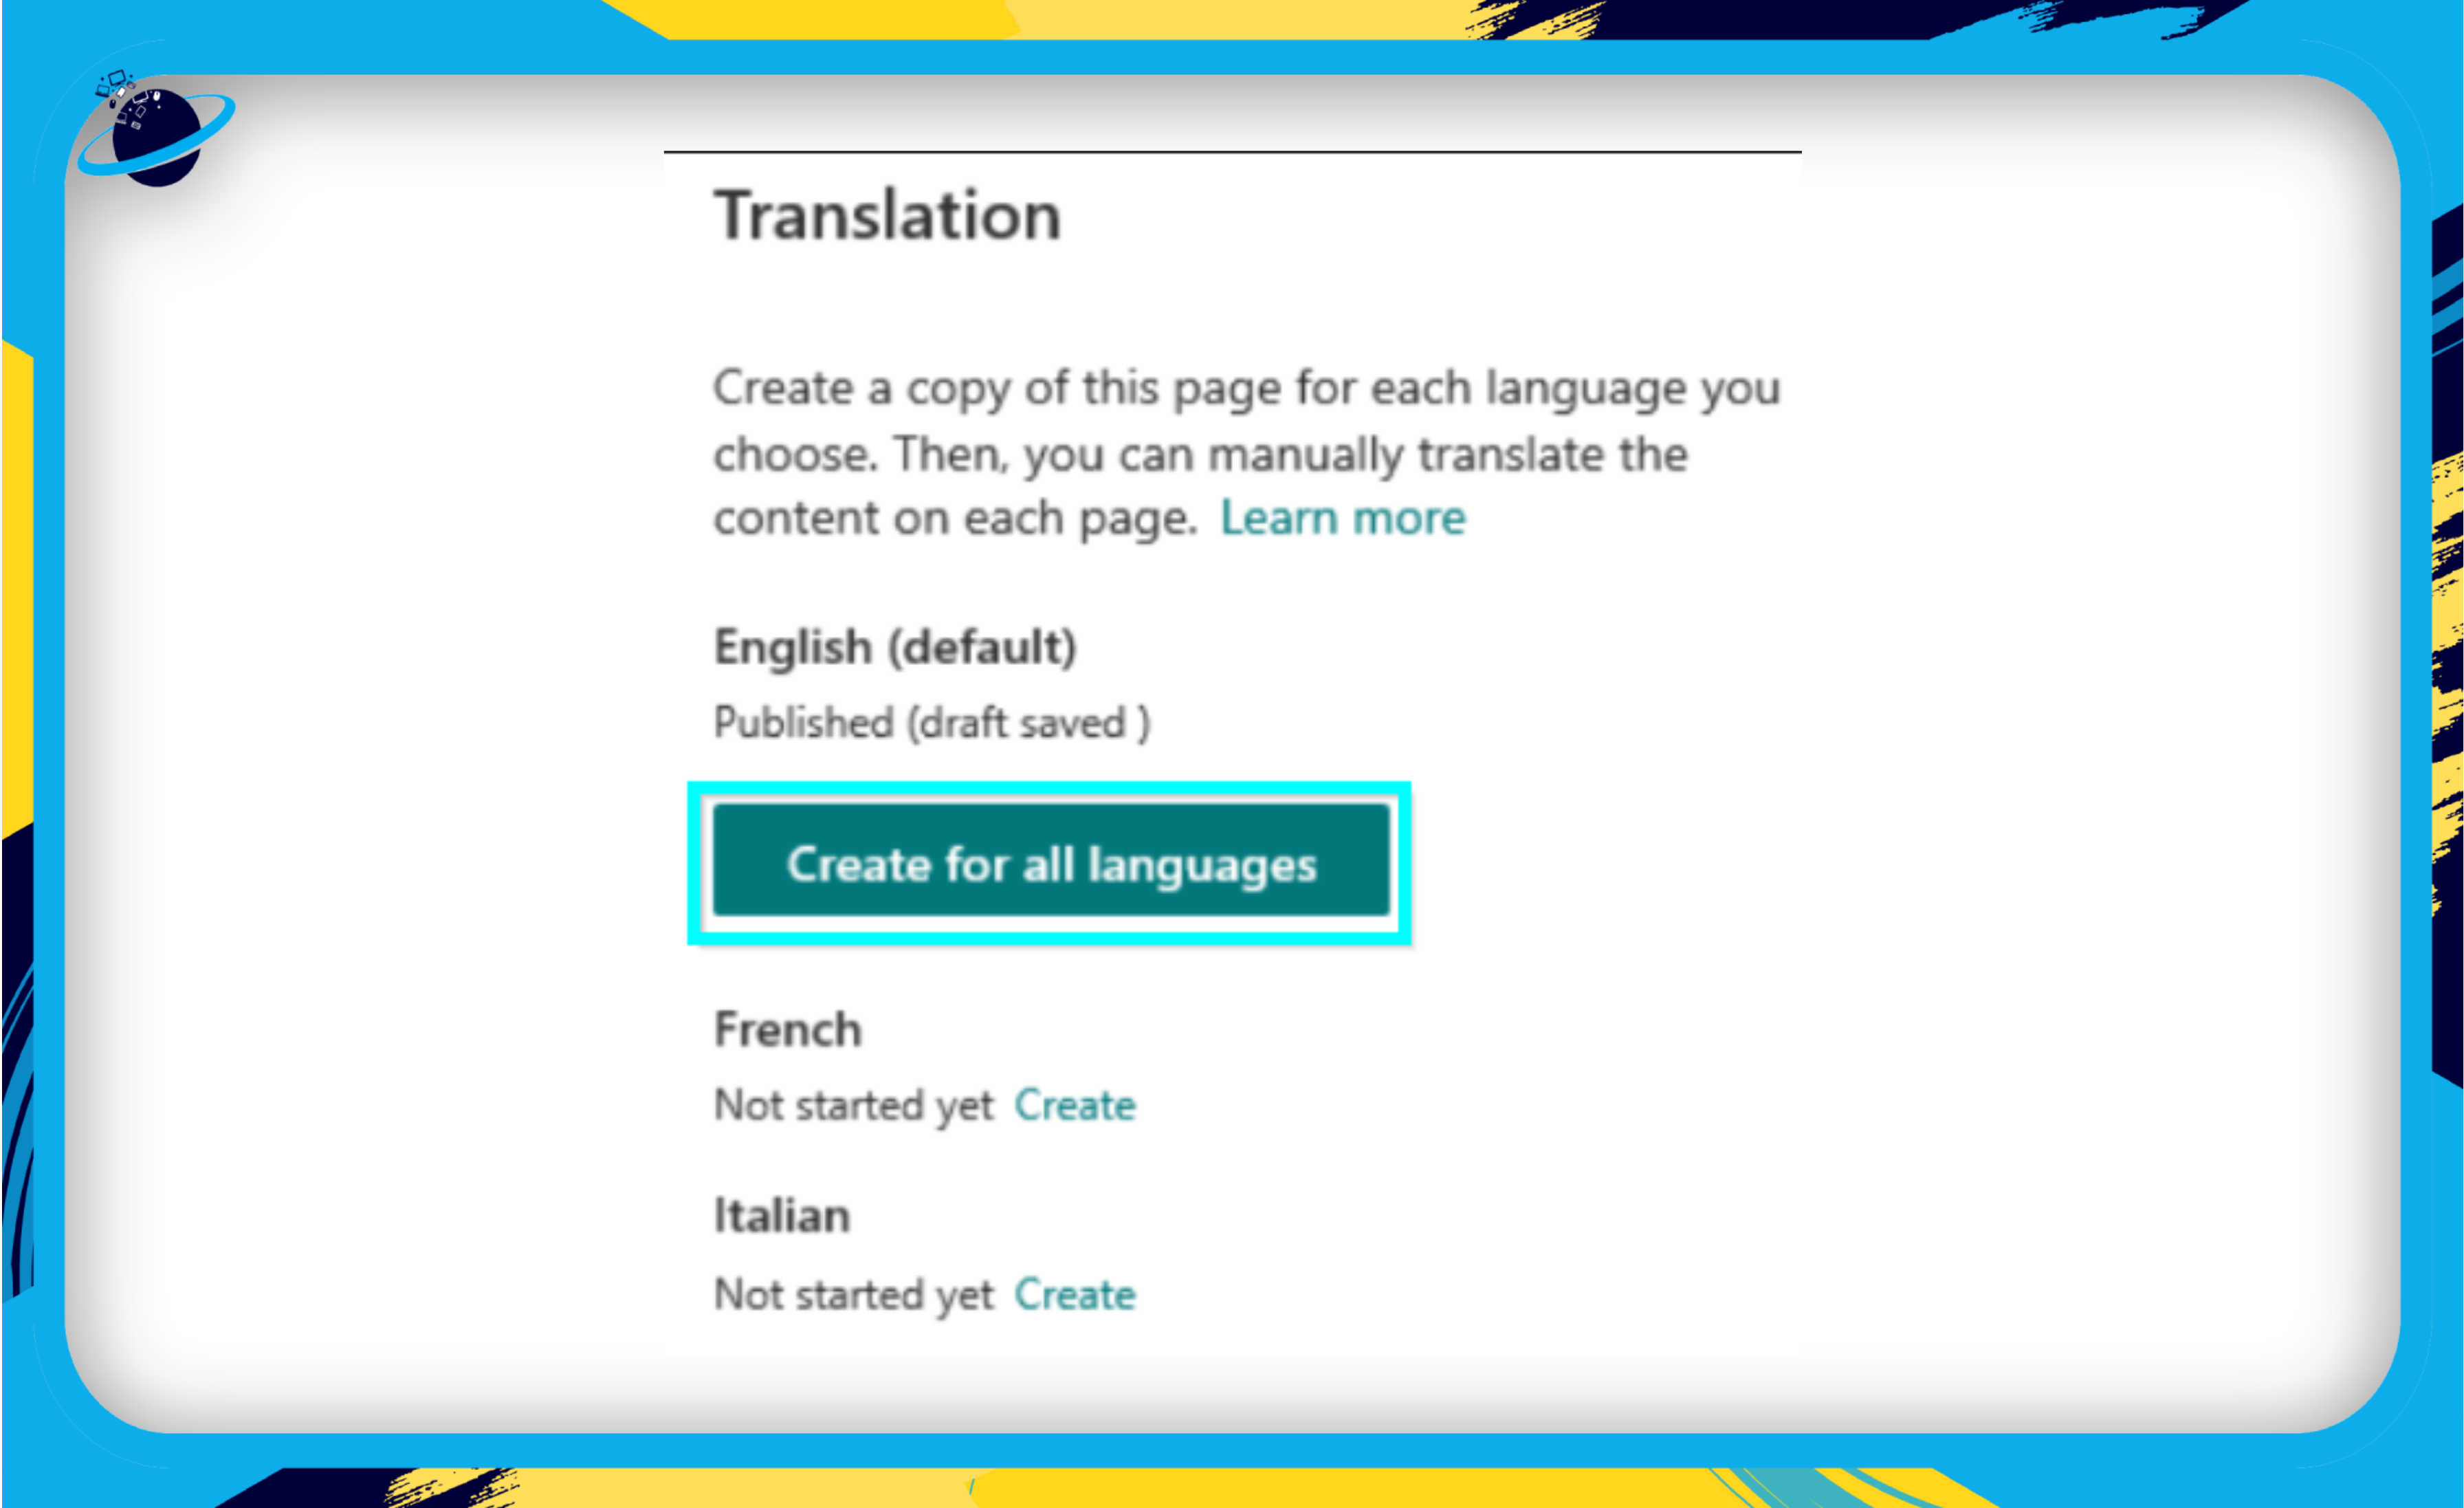
- Access ‘Translation’ Options
- Locate a panel of options near the top of the page.
- Click on ‘Translation’ among the available options.
- Choose Translation Preferences
- Click on the blue button that says ‘Create for all languages.’
![]() Note: If you want translations for all available languages, select ‘Create for all languages.’ Alternatively, you can choose to ‘Create’ only for specific languages that you want to target.
Note: If you want translations for all available languages, select ‘Create for all languages.’ Alternatively, you can choose to ‘Create’ only for specific languages that you want to target.
Checking the Translation Page
To verify the translation, navigate to the default site language page and choose the translated language from the drop-down option at the top. This action will show the page in your chosen language. Remember, this language setting remains throughout your browsing session but won’t change your user language preference.
Conclusion
Creating a multilingual SharePoint site can be a complex process, but it’s crucial for organizations dealing with international or diverse teams. Follow this guide for a smoother experience.
Thank you for reading. For any more questions, feel free to comment below, and we will get back to you promptly.