While owners can manually add accounts from the admin page, uploads in bulk are much more efficient for creating multiple users. Office 365 allows you to download a CSV template for this purpose. So, in this article, we will guide you through the correct process for uploading multiple accounts to your domain.
The Method:
- Download the CSV file from Microsoft.
- Populate the file with users.
- Upload the file.
- Set the licenses.
Continue reading for a visual, in-depth guide for creating Microsoft 365 user accounts in bulk.
Let’s get started…
How to Upload multiple users to Microsoft 365
There are a few things to understand before proceeding:
- You must be an owner to import multiple users.
- You can add a maximum of 249 users for every CSV file.
- You can’t upload duplicate email addresses.
- Each email address must be correctly formatted.
- The CSV file should have 16 columns (open with Excel).
STEP 1 – Download The CSV file From Microsoft
In this step, you will learn how to download the CSV file from Microsoft. We downloaded the blank file, but you could also download a file with example users to better understand the format.
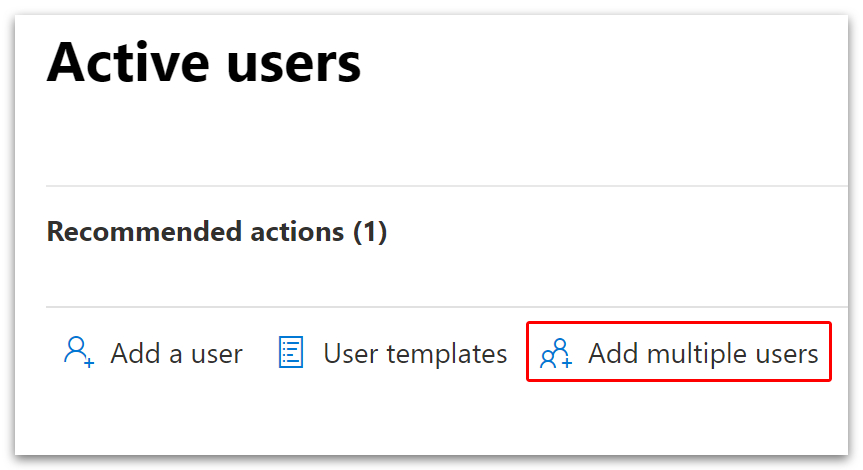
- Firstly, head over to your Microsoft Admin page.
- Click on ‘Add Multiple Users.’
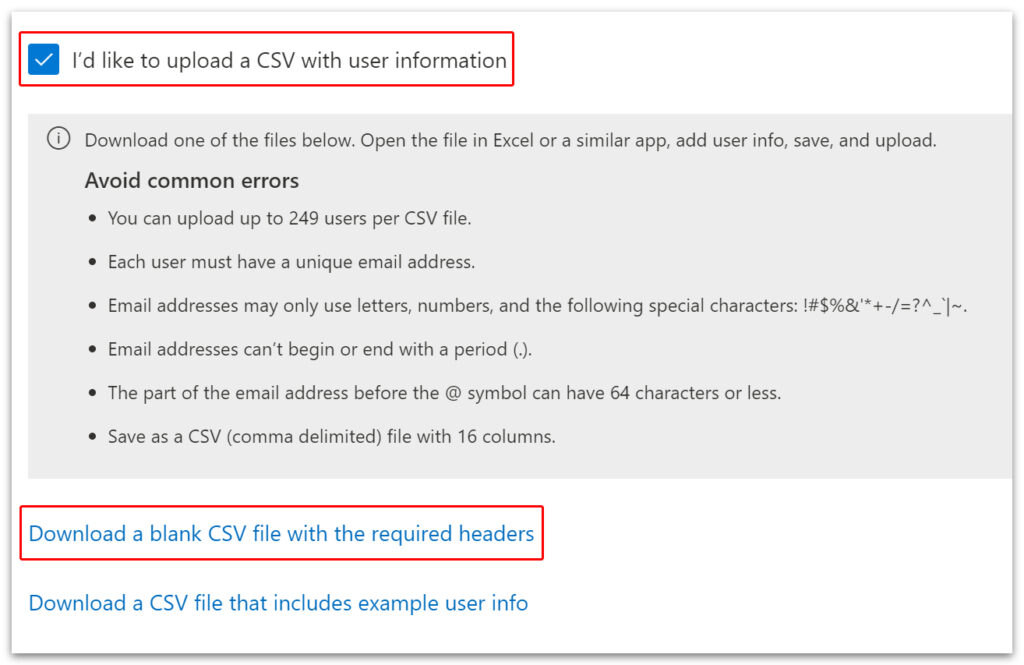
- Check the box next to ‘I’d like to upload a CSV file with user information‘ in the pop-up menu.
- A list of common errors will appear. Scroll down and click ‘Download a blank CSV file with the required headers.’
- Open the CSV file with Excel or Google Sheets after the download is complete.
Note: You can open the CSV file with a standard text editor.
STEP 2 – How to add users to the CSV file in Microsoft 365
This step will teach you how to populate a CSV file using Excel, Google Sheets, and a standard text editor. To follow the guide for Excel, start from 2b. To follow the guide for text editors, start from 2c.
Note: the same Microsoft license will be applied to all users in the CSV file. To add different licenses to different users, make a separate CSV file for each license.
2a – Google Sheets
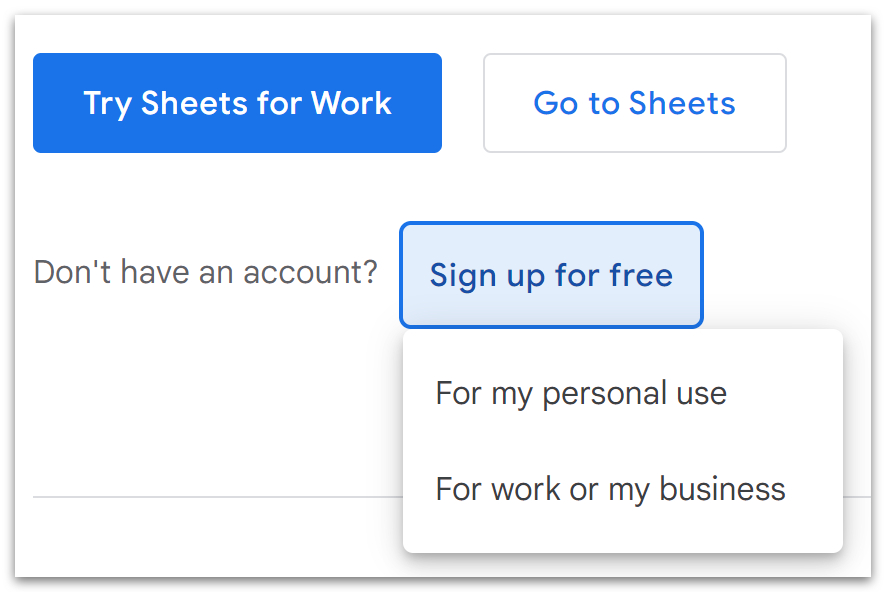
Google Sheets is a free alternative to Excel. To access Google sheets, head over to the Sign Up page, click on ‘Sign up for free,‘ and then choose to create a personal or business account. Follow the steps below when the sign-up is complete.
- Go to your Google Sheets page.
- Locate and click the file icon.
- In the pop-up box, click ‘Upload.’
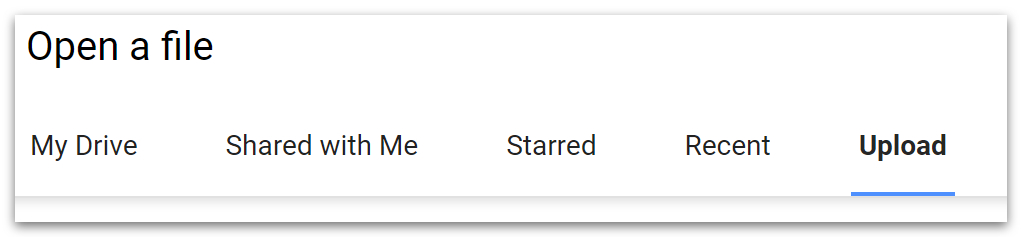
- Drag in your file or click ‘Select a file from your device.’
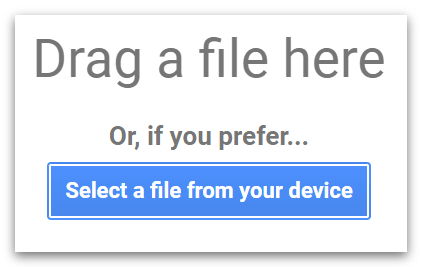
Your file will open automatically once the upload is complete.
Continue reading from 2b.
2b – Excel & Google Sheets user population
For those who already have Excel, open your file and follow the process below. Please note that you will need the Excel app. The process is the same for Excel and Google Sheets. For this tutorial, we used Google Sheets.
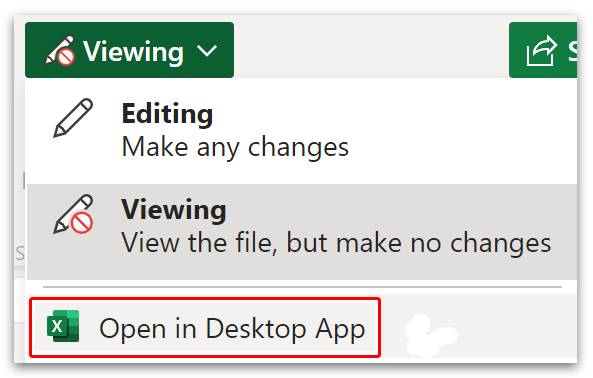
- For Excel users in a browser, click ‘Viewing‘ and then ‘Open in Desktop App.’
- Do not convert to a .xlsx file. The file must be saved as a CSV.
- Double-click the first cell under ‘username.’
- Enter a valid email address.
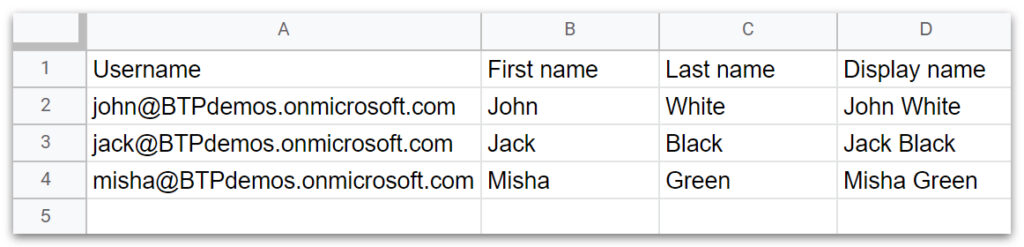
- Fill out the other 16 headers as required.
- Required fields are Username and Display name.
Note: Usernames must be Microsoft email addresses: user@yourdomain.onmicrosoft.com, and please note that the emails are case sensitive.
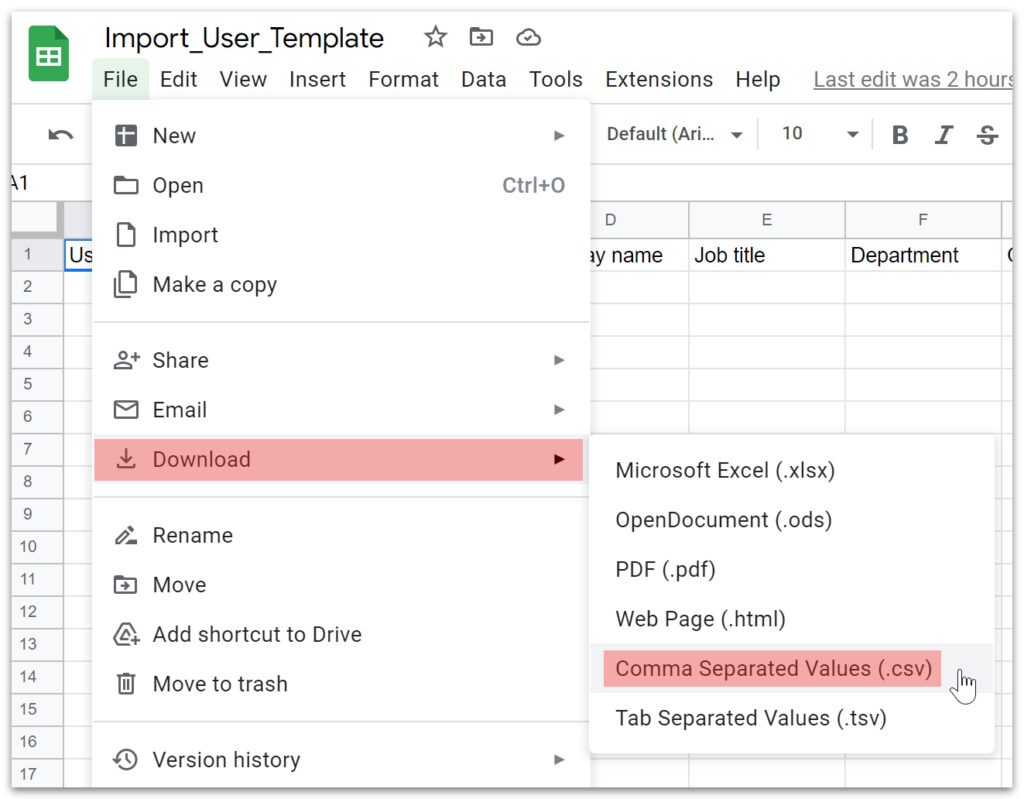
- Save the file in Excel or download a copy in Google Sheets.
- To download a copy in Google Sheets, go to ‘File‘ > ‘Download‘ > ‘Comma separated Values.’
Head down to Step 3 to continue the process.
2c – Text Editor
You can use any text editor for adding Microsoft 365 accounts in bulk. In this tutorial, we used Notepad.
- Open the CSV file in Notepad.
- To see the file, you may have to click ‘Text Documents‘ > ‘All Files.’

- You will see 16 headers at the top, each separated by a comma.
- Click on a new line and enter the username.
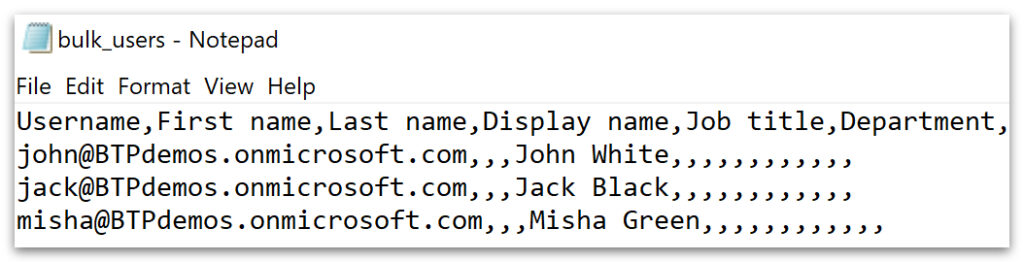
- Pay attention to the commas. Every input should correspond to a header.
- Required fields are Username and Display name.
- Finally, save the file.

STEP 3 – How to Upload a CSV file to Microsoft 365
In this section, we will show you how to upload your CSV file and add specific licenses. We will also troubleshoot the common errors. To start this section, head back to your Microsoft Admin page, click ‘Add multiple users,’ and check ‘I’d like to upload a CSV file with user information.’
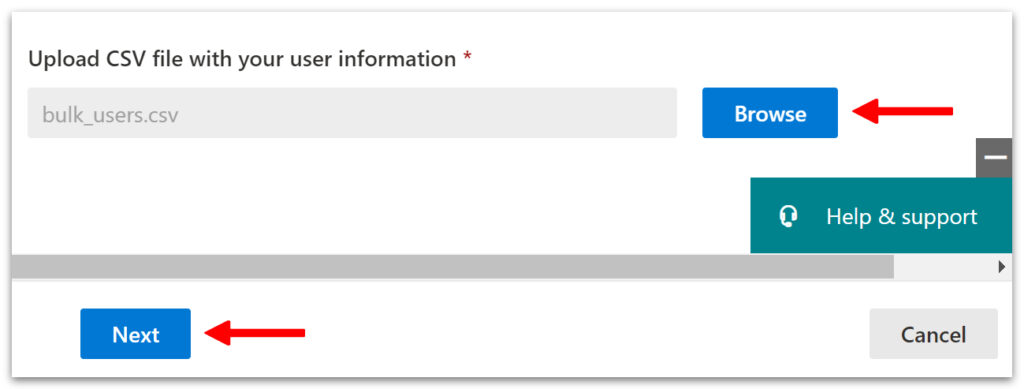
- Scroll down to the bottom and click ‘Browse.’
- Locate and select your CSV file and click ‘Open.’
Note: If the upload is successful, the grey ‘Next‘ button should turn blue.
- Click ‘Next‘ or scroll up to find errors.
If your upload was successful, head down to the adding licenses section. Otherwise, please continue reading the troubleshooting guide.
Troubleshooting common errors
Scroll to the top of the page to check for errors with your file. There should be a notice where you can select ‘view errors.’ If this notice is missing, there could be a formatting issue with the file. A formatting issue is more likely to occur when using Notepad. Try using the Excel app or Google sheets to compile your list.
To correct this issue in Notepad, make sure the 16 headers are separated by commas. Ensure there are 15 commas on every line. You can also try downloading a copy of the CSV file titled ‘Download a CSV file that includes example user info.’
For the error, Email address domain contains extra or invalid characters:
- Each username should be a unique email address.
- Each email address should only contain valid characters.
- The format for a valid email address is [email protected].
- The email addresses are case-sensitive.
- The email domain must be the same domain as the owner. For example: if the owner’s email address is owner@BTPdemos.onmicrosoft.com the usernames in the CSV file must contain BTPdemos as the domain.
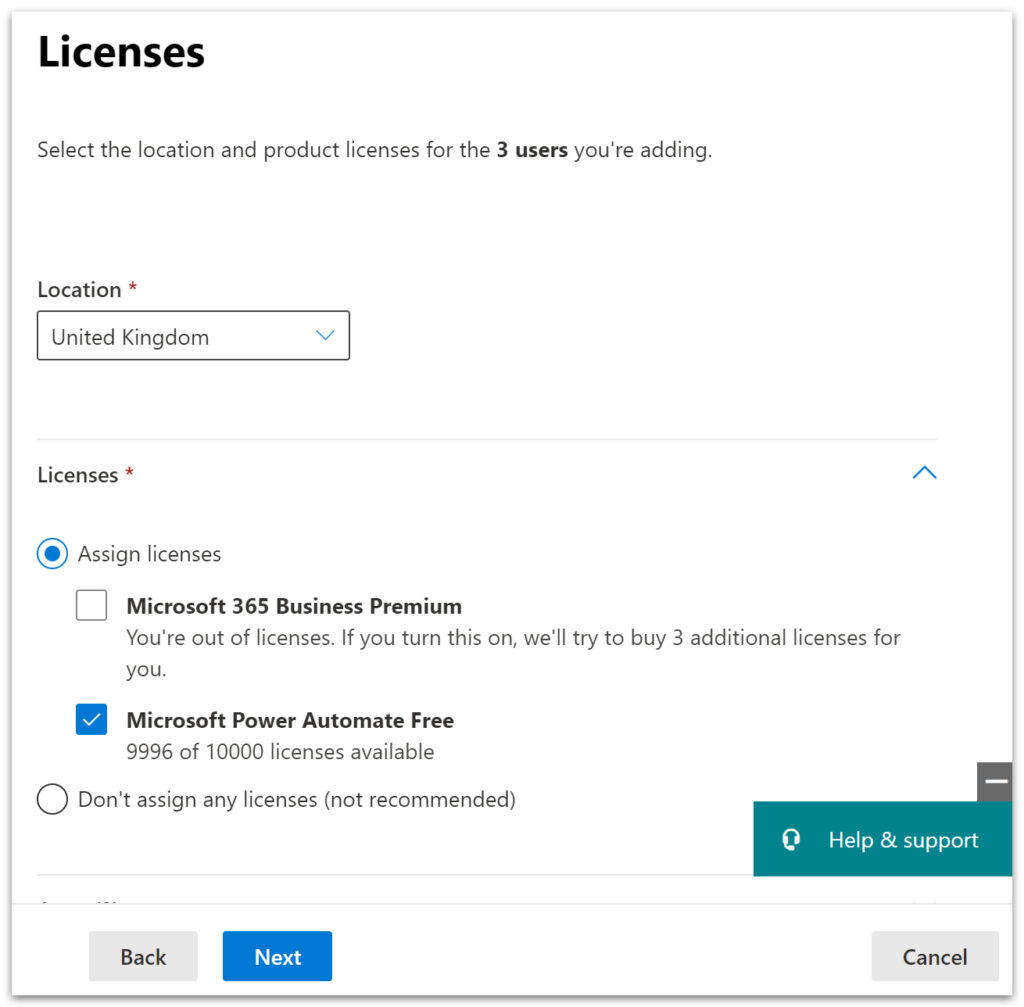
How to add licenses to your Microsoft users
It’s recommended that you assign a license to your users. This can be either a Microsoft 365 Premium account or a free Power Automate account.
- Check the box next to the desired license.
- Scroll down to ‘Apps‘ to add/remove specific apps if required.
- Click ‘Next.’
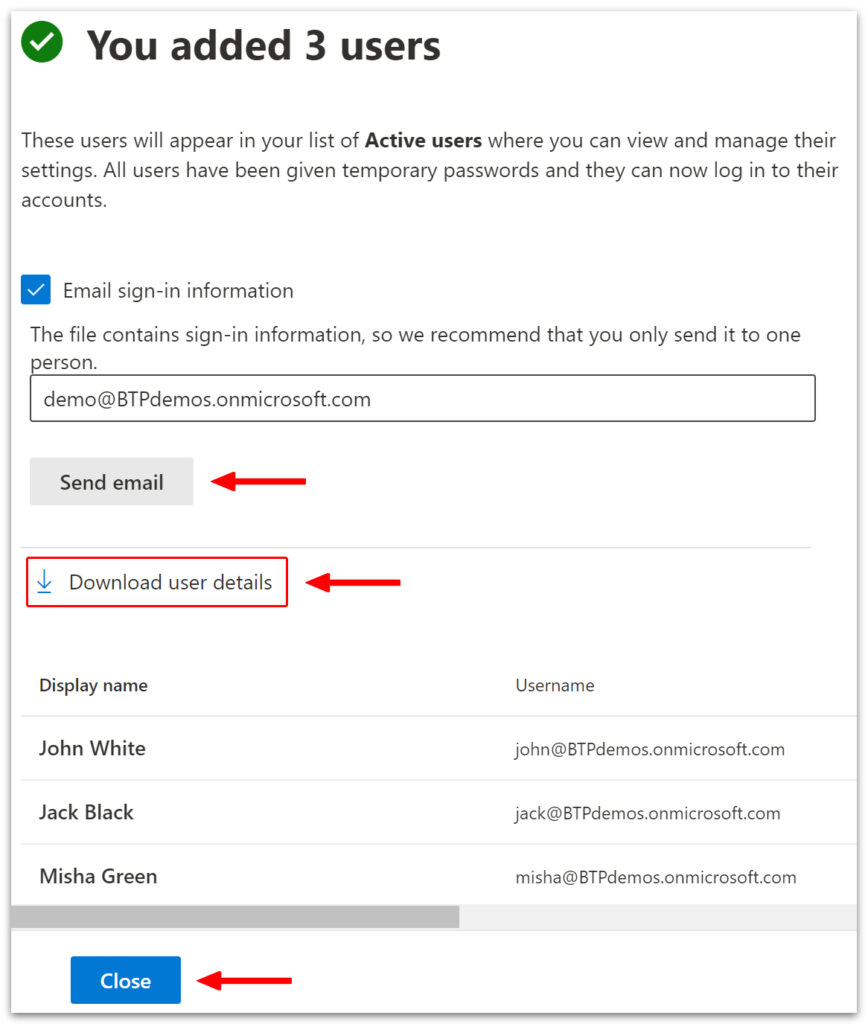
- Click ‘Add users‘ on the next page.
- Finally, you will be presented with a confirmation page.
- Click ‘Send email‘ and head over to Outlook.
- Locate the email; it will contain temporary passwords for each user.
- Contact your users to inform them of their passwords.
- Click ‘Download user details‘ if required.
Conclusion
When uploading your CSV file, we recommend using either an Excel app or Google Sheets. Only domain owners can only complete this action and users must have domain-specific email addresses to be added. If you’d like to learn more about managing users and security, read our guide on How to block Microsoft 365 access on unmanaged devices.
Thanks for reading.