Ever found yourself working on Mac OS, only to find out you have an error that prevents you from editing content? That’s right, Mac users often face issues with accounts not allowing them to edit on their devices. If this issue ever come across to you, use the steps below to help resolve the issue. Follow through for more information on how to fix the issue.
Above are some of the key solutions to help you resolve the issue of “Your account doesn’t allow editing on a Mac” persistent on Mac OS devices. The methods are simple really, clearing cached data involves moving the cached folder to the trash and deleting it, and checking Office 365 to ensure you have a valid license. Follow through for more information on how you can achieve this.
Clear cached data on Mac OS devices to fix the editing error
Cached data stores information that can be repeated. This is great as it can reduce loading time and prevent constantly asking you to log in. However, there may be instances where it stores updates from prior usage where you didn’t have a validated account. In this situation, you may find it useful to clear the cached data and the software run scripts to form new cached data to help resolve the issue of “Your account doesn’t allow editing on a Mac”. Follow through for more information on how you can achieve this.
- To begin, select “Go.”
- Then select “Go to Folder.”
- “/Library/Caches” should be typed in.
- Then hit the “Go” button.
- Locate the Microsoft folder by scrolling down.
- Select “Move to Bin” from the context menu by right-clicking.
- Go to the trash can and choose “Empty.”
- Finally, click “Empty Bin” to confirm.
The cached data will be removed and ready to accept a fresh set of scripts after the following processes are completed. The cached data can obstruct current data patches, producing problems with the application; however, cleaning the cache clears everything out and allows fresh data scripts to be added and logged. However, keep in mind that deleting cached data restores all preset to default, so you’ll have to reset them again. I recommend making a note of your settings so that you can easily restore them after the cached data has been removed.
In-depth step by step guide [with screenshots] – Clear cached data on Mac OS devices
Below is a more in-depth guide on how you can clear cached data on Mac OS devices to resolve the issue of “Your account doesn’t allow editing on a Mac”.
- To begin, select “Go”.

- Then select “Go to Folder.”

- “/Library/Caches” should be typed in.

- Then hit the “Go” button.

- Locate the Microsoft folder by scrolling down.
- Select “Move to Bin” from the context menu by right-clicking.

- Go to the trash can and choose “Empty.”

- Finally, click “Empty Bin” to confirm.

After the following steps are finished, the cached data will be erased and the system will be ready to receive a new set of scripts. Cache data can hinder current data patches, causing application issues; however, clearing the cache clears everything away and enables the addition and logging of new data scripts. Keep in mind, though, that erasing cached data resets all preset to default, so you’ll need to do it again. Make a note of your settings so you can simply restore them after the cached data has been erased.

Ensure you have a valid license on Office 365 to fix the editing error
The next steps revolve around you having to access Office 365 and checking you have a valid Office license to edit documents. Sometimes your license may have expired or been revoked, if that has happened you can follow the steps below and help resolve the issue of “Your account doesn’t allow editing on a Mac”, follow-through for more information.
- Firstly, open Office 365.
- Now log in to your account and click on your profile in the top-right corner of the Office 365 gateway page.
- Then, on the left-hand side panel, select “view account.”
- Finally, select Subscriptions from the panel on the left.
Once the steps above have been completed, you can check subscription status, if there are any issues such as avoided subscription you can contact your admin users to help resolve those issues. I recommend you use the steps above and clear the cache after the issue has been resolved, so if there are any details pre-verification, they can be cleared and ready to accept the new details.
In-depth step by step guide[with screenshots] – Ensure you have a valid license on Office 365
- Firstly, open Office 365.
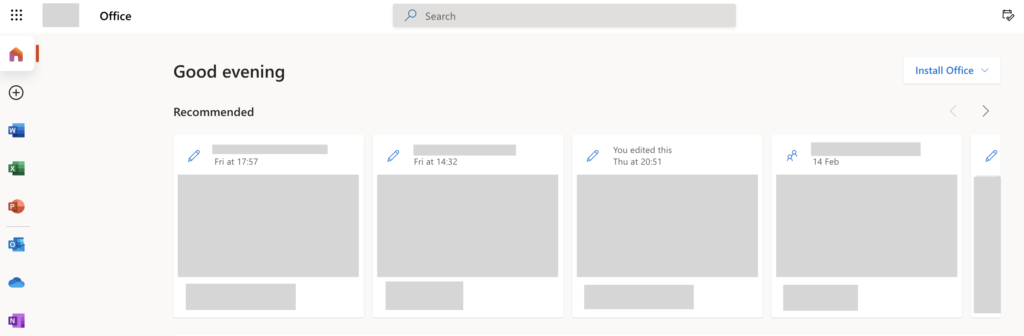
Use your regular login details for Office-based tools and software. Once you have signed in with your email or used a verified means of account entry you can proceed with the steps illustrated below.
- Now log in to your account and click on your profile in the top-right corner of the Office 365 gateway page.

- Then, on the left-hand side panel, select “view account.”

- Finally, select Subscriptions from the panel on the left.

After you’ve performed the procedures above, you may check your subscription status. If there are any difficulties, such as avoiding subscriptions, you can contact your admin users for assistance. I propose following the steps above and clearing the cache when the issue has been fixed so that any pre-verification details may be erased and the new details can be accepted.
Conclusion
Thank you for reading our resources; please contact our team to let us know how you found the content and if you have any more questions about the issues covered. If the problems remain after you’ve followed the procedures above, please contact our trained team at any time, and we’ll help you resolve the recurring error that’s causing problems in your organization. Please let our staff know by leaving a comment, and we’ll take care of it. Others who are experiencing similar issues will be able to find answers as well.