While natively it’s not possible to set a prepend using an EAC, you may make a rule that can automatically prepend the mail subject based on the concurrent email sensitivity. A non-interactive approach primarily comes from the rule script for dialogue being in a static script format as opposed to a sequenced approach used on regular static subject lines. Regardless, we will show you the best approach to prepend the email subject based on email sensitivity.
In this blog, we will be looking at solutions to help users prepend the email subject based on email sensitivity. Follow the step-by-step process below to see how you can prepend the email subject based on email sensitivity.
Step by step process – How to prepend the email subject based on email sensitivity
- First, sign in to your Office 365 account.
- Use the app launcher and navigate to admin.
- In the admin dashboard, under “admin centre”, click on “Exchange”(you may need to click “Show all” to access).
- In the Exchange dashboard, click on “Mail flow”.
- Then click on “rules”.
- After that click on the + then select “Create a new rule”.
- Name your new rule.
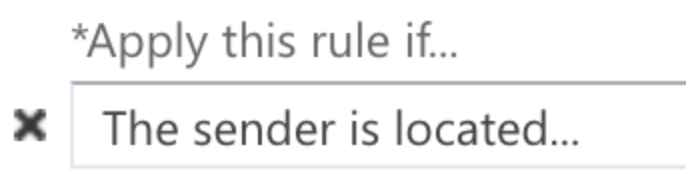
- Fill out the rule apply section.
- Then click on “add condition”.
- Do the following under Select “prepend a Disclaimer” from the “Apply Disclaimer” drop-down menu.
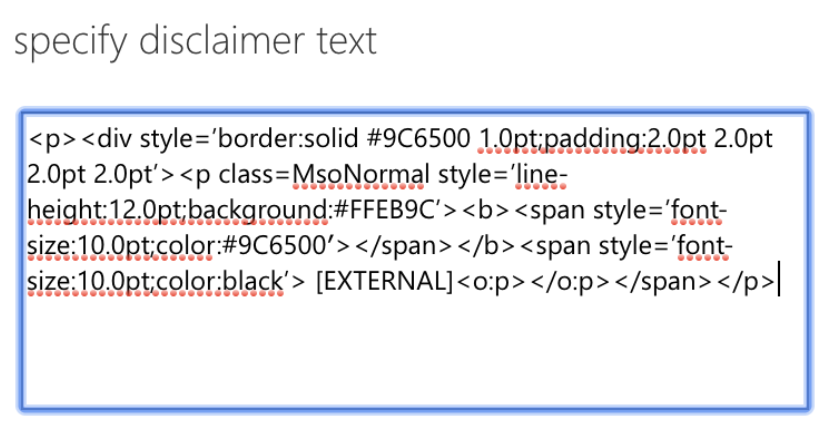
- For the prepend topic, click “Enter text” and enter the HTML code shown below.
- Then click on “OK”.
- Now from the extension dropdown, select “prepend the subject of the message with”.
- Then click on “add condition”.
- Now choose a suitable prefix.
- Finally, click on “OK”.
By including the Prepend disclaimer, you’ll get a Stamp on the email topic based on sensitivity, as well as the same context information stamped into the email text body. You can now test the newly established Transport rule by sending an email to your Office 365 account from any external domain and looking for the addition in the message subject line. We used the disclaimers, but at the beginning of an email instead of the end for the email prepend stamp. Wr also wanted to eliminate this on replies, so that the long script at the content doesn’t overload the server.
| This is the code, a very simple HTML, we found using the rule directory on EAC. It’s used to help depict the visual element of the prepend subject lines external prefix content and the text body stamp inclusive within the same Rule Partch. Try not to alter to avoid visual defects within the subject content as the pre map has been done with the current HTML mail sequence in mind. | <p><div style=’border:solid #9C6500 1.0pt;padding:2.0pt 2.0pt 2.0pt 2.0pt’><p class=MsoNormal style=’line-height:12.0pt;background:#FFEB9C’><b><span style=’font-size:10.0pt;color:#9C6500′></span></b><span style=’font-size:10.0pt;color:black’> [EXTERNAL]<o:p></o:p></span></p> |

Exchange Office 365 mail flow actions
When you select an action in the Exchange admin centre (EAC), the response that displays in the “Do the following” box is usually different from the click path you selected. When establishing new rules, you may also pick a short action name from a template (a filtered list of actions) instead of going through the whole click path (depending on your settings). The table’s EAC column lists both the short names and the full click path values.
Although a small portion of the activities available on Mailbox servers are also available on Edge Transport servers, other actions are only available on Edge Transport servers. You can only manage mail flow rules in the Exchange Management Shell on the local server since Edge Transport servers don’t have an EAC.
Mail flow rules established and set on Mailbox servers are kept in Active Directory, where they are read and applied by the Transport service on all Mailbox servers. When you add, alter, or remove a mail flow rule, the change is replicated across all domain controllers in your company. As a result, Exchange is able to provide a consistent set of mail flow rules across the company.
Step by step process – How to prepend the email subject based on email sensitivity
Step by step breakdown:
- First sign in to your Office 365 account.
Use your account details or if you have a current Skype account with the Office account in question, you can use this.
- Use the application launcher to navigate towards “Admin”.
The launcher is illustrated by nine dots in the right corner, click on it and find “Admin” as shown above.
- In the admin dashboard, under “admin center”, click on “Exchange”(you may need to click “Show all” to access).
In this example “Exchange” was pinned to the menu bar, however, in your dashboard you may need to click on “show all” which will bring you to the Exchange panel.
- In the Exchange dashboard, click on “Mail flow”.

Mail Flow is a drop-down option so it will expand the options it holds, it will not open a new window to display all the options it has present.
- Then click on “rules”.

- After that click on the + then select “Create a new rule”.

- Name your new rule.

- Fill out the rule apply section.
- Then click on “add condition”.
- Do the following under Select “prepend a Disclaimer” from the “Apply Disclaimer” drop-down menu.

- For the prepend topic, click “Enter text” and enter the HTML code shown below.
| <p><div style=’border:solid #9C6500 1.0pt;padding:2.0pt 2.0pt 2.0pt 2.0pt’><p class=MsoNormal style=’line-height:12.0pt;background:#FFEB9C’><b><span style=’font-size:10.0pt;color:#9C6500′></span></b><span style=’font-size:10.0pt;color:black’> [EXTERNAL]<o:p></o:p></span></p> |
- Then click on “OK”.
- Now from the extension dropdown, select “prepend the subject of the message with”.

- Then click on “add condition”.

- Now choose a suitable prefix.

- Finally, click on “OK”.
That’s it for this Blog — thank you for taking time out to read our content, please feel free to email our team about how it went if you followed the steps or if you need more help with the questions we answered in this Blog.