Microsoft Teams allows you to connect your account with multiple organizations. However, if you have an account with an organization you no longer work for, you can remove it. Below I will provide a guide on removing an organization from your Microsoft Teams account.
To remove an organization from your account, you must access Office 365 and remove it as a default within the Account settings section. Once you are in the Account section of Office 365 behind your profile, you can access my organization section and make the necessary changes to remove the organization.
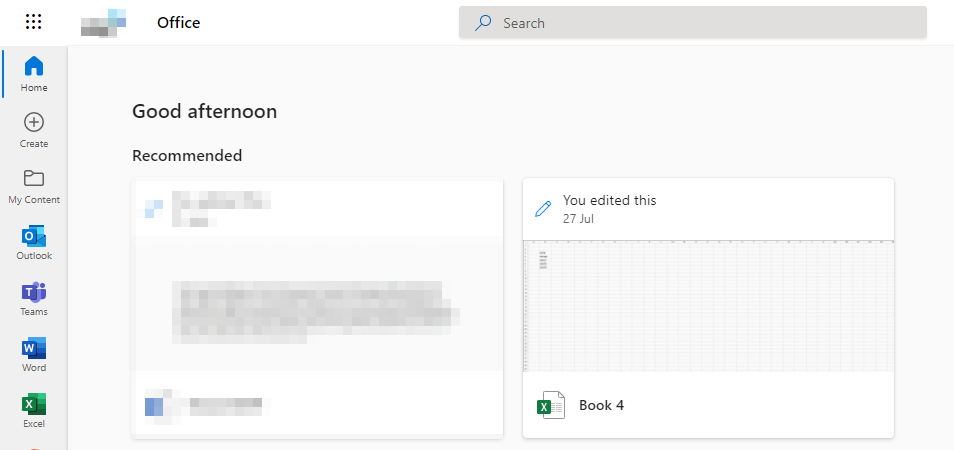
- Firstly, open Office 365.
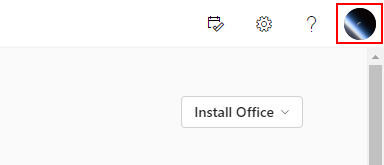
- Now click on your profile picture.
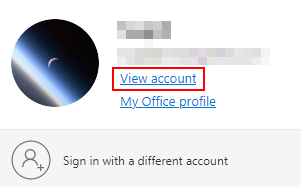
- Click on “View account“ to continue.
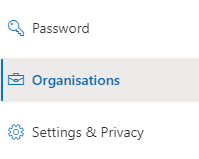
- Scroll down until you find the option for “Organizations.”
- then click on the option for “Manage organizations.“
- Locate the organization and click the “Leave Organization“ option to complete the process.
Once you have completed the steps, you will have managed to remove an organization from your Microsoft Teams account. Unfortunately, there isn’t a native way of removing an organization, as you will need to make these changes in Office 365. As Microsoft Teams is part of a broader package of Office 365 applications, any changes you make will reflect on all the applications.
If you cannot leave an organization in Microsoft Teams, the organization you are part of may have restricted your ability to leave without permission. You will need to ask for permission before you decide to leave an organization from your administrators.
An in-depth guide on how to remove Microsoft Teams organization from your account
The Microsoft 365 UI can sometimes be complicated, so if you require further assistance with the steps provided, you can use our in-depth guide to help. Our in-depth guide includes a series of screenshots you can use to help navigate the Microsoft 365 UI.
- Firstly, open Office 365.
- Now click on your profile picture.
- Click on “View account” to continue.
- Scroll down until you find the option for “Organizations.”
- then click on the option for “Manage organizations.”

- Locate the organization and click the “Leave organization” option to complete the process.
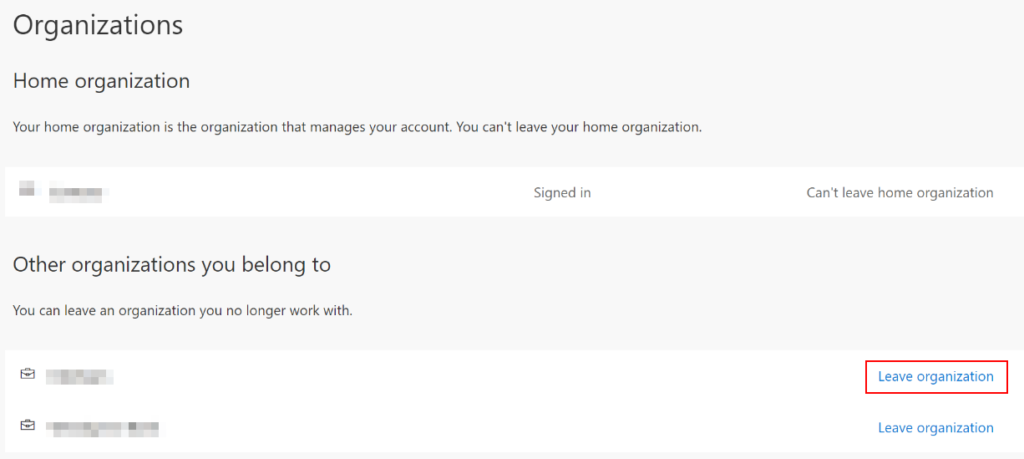
Things to note: there could be multiple organizations that you are a member of. Make sure you select the correct organization; otherwise, Microsoft could remove you from an active organization. Once you leave, you will no longer be able to access any content in that organization. If there are licensed products through the organization, you will no longer have access to them.

Admin users – How to allow users to leave the organization if they require permission to leave
This section is for admins who need to grant access to a user who wants to leave an organization. This is for security-related reasons, so any time a user leaves an organization, they can keep a record of this information. While sometimes an organization may altogether bypass this section—allowing you to leave the organization without further steps—sometimes specific organizations may require you to ask their permission before leaving.
Allowing users to leave an organization without formal permission could result in improper management of staff data.
- Firstly, open Office 365.
- Now click on the “Launcher.”
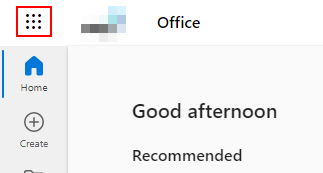
Nine dots illustrate the Launcher in the Office 365 dashboard on the top left-hand side of the display. You must click on this option to access all the Microsoft 365 applications.
- From there, click on “Admin.”
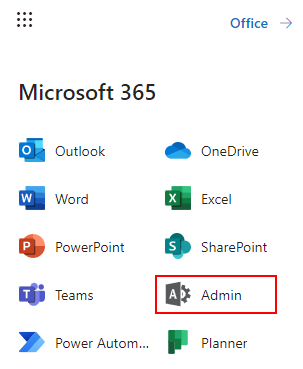
You can access your admin dashboard and make changes to user accounts or your account. You will need to select the one called Admin from the list of available options. To access this page, you must have admin permissions; otherwise, the process will not work with you. You will need a global admin member to approve your permission request to proceed with the steps.
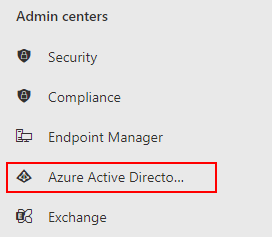
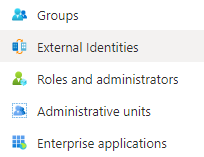
- Select “Azure Active Directory” from the Admin centers.
- Select the option for “External identities.”
- Where it says “External user leave settings,” ensure this option is selected to “Yes.”

Once you have verified the user’s ability to leave an organization, you can follow the steps shown above to allow them to leave the organization formerly. Upon completing the process, a user who has submitted a leave request will now be able to leave the group.
Conclusion
Thank you for reading our content on how you can remove an organization for Microsoft Teams. As Microsoft Teams is part of an organization of applications, the changes made here will reflect everywhere. As established earlier, you cannot remove an organization from Microsoft Teams as a default. To remove an organization from the program, you will need to remove it from the entire Office 365 network.
Sometimes a user may require permission to leave the organization; you can do so by using the steps provided. I have also provided the steps for an admin user to complete the removal process by granting permissions to users who require it. If you need further assistance, drop a comment below, and we will address your issues.