Network admins must maintain proper control over their Office 365 network. That’s why Windows 365 allows you to set conditional access policies for admins to wield more control over the network. So in this article, I will show you how to set a conditional access policy to help manage your Windows 365 network.
To create a conditional access policy in windows 365, you will need to access the Endpoint manager in the 365 Compliance section:
- Firstly, access Endpoint manager.
- Now click on the option for “Endpoint security.”
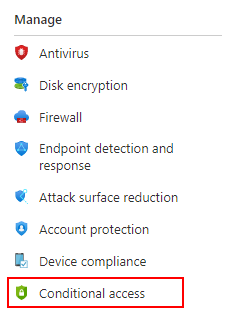
- Choose “Conditional access.”
- Click on “New policy.”
- Name your policy.
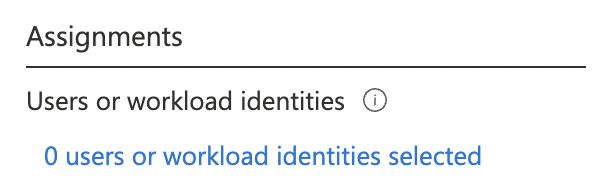
- Now click on the “0 users or workload identities selected.”
- Click on the dropdown under “What does this policy apply to” and select “Users and groups.”
- Choose whether you want to apply the policy to a select number of users or all of the users.
- Select which apps the policy will apply to.
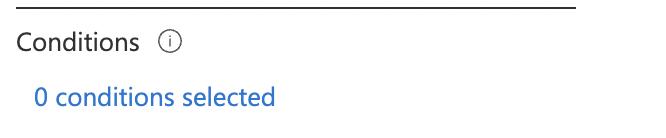
- Click on the “Conditions” option.
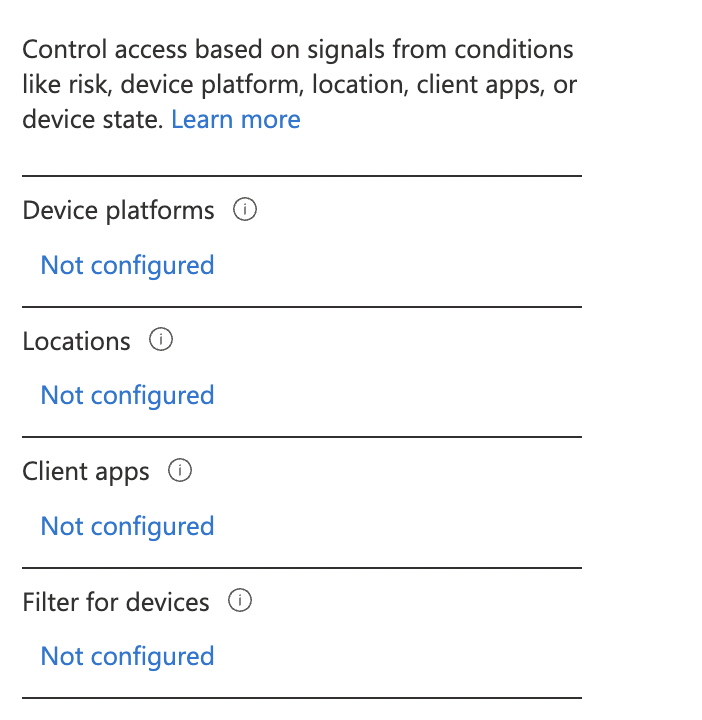
- Configure the policy control access from the device to the location.
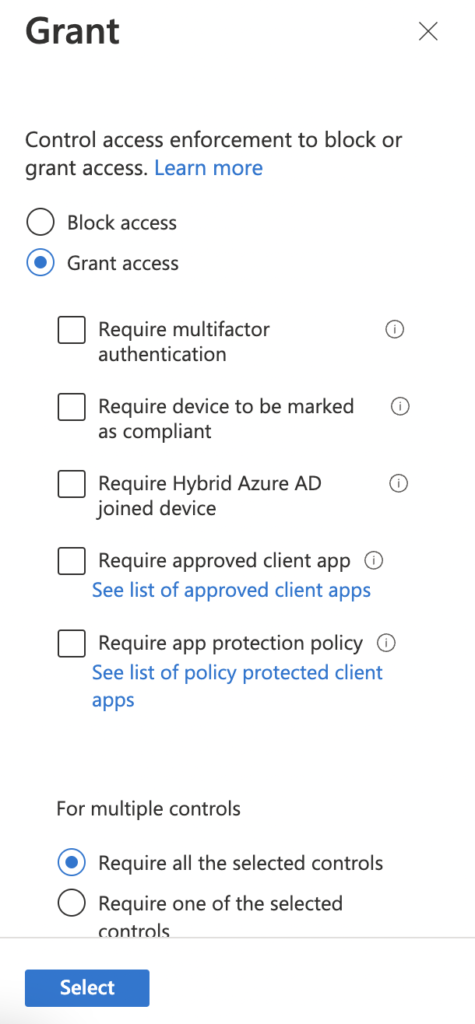
- Configure access control and then click on “Select.”
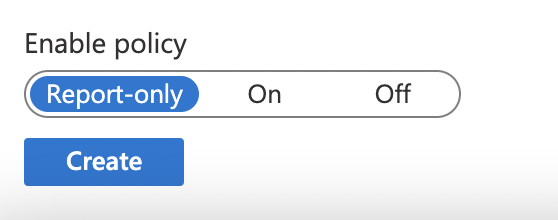
- Choose if you want to enable the policy or not, and then click on “Create” to end the process.
You must make sure that you follow the steps carefully and apply the policy in a way that does not harm your access to Windows 365. You may need to wait roughly 20 minutes for the policy information to be updated on the applications that you have set.
An in-depth guide on how to set conditional access policy in Windows 365
If you are struggling with the steps provided, you can use our in-depth guide to help. Our in-depth guide includes a list of screenshots that you can use to help navigate through the UI. To prevent any issues from occurring while going through the process, I recommend you go through the in-depth guide to understand how you can complete the steps.
- Firstly, access Endpoint manager.
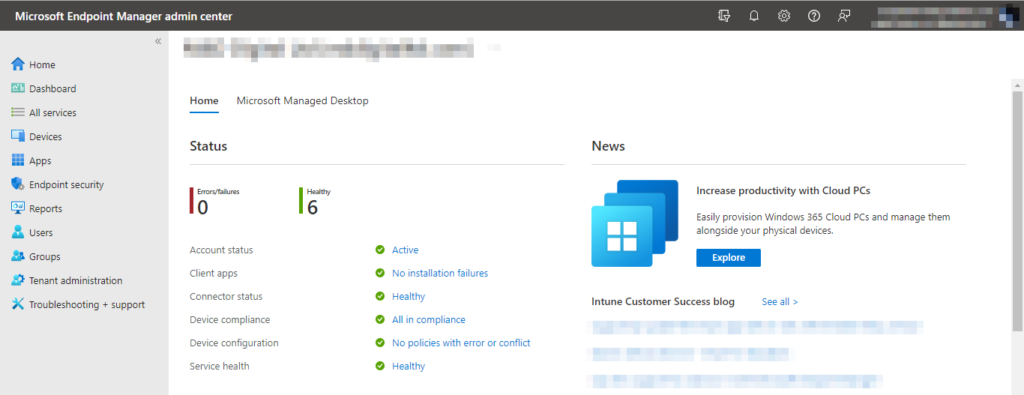
Click on the Endpoint manager link, it will take you to the Endpoint manager section, and if you are signed in to Office 365, there is no need for you to add any additional login credentials to sign in.
- Now click on the option for “Endpoint security.”
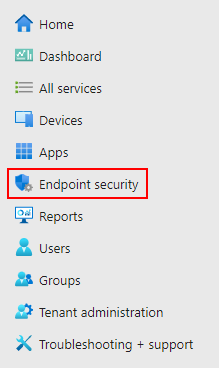
In the left menu, there will be an option called Endpoint security; click on it to proceed with the steps ahead.
- Choose “Conditional access.”
- Click on “New policy.”
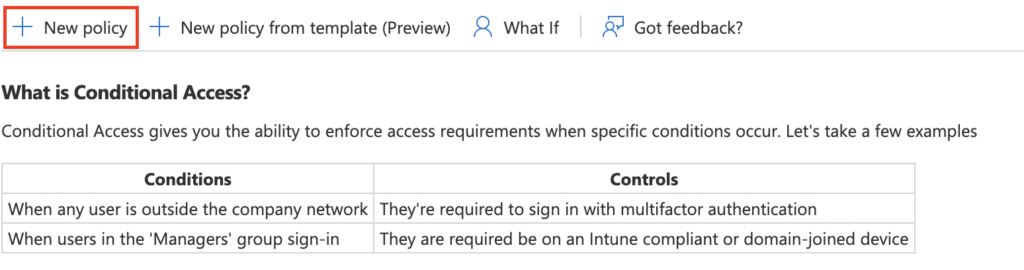
If you do not have the correct admin permissions enabled, you will not be able to access this section, and the option for New policy will be greyed out. So, ensure you have the correct admin permissions to continue with the steps.
- Name your policy.
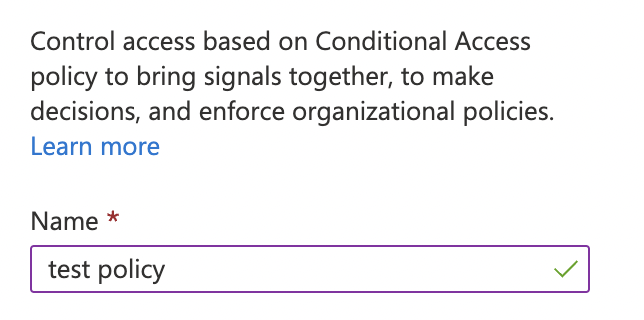
The first mandatory category you need to fill out is your policy’s name; it is your policy’s handle when creating the new policy. Microsoft will use this information to create a path for the policy in the various applications that will require its use. You can name your policy after conditions that will be applied to it; however, if you want to name the policy something different, you can choose any name you wish for the policy.
- Now click on the “0 users or workload identities selected.”
- Click on the dropdown under “What does this policy apply to” and select “Users and groups.”

- Choose whether you want to apply the policy to a select number of users or all of the users.
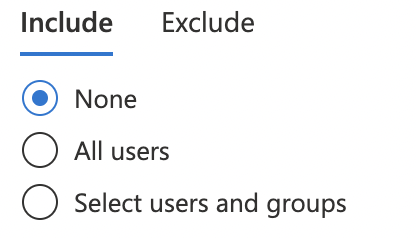
This option will depend on who you are setting the policy for. If you want to apply this policy to all admins, you can do that using the “Select users and groups” option.
- Now select which apps the policy will apply to.
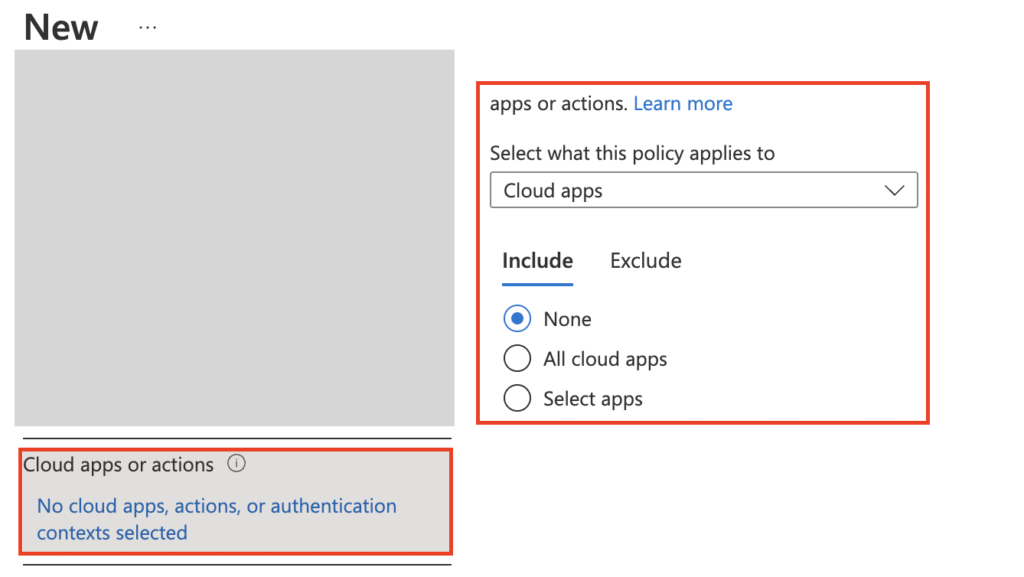
Similar to when selecting users, you can choose which applications you want to apply to the conditional access policy. If you have a few applications you wish to add the policy to, you can select those applications or all the applications in the network.
You can take some time to review each application and see which ones you want to apply the policy to. Or, if you have already decided upon a select few applications you want to apply the policy to, you can choose to do so.
- Click on the “Conditions” option.
- Configure the policy control access from the device to the location.
- Configure access control and then click on “Select.”
- Choose if you want to enable the policy or not, and then click on “Create” to end the process.
Protecting content in a system through conditional access means setting up requirements that must be satisfied before allowing access. If-then statements are the simplest kind of conditional access restrictions.
A user must carry out an activity to access a resource. For instance, a payroll manager has to execute multi-factor authentication to access the payroll program. A conditional access policy will also ensure that mandatory bits of information and applications are protected from data breaches. You can set retentions, or you can even restrict access for certain users using conditional access policies.

Conclusion
Thank you for reading our content on how you can set a conditional access policy on Windows 365. I provided the steps on how you can achieve this as well as an in-depth guide that you can use to help navigate through the more complex steps. As illustrated earlier, I recommend you go through the in-depth guide to understand better what to do to set a conditional access policy.
Sometimes, if you make a mistake inside the conditional access policy section, you may be locked out of your Windows 365 account. If you have any issues when trying to follow the steps or do not understand any of the points we have made, drop a comment below, and we will address them.