When you access a Word, Excel, or PowerPoint file from SharePoint or OneDrive, it opens in the browser by default. For these file formats, it is the default experience. The browser experience opens files quickly, allowing you to make changes right away, and saves your changes to SharePoint or OneDrive automatically. You’ll need to open Office files in their original (desktop) program if you’re conducting significant or careful editing, have a complicated formatting preference, or, for instance, working with intricate formulae in Excel. We’ll show you how to set default Office files to open in the native app from SharePoint and OneDrive in this blog. Microsoft SharePoint’s default out-of-the-box version prefers to open Microsoft 365 app files in the online browser editor rather than desktop apps. This editor is useful for getting a fast preview of a file and maybe making minor edits, but it does not correctly show file formatting and lacks the full features of standard Office desktop programs. Follow the steps below to see how you can set the preference of opening documents in desktop apps SharePoint
Step by step process – How to set preference of opening documents in desktop apps SharePoint
- First sign into Office 365.
- Use the app launcher and navigate to “SharePoint”, and click on it.
- In SharePoint go to the Site where your files are located.
- In the menu bar click on “Site contents”.
- Click on “Settings”, gear icon.
- Under “Site Collection Administration”, click on “Site collection features”
- locate “Open Documents in Client Applications by Default”.
- Finally, click “Activate”, located towards the right side of the row.
That’s it, you have now successfully allowed all documents to now open in the native application as a primary preference. Now every time by default any SharePoint file you open will be set to open in the default application native to its creation. For example, a word file or document which before editing the preference would open in the native online application will now open in the desktop application. This option has no effect on documents that show in search results. Even if you set SharePoint to open documents in client apps by default, the default open behavior will not change when someone searches for a document and attempts to open it from the search results.
There are many more ways to open folders in the default application, the method we have shown above is the most convenient. Setting features can be enabled for all your documents, however, for individual documents, this must be done manually using the prebuilt preferences in the main document settings. Editing those settings will allow you to open the document once in the client application, this cannot be set as default.

Open documents manually in application
Let’s say you want to open only one document natively, however, you won’t mind if it’s not a default setting depicted across all your documents. The step-by-step process below will allow you to ensure that documents open upon request in the application.
Step by step process – Open documents manually
- First sign into Office 365.
- Use the app launcher and navigate to “SharePoint”, and click on it.as
- In SharePoint go to the Site where your files are located.
- In the menu bar click on “Documents”.
- Click on the specific file within your document library.
- Click the “Show actions” button (3 vertical dots) > “Open” > “Open in app”.
Note that this will only open the document in the application once, you will need to use the previous steps to have a more default solution to open files in the native application, if necessary you can deactivate these settings and ensure that the files continue to open in the browser if for instance you already have multiple documents open in the current application, or the application is showing signs or inconsistencies with constant lag and buffering. The single-file opening in the document app via a manual procedure, while it may feel inconvenient to users, will have some benefits to certain users.
Why open documents in the application opposed to the web browser
In a web browser, you may make basic adjustments and formatting changes to your document using Microsoft Word Web App that should be available in your Office 365 plan assuming you have a full plan and not a SharePoint only plan. Use the “Open in Word” command in Word Web App for more sophisticated capabilities. The document is saved on the webpage where you opened it in the web app when you save it in Word.
Certain types of files are not supported by the Word Web App. Open Document Format (ODF), Rich Text Format (RTF), Hypertext Markup Language (HTML), Multipurpose Internet Mail Extensions HTML (MHTML), and Portable Document Format (PDF) are examples of formats that aren’t supported (PDF). For documents stored on OneDrive, the ODT format is not supported. As you can see you are quite limited in what you can do in the web application, not only are their limited features with having the file opened in web brewers, what you can open in the web application in terms of formatting are quite limited as well. If you have a web server with HTML imbed based within a word document you will not be able to access the imbed in its default true state on the online application, this will have to be done on the native application associated with that document in this case Word.
In depth – Step by step process – How to set preference of opening documents in desktop apps SharePoint
Step by step breakdown:
- First sign into Office 365.
Use your account details or if you have a current Skype account with the Office account in question, you can use this.
- Use the app launcher and navigate to “SharePoint”, and click on it.
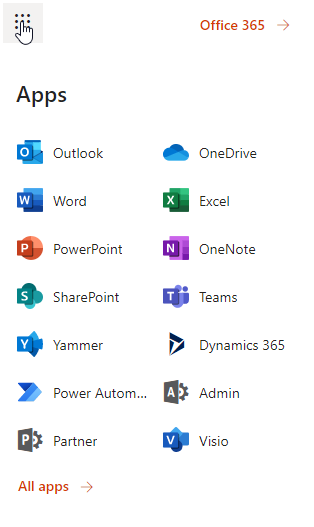
You can access the SharePoint application however this is for individuals who only have a SharePoint plan, A larger group of individuals have SharePoint in Office 365.
- In SharePoint go to the Site where your files are located.
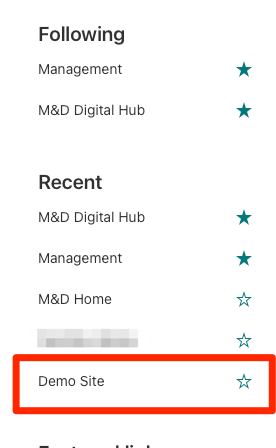
In this example, the site above called “Blog Demo” will be used to create the preview.
- In the menu bar click on “Site contents”.

A document library is a safe storage location for files that you and your coworkers can quickly locate, collaborate on, and access from any device at any time. For example, a document library on a SharePoint site can be used to hold all materials relevant to a given project or customer.
- Click on “Settings”, gear icon.

I’m a site collection admin, and I’ve noticed that the Gear icon has various options and a different UI, yet it works well with a Read-Only user account.
- Under “Site Collection Administration”, click on “Site collection features”.
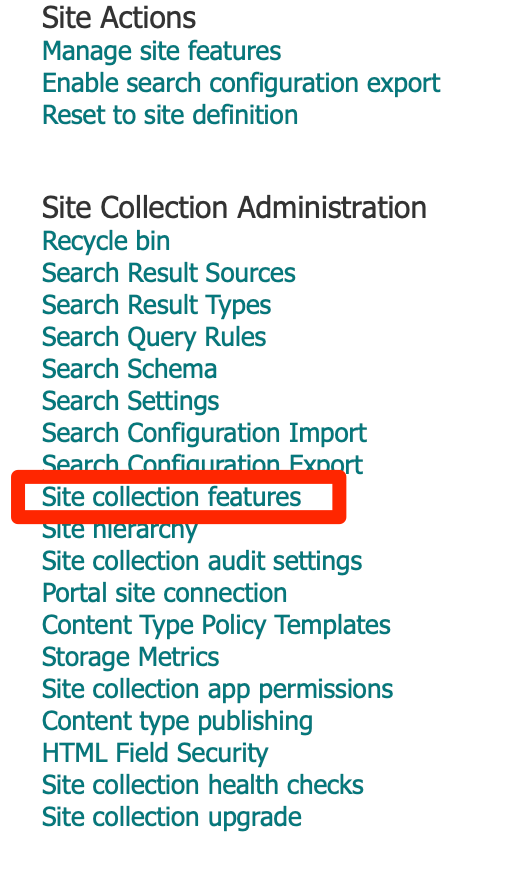
- locate “Open Documents in Client Applications by Default”.

- Finally, click “Activate”, located towards the right side of the row.

That’s it for this Blog thank you for taking time out to read our content, please feel free to email our team about how it went if you followed the steps or if you need more help with the questions we answered in this Blog.