DMARC, which stands for Domain-based Message Authentication, Reporting, and Conformance, ensures the recipient’s email systems trust emails from your domain. When using DMARC, organizations are better protected against phishing and spoofing. DMARC can also allow recipient mail systems to select how to handle messages from your domain that don’t pass specific tests. However, users want to know how to set up DMARC in Office 365, so I will show you how to achieve that in this blog.
To set up DMARC in Office 365, you must format the current domain TXT record for DMARC compatibility. These are the most often used syntax choices for Microsoft 365 as they are the most effective. If you go into Office 365, you can locate the “Domains” options under “Settings” on the left. Then, you can change the TXT (text) record by selecting the domain of choice and clicking on “DNS records.” The domain section in Office 365 is located in the “Admin” dashboard; you need admin permissions to change the TXT record.
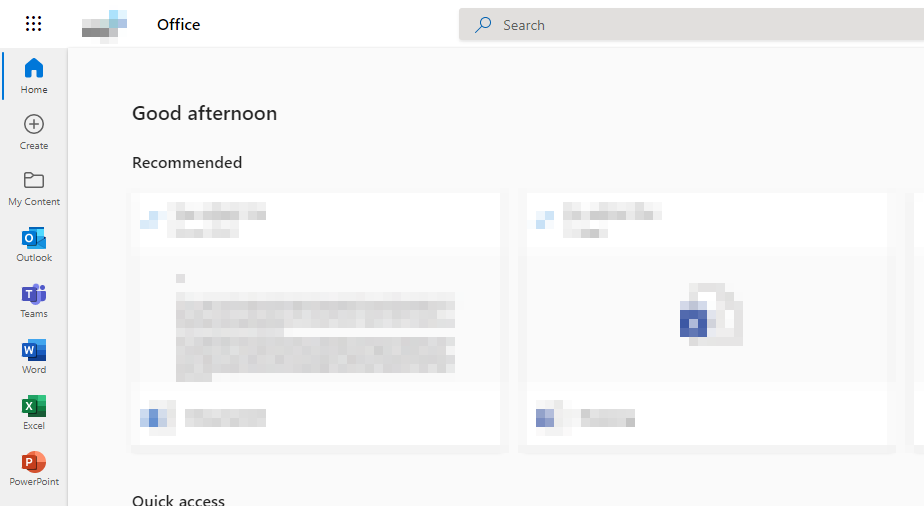
- Firstly, open Office 365.
- Now click on the launcher followed by “Admin.“
- Click on the dropdown for “Settings.“
- From the settings dropdown, select “Domains.“
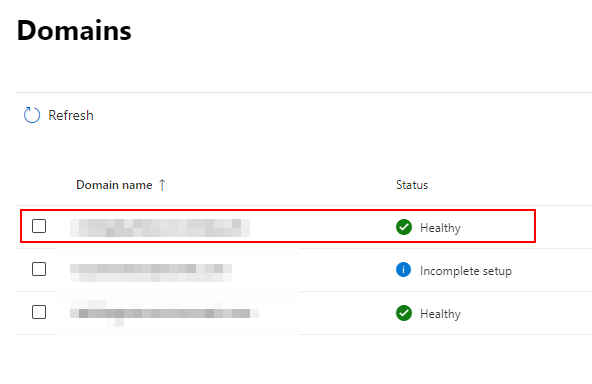
- Choose one of your domains.
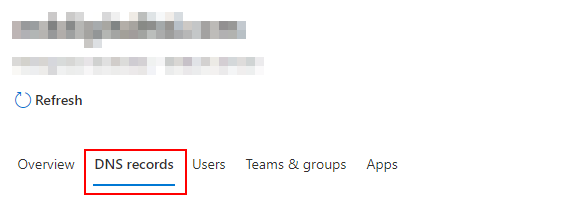
- Select “DNS record.“
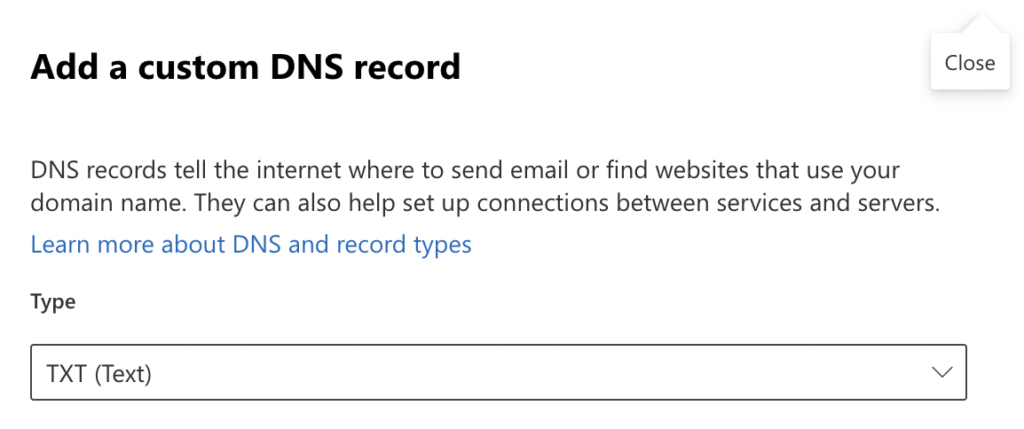
- Choose a pre-existing DNS record, or you can select “Add record.“
- Set the “Type“ to “TXT.“
- Set the console TXT name to “_dmarc.domain.com“
- Add “v=DMARC1“ into the TXT value box.
- Make sure TTL time is set to “1 Hour.“
- Click on “Save“ to complete the process.
When complete, you will have managed to change the DNS record to the updated DMARC TXT record for your domain. The domain and all its subdomains are default protected by the record against spam. For instance, DMARC will safeguard mail from the domain and all its subdomains, such as external.contoso.com.
A guide on how to set up DMARC in office 365
If you require assistance, you can use our in-depth guide to help. I recommend that you go through the in-depth guide so you have a better understanding of how to complete the steps. The guide includes a list of resources, such as screenshots, to help you navigate the complex steps.
- Firstly, open Office 365.
For this process, you will need admin permissions enabled. If you don’t have admin permissions, you will need to talk to one of your global admins, who can grant you the correct permissions to adjust domains.
- Now click on the
 app launcher followed by “Admin.”
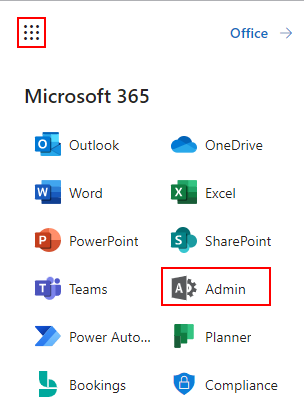
Nine dots illustrate the app launcher in Office 365 in the top left. You will need to click on this, and then you will need to click on the option for “Admin.”
- Click on the dropdown for “Settings.“
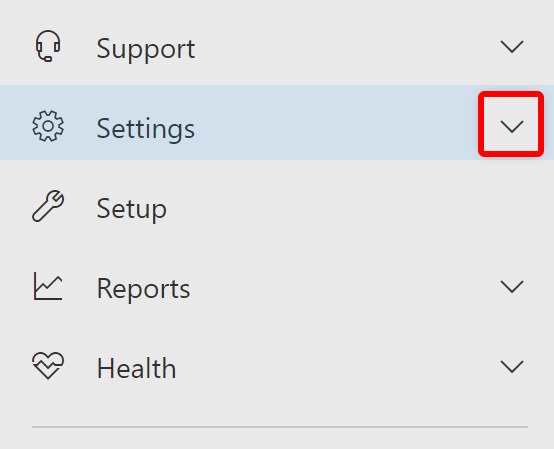
There will be options on the left side of the admin dashboard. There, you must click on the dropdown for “Settings.” You may need to click on “Show all” if you can’t see the settings option.
- From the settings dropdown, select “Domains.”
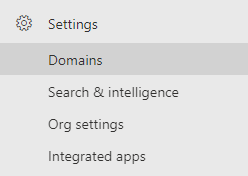
In the settings section, there will be a list of different options; select “Domains” from that list.
- Choose one of your domains.
- Select “DNS records.”
- Choose a pre-existing DNS record, or select “Add record.”

- Set the Type to “TXT (Text).”
- Set the console TXT name to “_dmarc.domain.com”

- Add “v=DMARC1” into the TXT value box.

- Make sure TTL time is set to “1 Hour.“

- Click on “Save” to complete the process.

Once you have completed the steps, you will have set up a DMARC Office 365 for a domain. You will now have guaranteed protection over subdomain-related content within your domain. The DNS tag updated to include subdomains that are not part of your Office 365 network can also be excluded with the correct TXT formatting. Any exchange-based mail communication or messages will now have an encrypted format allowing for a more secure transaction of the details.

Things to consider when setting up a DMARC in office 365
For a sub-domain or domain, start with a straightforward monitoring-mode record that asks DMARC receivers to provide you with data about the communications they observe using that domain. A DMARC TXT record with the policy set to none (p=none) is in monitoring mode. Because they are unclear about how many emails they could lose by publishing a more stringent DMARC policy, many businesses publish a DMARC TXT record with p=none.
You can implement a quarantine policy if you’re confident that all or most of your genuine traffic is secured and you know how DMARC will affect your network. You are instructing DMARC receivers to divert communications from your domain that are DMARC-failed away from your clients’ inboxes and into the regional equivalent of a spam folder. A DMARC TXT record with the policy set to quarantine (p=quarantine) is considered a quarantine policy.
To deploy DMARC, a policy must be published as a TXT entry in the DNS (for example, a policy published for contoso.com will apply to sub.domain.com unless a different policy is explicitly defined for the subdomain). This is advantageous since businesses may be able to specify fewer high-level DMARC records for greater coverage. When you don’t want the subdomains to inherit the top-level domain’s DMARC record, you should be careful to set up specific subdomain DMARC records.
Conclusion
This concludes the guide on how to set up DMARC on a domain in Office 365. These are the steps on how you can set up DMARC, as well as an in-depth guide if you require further assistance. I have also provided some further information if you need a better understanding of the context of DNS tags and DMARC message protection. If you require further assistance with the steps, drop a comment below, and we will address your issues.