Email forwarding allows you to forward email messages delivered to one user’s inbox to another user’s mailbox within or outside your company. Email forwarding allows you to set up a mailbox so that email messages sent to one user’s mailbox are sent to another user’s mailbox inside or outside your company. You may have corporate requirements for setting up email forwarding for a user’s mailbox as an administrator of an organisation. Below is a step by step process to allow users of a Microsoft Exchange network to set up forwarding.
Step by step process for setting up email forwarding in the Exchange admin center
- Firstly, sign into an Office 365 account — please make sure that you are a Microsoft 365 global or Exchange admin
- Next you need to visit the admin dashboard by clicking on the app launcher icon followed by “admin”.
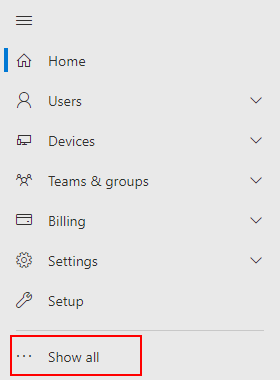
- Click or tap on show all and click on Exchange
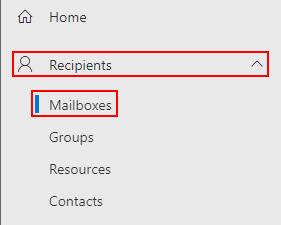
- Under recipients on the left hand side menu click on mailbox — this will bring up all the mailboxes connected to your organization
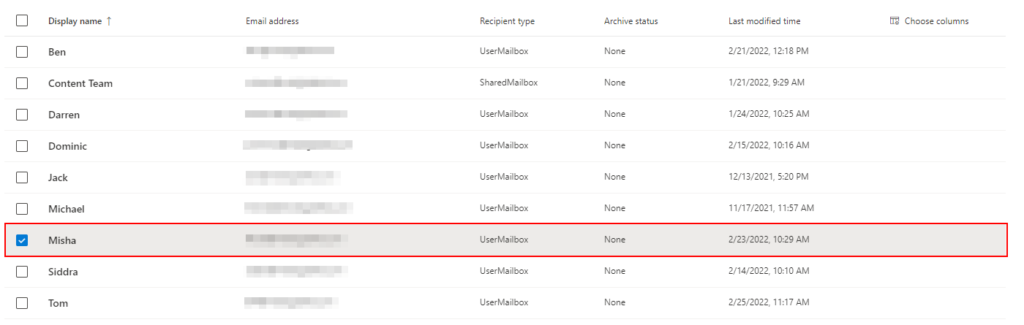
- Then tap on the mailbox you wish to set up email forwarding for — please note that you cannot select multiple mailboxes to set up email forwarding; you have to do it one at a time
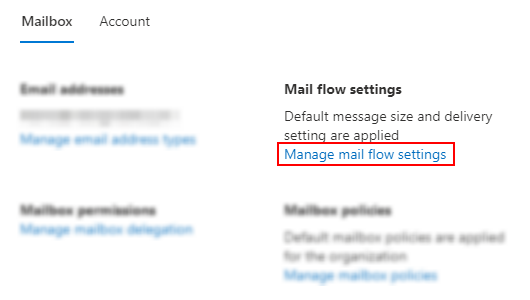
- A panel will be displayed on the right side of the display showing information related to the Mailbox account. Here you need to navigate to Mail flow settings and under it, click on manage mail flow settings.
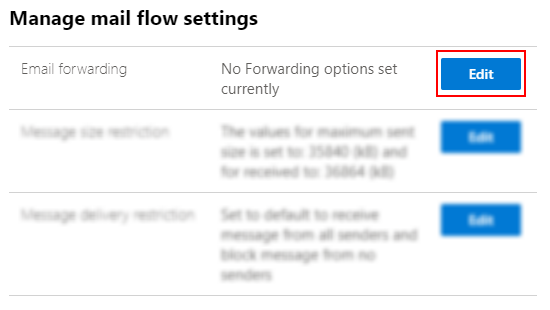
- Click on the edit button displayed next to email forwarding
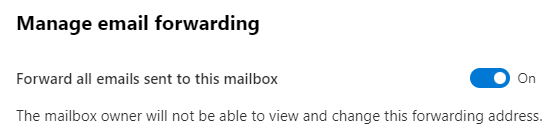
- By default “Forward all emails sent to this mailbox” will be off. You need to turn it on by clicking on the switch which says “off” — if it’s on, leave it and progress to the next stage.
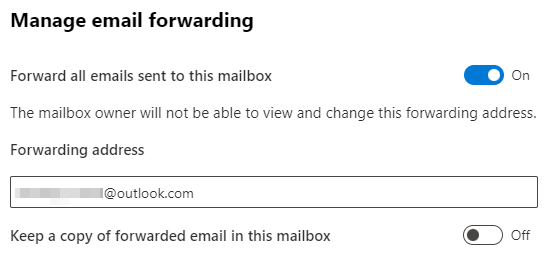
- Once on it will bring up a dialogue box where you need to type out the email address of the user you wish to set up mail forwarding to — note you can only set up forwarding for one person.
- “Keep a copy of forwarded email in this mailbox” will be off. You may want to turn this on if you wish to keep a copy of the forwarded mail.
- Click on save to keep the new settings active.
If you’d like a video walkthrough, we’ve created a YouTube video that walks through the steps that we’ve given above. Give the video a watch here:

Why have email forwarding?
Using a simplistic way of forwarding email-based content modifies the users who receive the email content but does not modify the users that send the email content. The field, also known as the envelope sender field, is not the same as the “from” header that most email clients show; it refers to a field used in the early stages of the “Simple Mail Transfer Protocol” and later preserved as the Return-Path header. This parameter contains the address to which mail systems must send bounce messages, if any, to indicate delivery failure or success.
Setting up and allowing for remailing or redistribution, on the other hand, can refer to both resending a message and altering the “envelope sender” field. A good example would be electronic mailing lists. Messages are sent to an email reflector, a program that acts as the forwarding broadcaster of email messages to the names on a distribution list, which remails them to each list’s address. Bounce messages (which reflect a failure to deliver a message to any list-subscriber) will no longer reach the message’s originator. Embarrassingly misconfigured vacation auto-replies, on the other hand, do reach writers.
Mail forwarding can be done automatically using a non-interactive client, such as a mail retrieval agent, which downloads or fetches email from a remote mail server. Although the retrieval agent utilises a client protocol, this forwarding is similar to server forwarding in that the message identification is preserved. Concerns regarding the sender of the envelope apply.
In depth step by step process: How to set up forwarding in the Exchange Online admin center
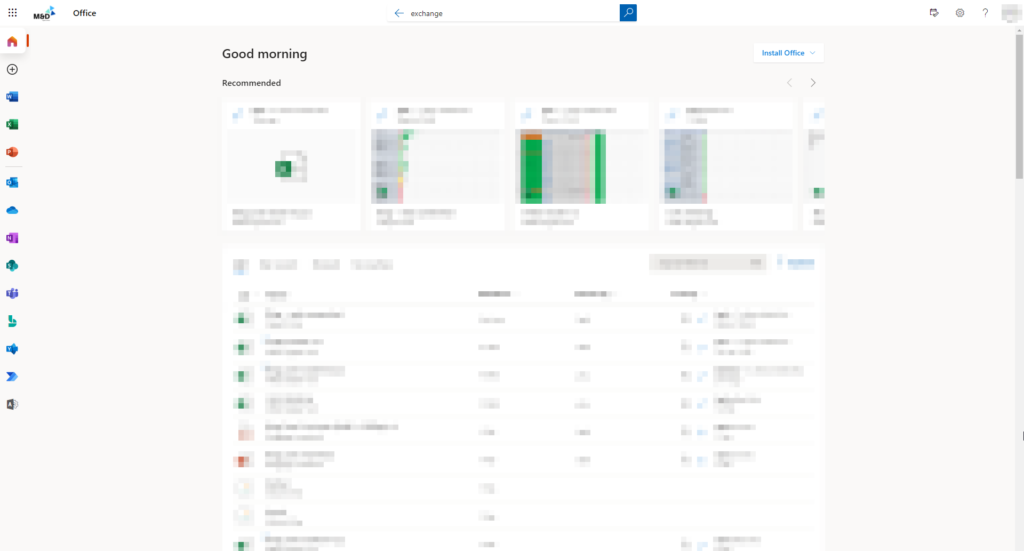
- To start you need to sign in to your Office 365 account where the Exchange mailbox is located. The Office 365 dashboard allows users to manage all Microsoft based content such as the mail, suite and applications relevant to the software.
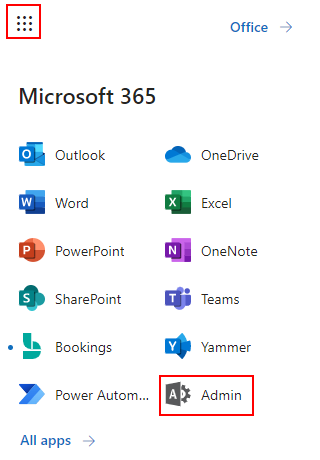
- Then navigate to the application launcher which is illustrated by 9 dots in the top left corner of the dashboard. In the dashboard click on admin as shown below.
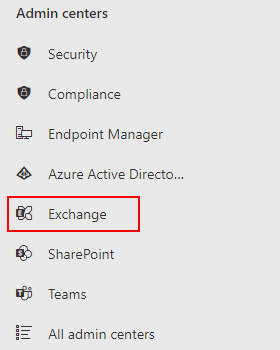
- Once you’re on the admin dashboard you need to then click on Exchange which is under the admin centers section. You may need to click show all if it’s not already pinned to the main launcher area.
- Under recipients on the left hand side menu click on mailboxes — this will bring up all the mailboxes connected to this specific network.
- Then tap on the mailbox you wish to set up email forwarding for. Please note that you cannot select multiple mailboxes to set up email forwarding; you have to do it one at a time.
- The account settings and presets will show up in a panel on the right side of the display. Here under mail flow settings, click on manage mail flow settings.
- Another pop up will show this time where you can edit the mail flow settings. Here you want to click on edit next to email forwarding
- Here “Forward all emails sent to this mailbox” will be either on or off. In this case it’s off, so you need to turn it on to activate mail forwarding preferences.
- Next you need to type out the users you wish to add to the email forwarding list for the user. Note that you can add multiple users here. Turn on “Keep a copy of forwarded email in this mailbox” if you want the mail to also show up in the mailbox you’re forwarding mail from.
- Finally, click on save. This will save the changes.
Microsoft 365 should now change your presets to the new settings, and you should now be able to forward email-based content to the user you just determined.

Thanks for reading our blog post! We really hope that you’ve found it useful. If you have any questions, please feel free to leave a comment below, and we’ll get back to you soon.