You may want to find deleted messages in Teams for legal or security purposes. While there is no native way of accessing deleted messages via the Teams app, a security tool called eDiscovery can perform this function. So in this article, we’ll answer the question of whether it’s possible to recover deleted Teams messages using eDiscovery.
Is it possible to recover deleted Teams messages? Yes, follow these steps to view deleted Teams messages:
- Open your compliance portal.
- Go to eDiscovery > User data search.
- Create a new case or select an existing case.
- Open the case, go to searches, and view the results.
- Duplicate results indicate a deleted message.
Please continue reading our visual, step-by-step guide on how to view deleted Teams messages.
STEP 1 – Create an eDiscovery manager
You must be an eDiscovery manager to view the results of an eDiscovery search. If you already have access as an eDiscovery manager, please head down to Step 2. Otherwise, please start this guide by heading over to your compliance portal.
| ⚠:Important: | You must have a Microsoft compliance license to use eDiscovery. The license is included in an Office Enterprise E5 subscription. You can also access the eDiscovery tool by purchasing an advanced compliance add-on for an Office Enterprise E3 subscription. |
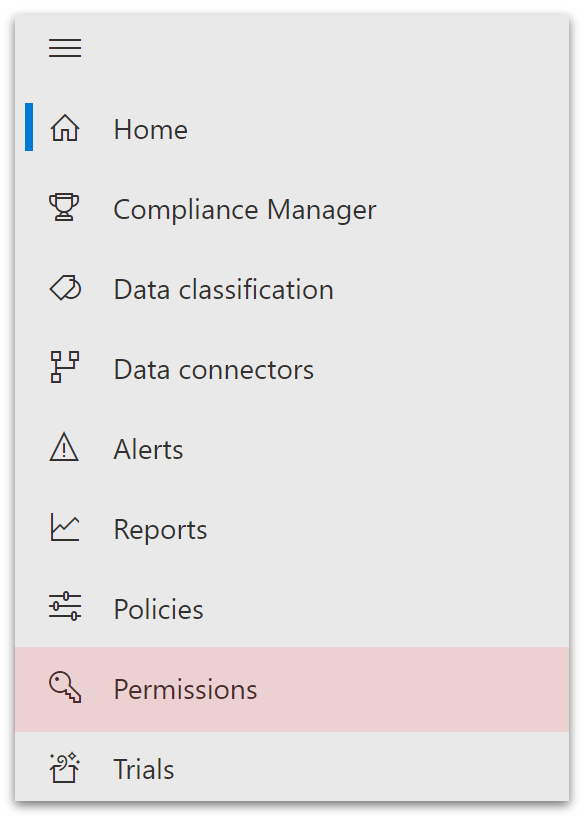
- Click on ‘eDiscovery‘ on the left menu of your compliance portal.
- Then select ‘Permissions.’
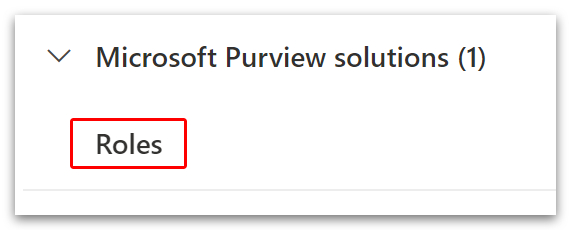
- Go down to ‘Microsoft Purview solutions‘ on the permissions page and click ‘Roles.’
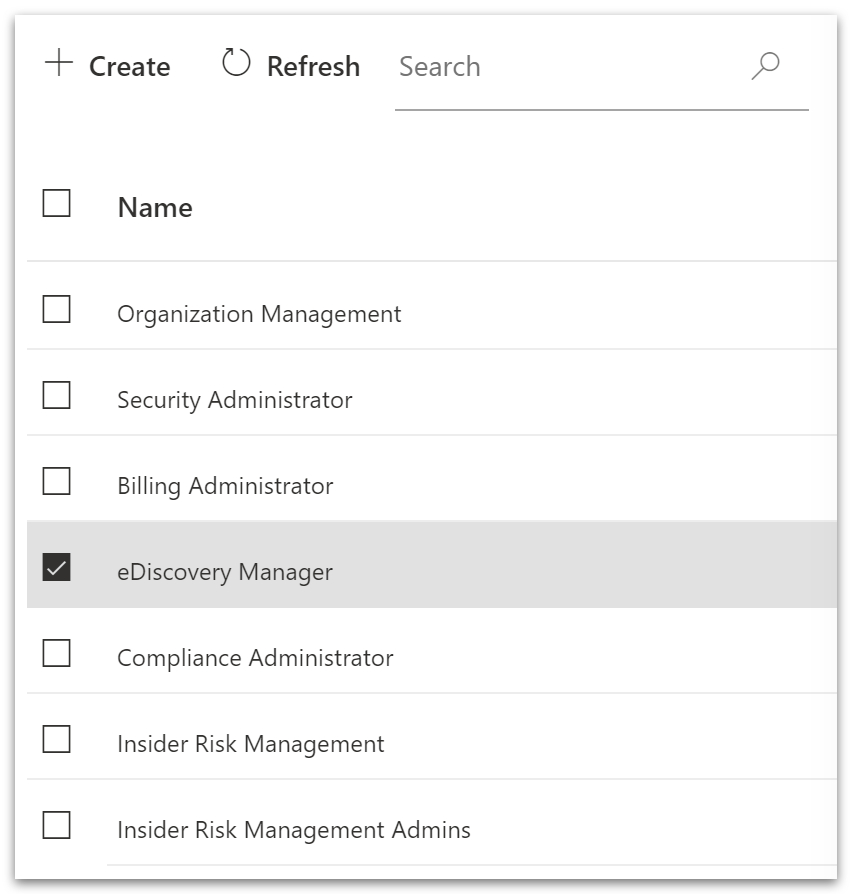
- Now go down and check the ‘eDiscovery manager‘ box.
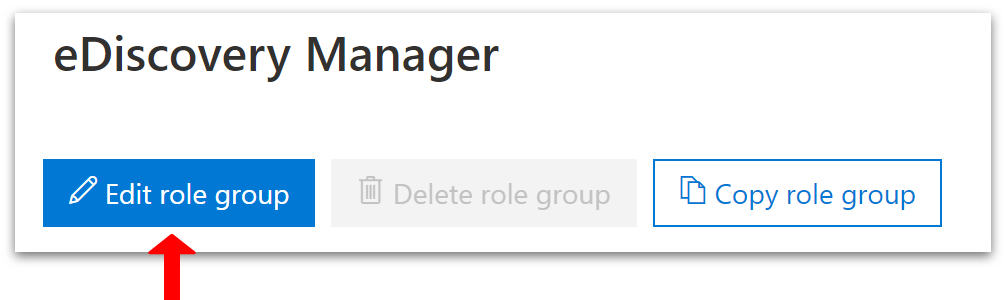
- A box titled ‘eDiscovery Manager‘ will appear on the right side of the window.
- Click the ‘Edit role group‘ button.
- Go to ‘Choose eDiscovery manager’ on the left menu.
- Then click ‘Choose eDiscovery manager‘ in small blue text.

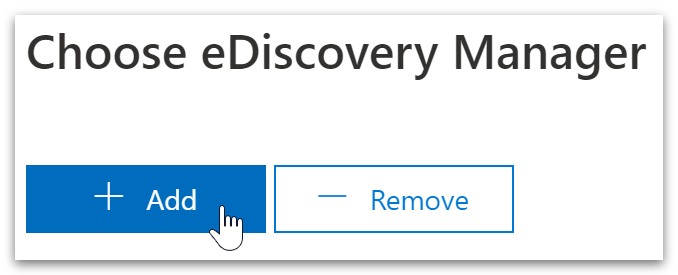
- Now click the ‘+Add‘ button.
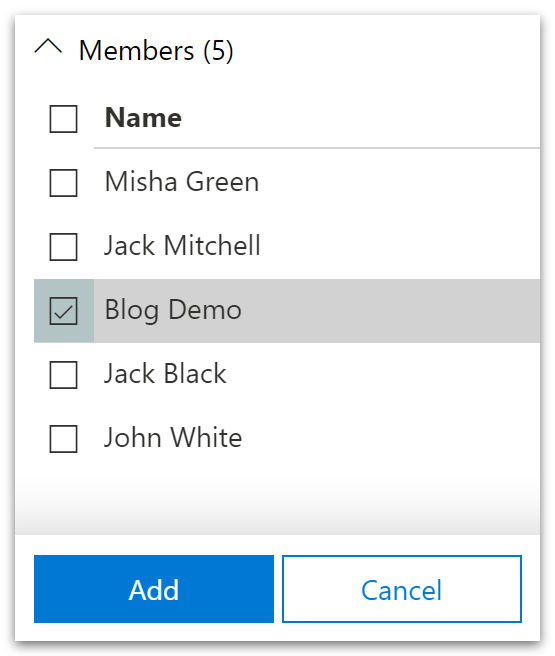
- Select your name from the list of users and click the ‘Add‘ button.
- Then go down and click ‘Done‘ at the bottom of the page.

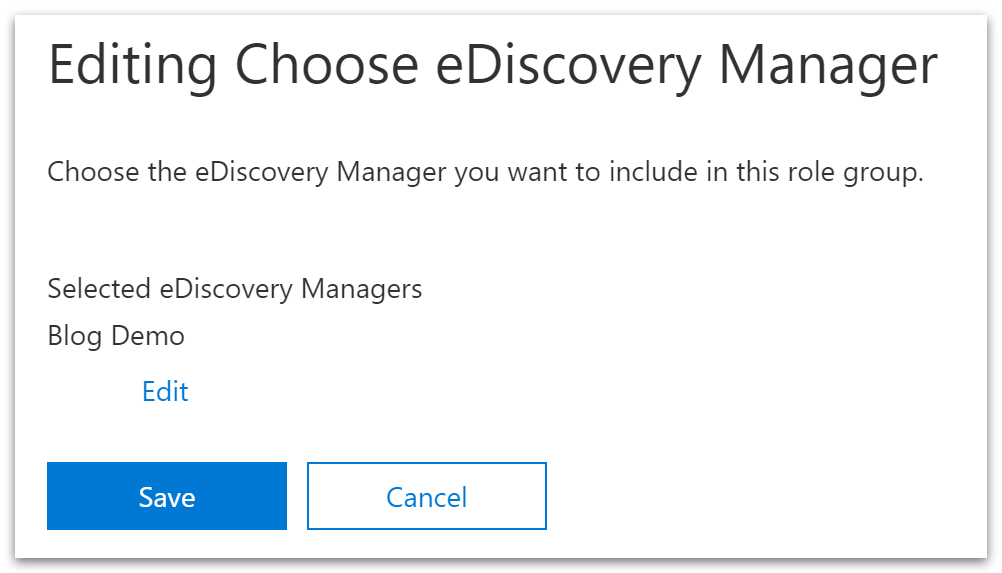
- And finally, click the ‘Save‘ button.

STEP 2 – Delete a message in Teams
For this guide, we need to create some test data to run an eDiscovery search for. If you already have data to search, head down to Step 3. Otherwise, please continue with the guide below.
- Start a Teams meeting.
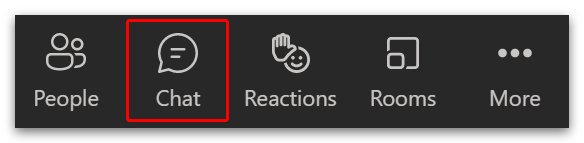
- Click on the ‘Chat‘ icon.
- Enter a message in the chat box.

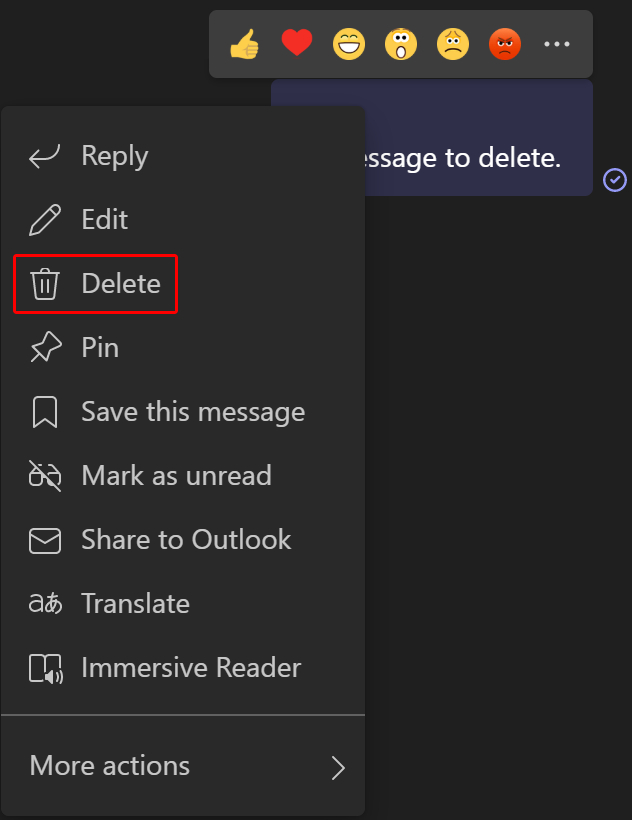
- Right-click your message or hover over it and click the three dots.
- Then select ‘Delete‘ from the menu.
| Note: You can also view edited messages with eDiscovery. |
STEP 3 – Create a case
You will need to create a case before running an eDiscovery search. Start this step by heading back to your compliance portal. If you already have a case, go down to Step 4 to continue with this guide.
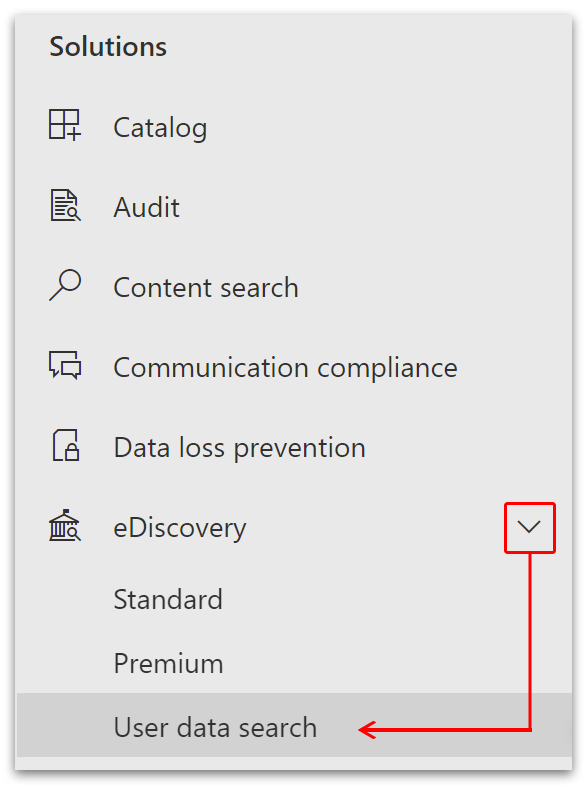
- Click ‘eDiscovery‘ on the left menu of your compliance portal.
- Then select ‘User data search‘ from the drop-down menu.
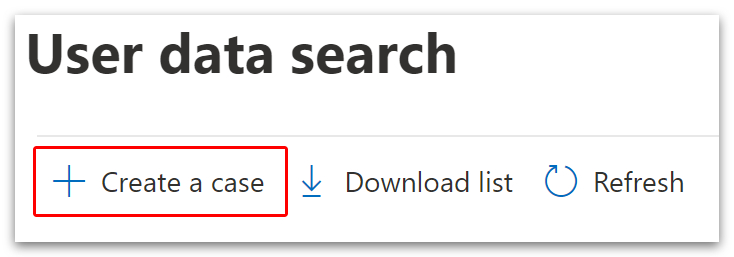
- Click the ‘+ Create a case‘ button on the top menu.
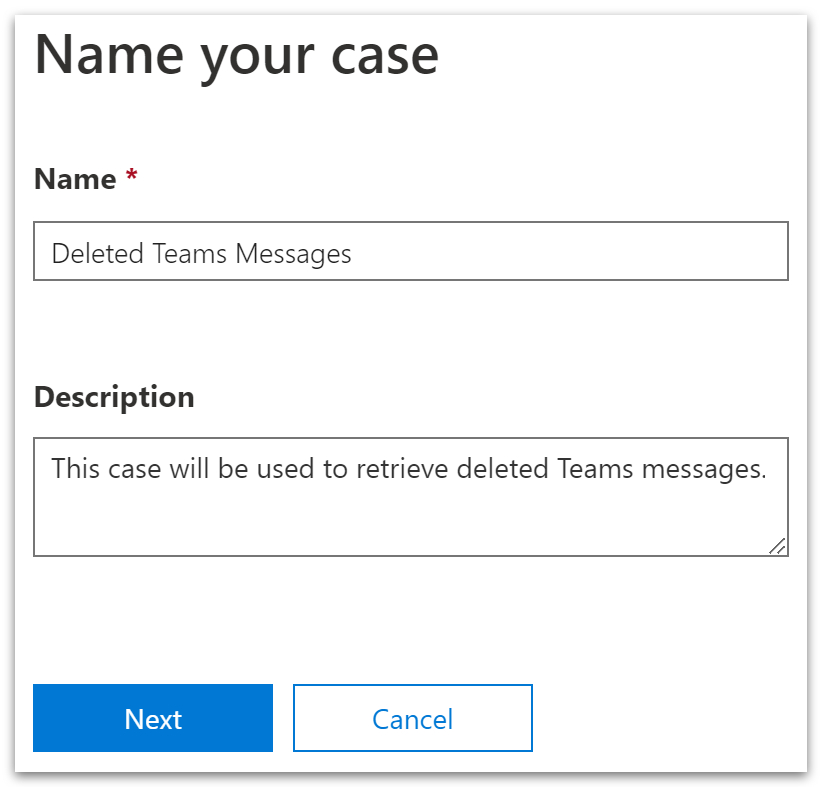
- A large pop-up box will ask you to ‘Name your case.’
- We’ll name our case ‘Deleted Teams Messages.’
- Write a description (optional), and click the ‘Next‘ button.
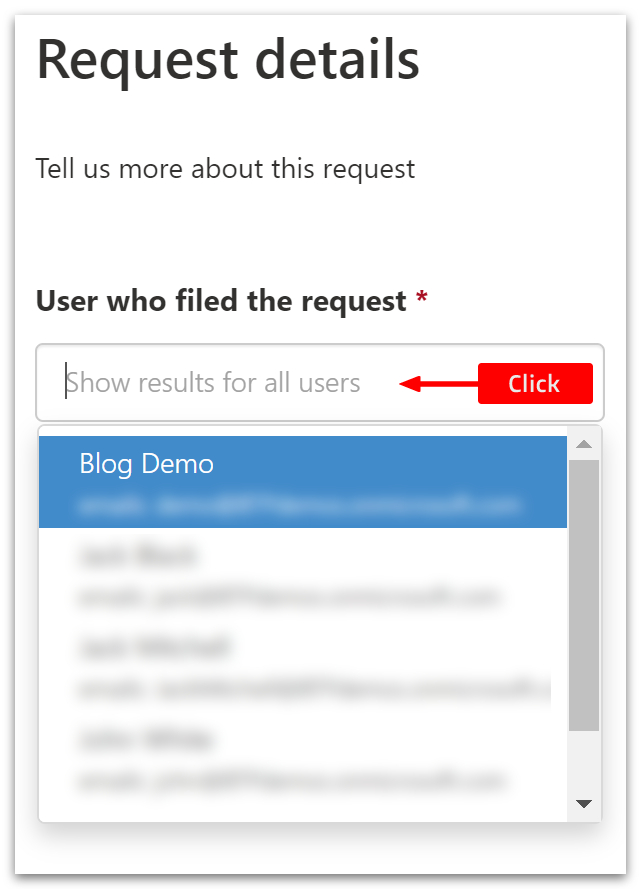
- Next, click the input box under ‘User who filed the request.’
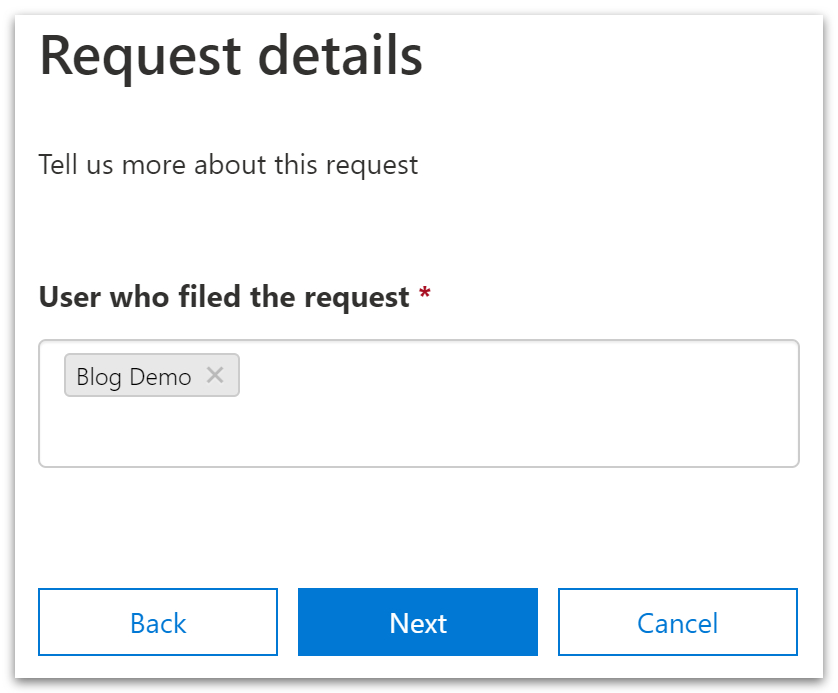
- Then select your name from the drop-down list.
- Click the ‘Next‘ button.
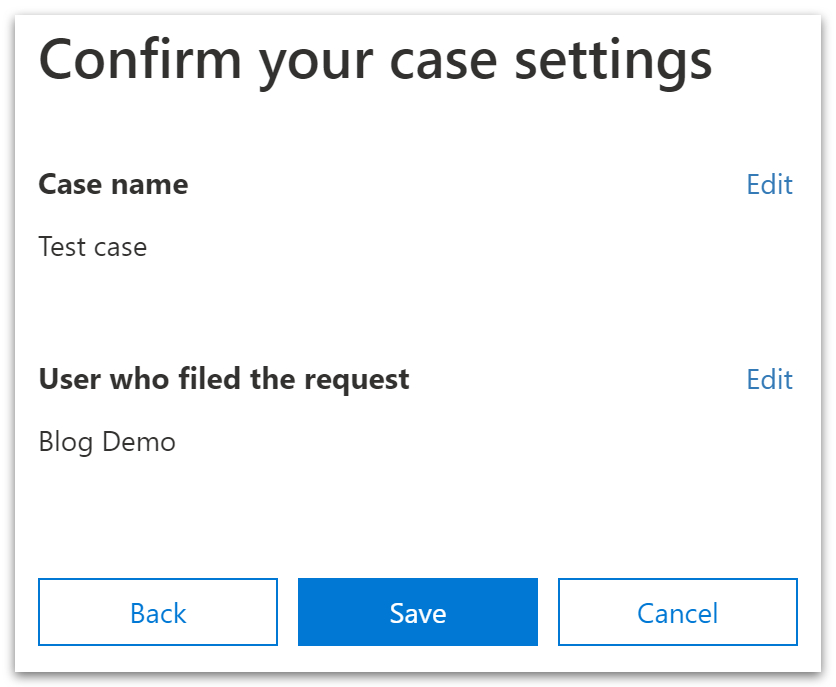
- Finally, confirm your case settings by clicking the ‘Save‘ button.
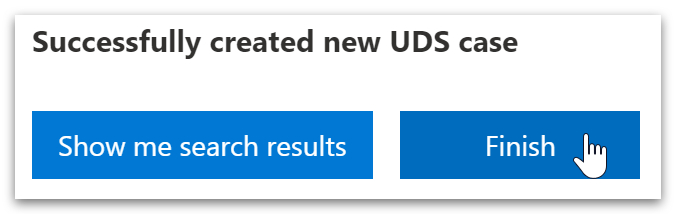
- Once you have successfully created your new case, click ‘Finish‘ or ‘Show me search results.‘
If you click the ‘Show me search results‘ button, the tool will search unnecessary places such as Skype, To-Do tasks, SharePoint, Teams sites, and OneDrive accounts. To stop the search, click the ‘Cancel‘ button. We will specify where to look and what to look for in the next step.
STEP 4 – Run an eDiscovery search for deleted Teams messages
Before running an eDiscovery search, you will have to open your case. There are two ways to open a case. You can click the open icon next to the case name or select your case and click the ‘Open case‘ button.

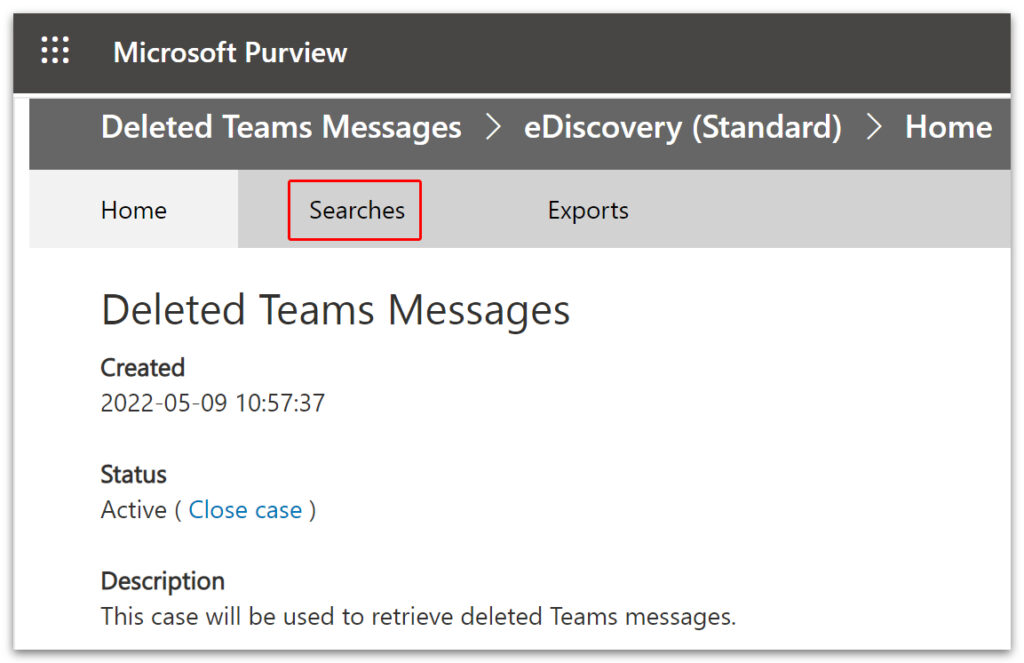
- A new browser tab titled ‘Microsoft Purview‘ will open.
- There, click ‘Searches‘ on the menu bar.
- You can open the search query by clicking ‘Guided search.’

- A large pop-up box will open.
- Click the ‘Cancel‘ button or the
 button in the top-right corner.
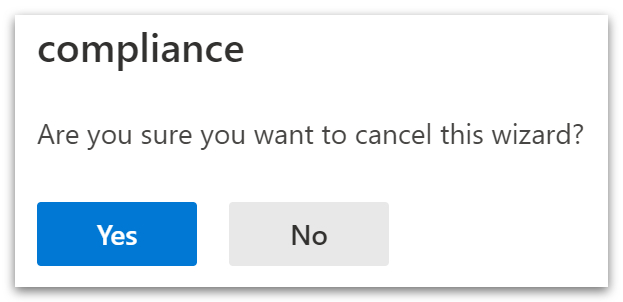
 - A prompt will ask you if you want to ‘cancel this wizard?‘
- Click the ‘Yes‘ button.
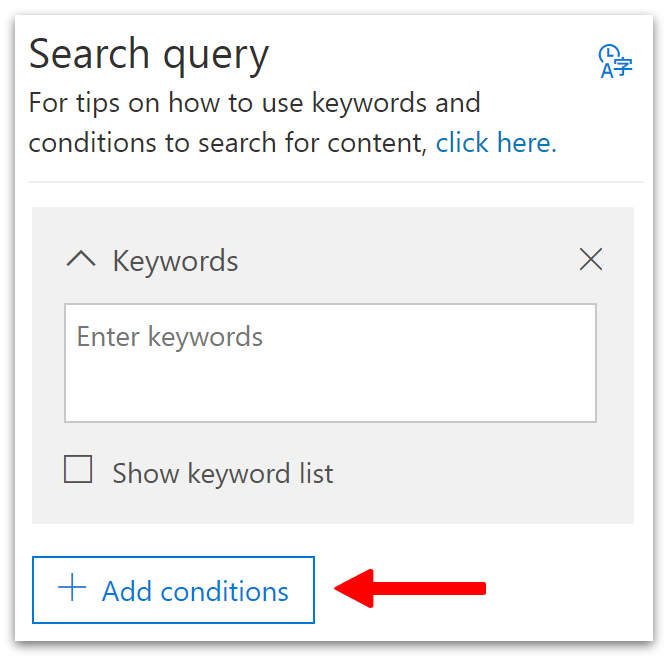
- You can now edit the search query in the left-hand column.
- First, click the ‘Add conditions‘ button.
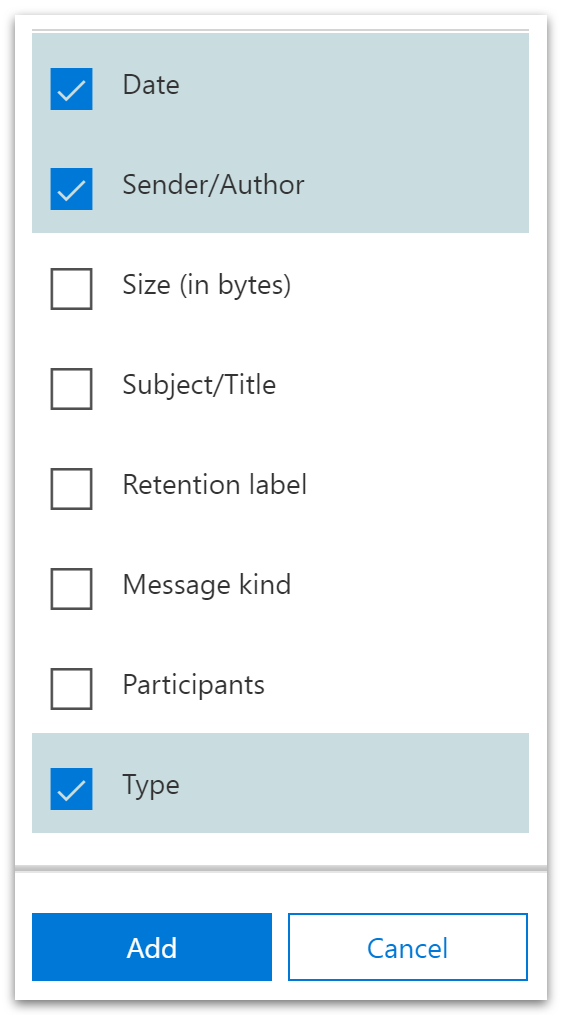
- Select Date, Sender/Author, and Type.
- Then click the ‘Add‘ button at the bottom.
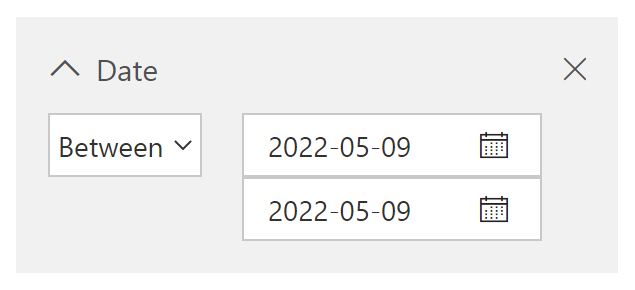
| Date: | The date query will look for messages between two set dates. This is useful when looking for deleted messages within a specific Teams meeting. |
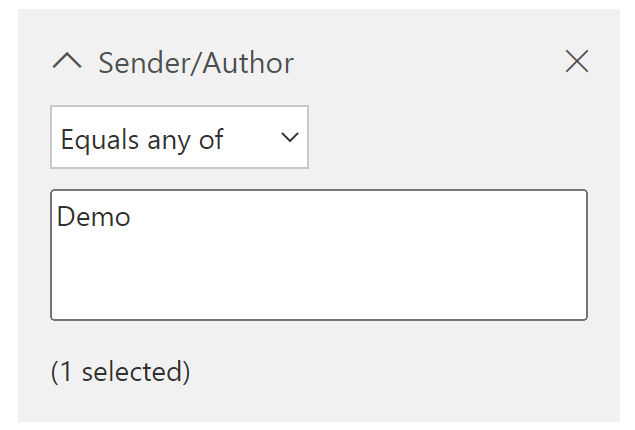
| Sender/Author: | The Author query will search for a user’s name or email address that matches a keyword. |
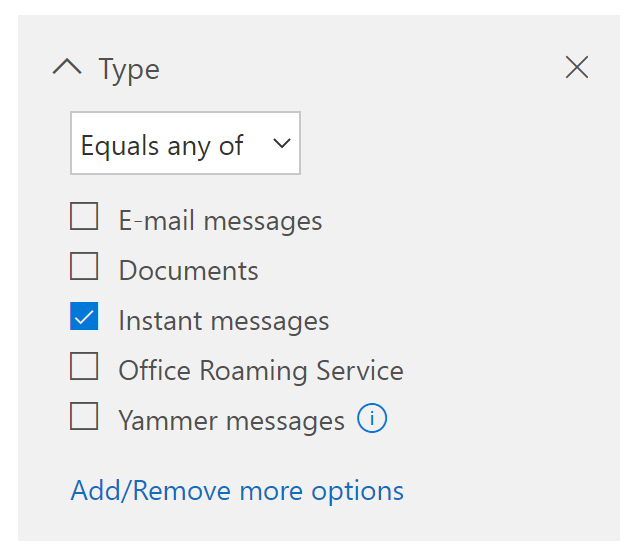
| Type: | The type query will specify what to look for. In this case, we want to look for instant messages. |
- You can search for results ‘Between‘ two dates, ‘Before‘ a date or ‘After‘ a date.
- To search for a specific day, use ‘Between‘ and set the same date in each box.
- If you’re looking for messages sent by a specific person, type their name or email address into the Sender/Author box. Otherwise, leave the author box empty.
- Check the box next to ‘Instant messages‘ to search for Teams chat content.
- Make sure all other options are deselected.
- Then click ‘Modify‘ next to ‘Specific locations.’
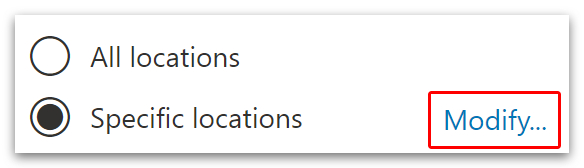
- Toggle on the top section where ‘Teams Messages‘ is located.
- Click the ‘Save‘ button.

- Finally, click the ‘Save & run‘ button.
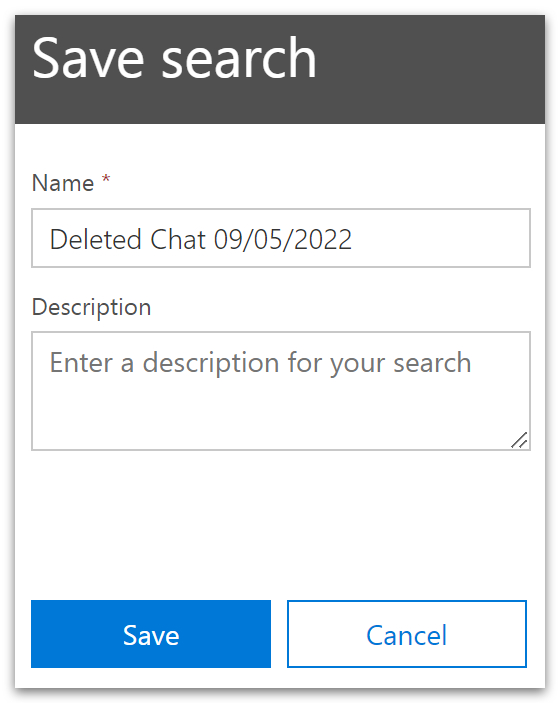
- You will be asked to create a name for this search before it runs.
- Type any relevant name into the ‘Name‘ box and click the ‘Save‘ button.
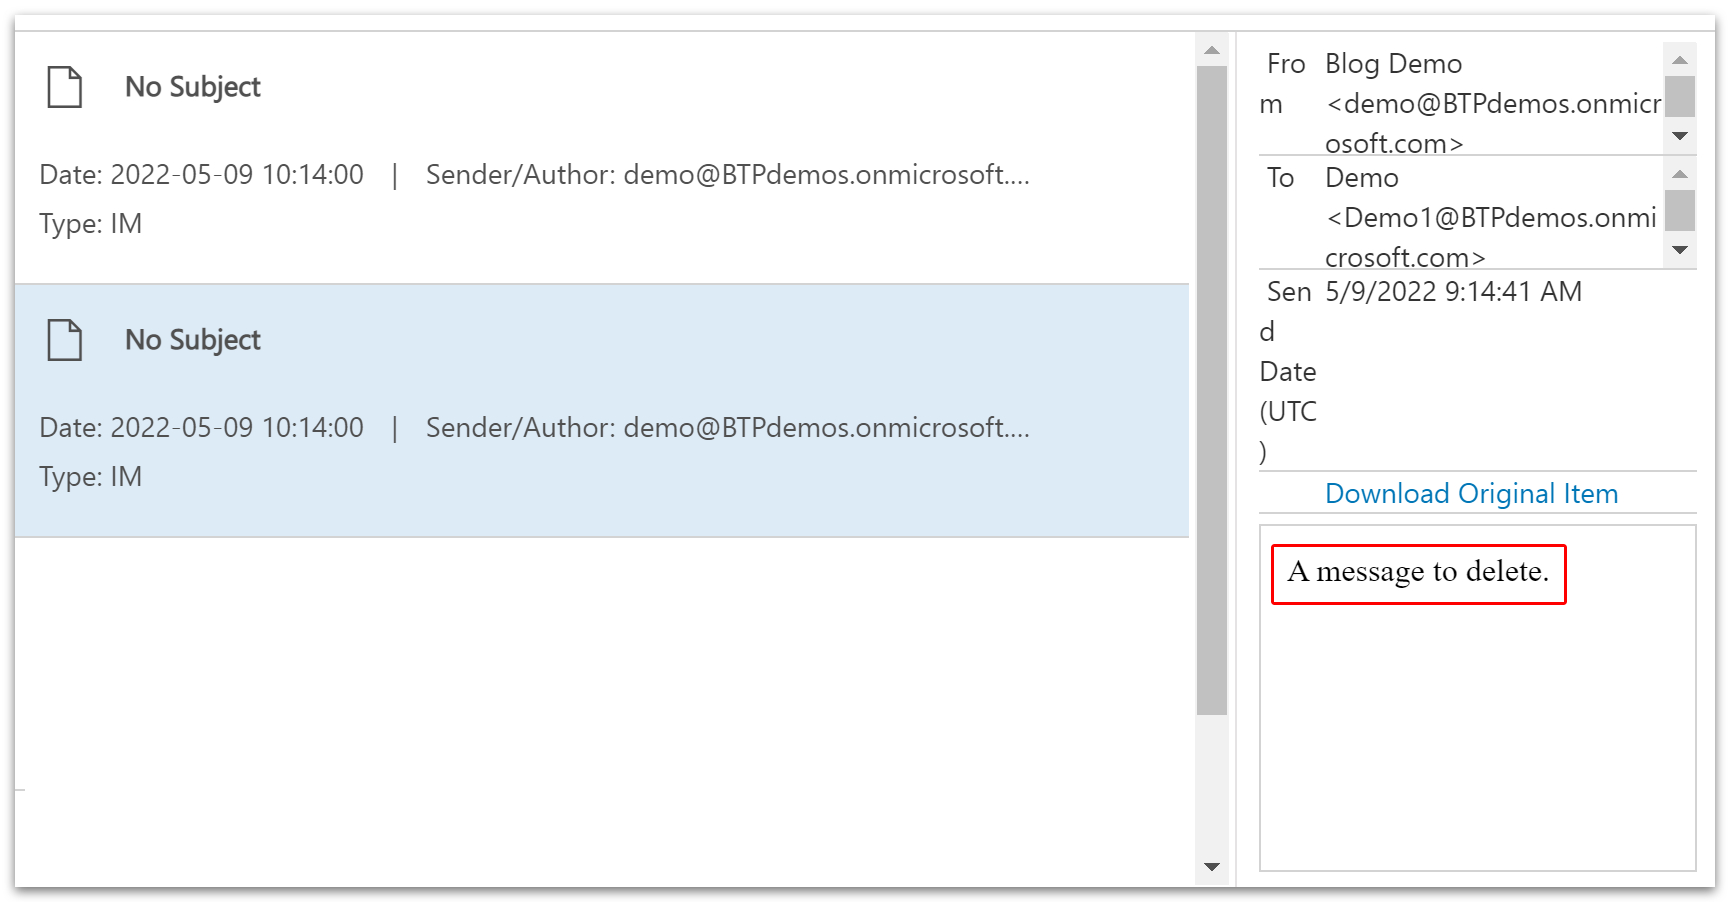
- Click on the results to view the message.
- Expand the browser to its maximum width if you can’t see the message box.
- There are two results in our search.
- One result recorded the sent message, and the other result recorded the deletion.
- As such, deleted messages will appear in the results as duplicated messages.
STEP 5 – Export the results
You will have to export the results to establish whether or not the user deleted a particular message. Deleted messages will have identical export identities in the results file.
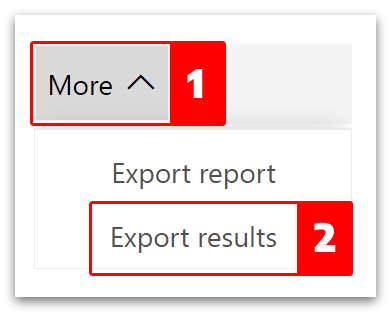
- From the results page, click ‘More‘ and then ‘Export results.’
- Then go down and click the ‘Export‘ button.

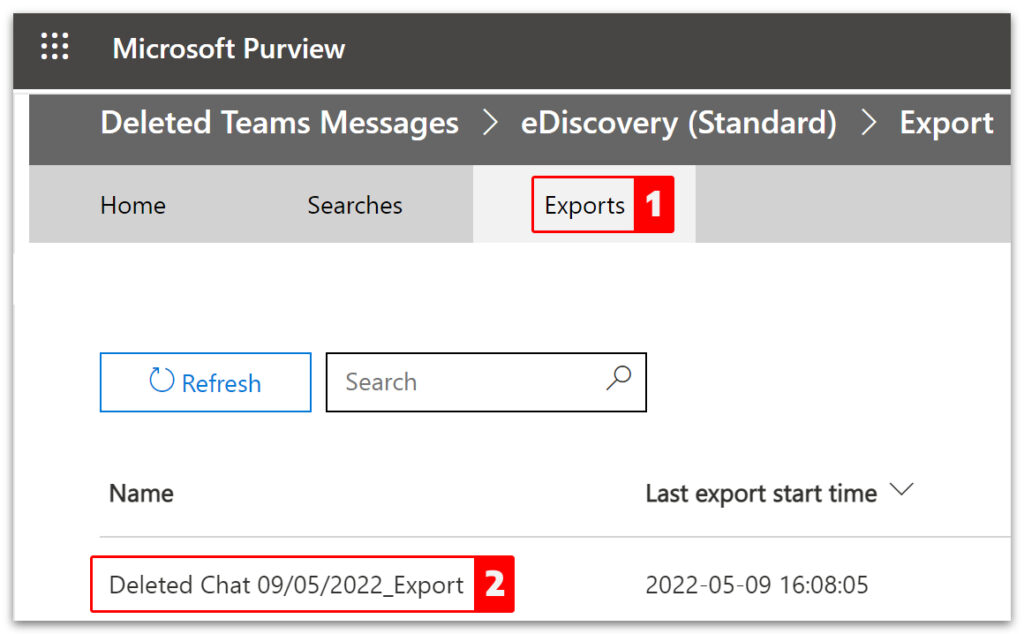
- Next, head up to the menu bar and click on ‘Exports.’
- Then click on your export.
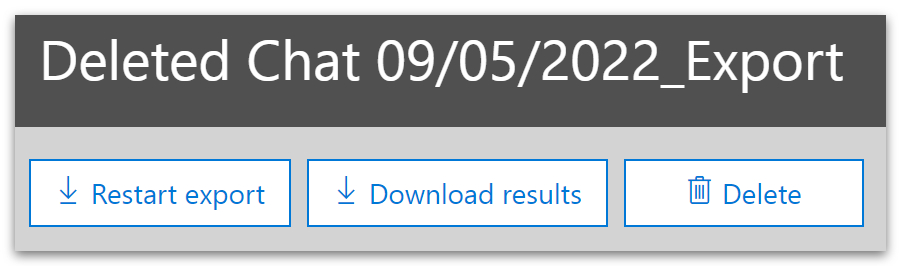
- A large box will appear on the right side of the window.
- There, click on the ‘Download results‘ button at the top.
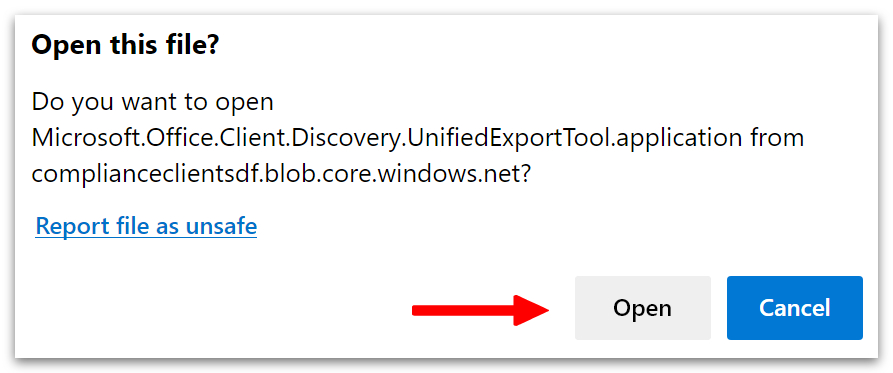
- When asked if you want to ‘Open this file?‘ select ‘Yes.’
| Note: it may take a few moments for the download link to appear. Try refreshing. |
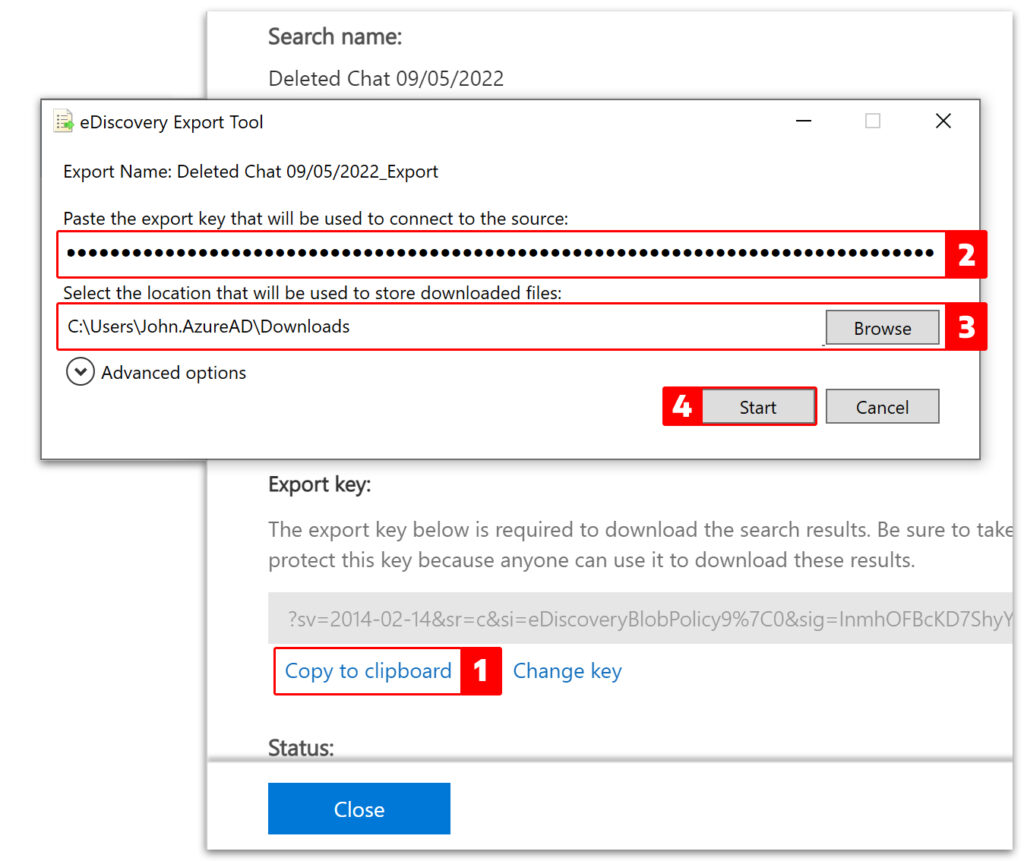
- Install the eDiscovery export tool if required.
- Copy the export key.
- Paste the export key into the input box.
- Select a location to save the file.
- Click the ‘Start‘ button.
- Click the link next to ‘Export location‘ when the download has finished.
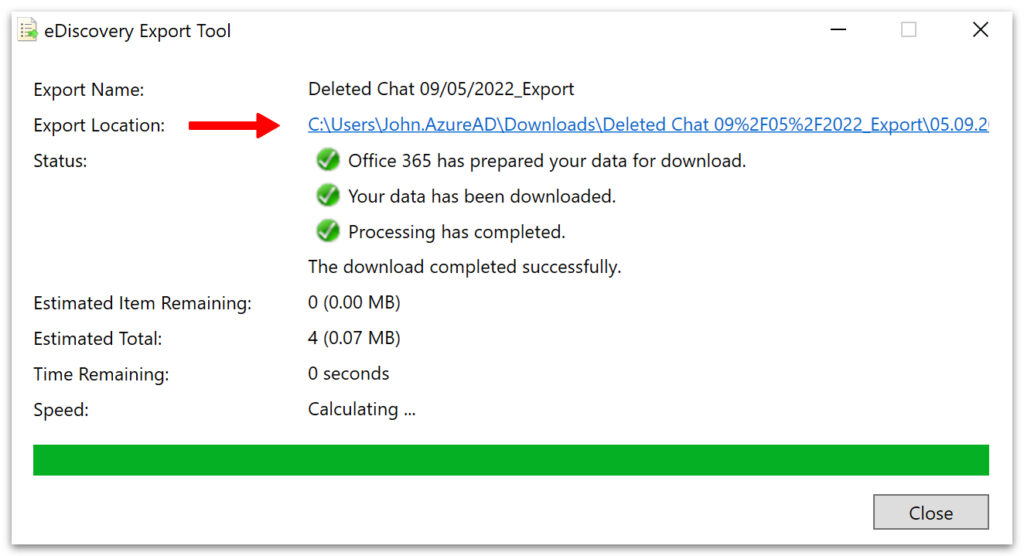
- The data will be stored inside a csv file named ‘Results.’
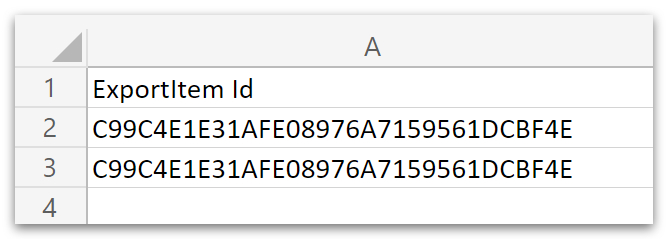
- Open the file with Excel or an equivalent application.
- Note that the deleted messages share the same Export item id.
Conclusion
When searching for deleted messages in Teams, it’s helpful to narrow your search terms as results can be numerous. We suggest looking for messages made during the day when the meeting took place.
Duplicate messages are an indication that the user deleted a message. You may find duplicate messages which have not been deleted. However, all deleted messages will have duplicate records.
Thanks for reading.