Azure Active Directory, or Azure AD in full, is Microsoft’s cloud-based identity and access management solution. Azure Active Directory (Azure AD) assists workers of companies who utilize the program in the workplace by granting access to internal resources and company-owned cloud apps. However, although adding a device to Azure AD is quite simple, deleting or deactivating a device from your Azure AD area might be difficult. If you’re reading this blog article, you’ve probably encountered such a problem. However don’t worry, we have the steps to help you resolve the issue of how to delete and disable devices in Azure AD.
Below is a guide on how to delete and disable a device on Azure AD. Follow through as I give a more in-depth guide on how to disable a device on Azure AD. Both processes will involve having to access the Admin center and accessing Azure AD. Once you are there, you can now proceed to go into the Devices panel and delete and/or disable a device.
When you use the methods illustrated below you will have effectively disabled or deleted a device from Azure AD. Follow through for more information on how to both delete a device and disable a device on Azure AD.
How to disable a device on Azure AD
Firstly, we’ll cover the process of disabling a device that has a lesser impact on both admin and regular users. If you ever come across a situation where you need to disable a user, follow the guide below where I illustrate the points on how to disable a device on Azure AD.
- To begin, launch Office 365.
- After that, select “Admin” from the launchpad.
- Select “Azure Active Directory” from the “Admin centers” menu.
- Select “All services” from the drop-down menu.
- Now select “Azure Active Directory” from the drop-down menu.
- Then choose “Devices.”
- “All devices” should be selected.
- Find and pick the enabled device you want to disable.
- Then select “Disable.”
- A prompt will show; here, click on “Confirm.“
That’s it, once you have enabled the steps illustrated above, you will have effectively disabled the device. However, make sure you are 100% certain that you have disabled the correct user, if not you can always reverse the process and ensure you have disabled the correct user. You must confirm the prompt otherwise the changes will not actually proceed and the device will still be enabled onto the account.
In-depth step by step guide [with screenshots] – How to disable a device on Azure AD
Below is a more in-depth guide on how to disable a device on Azure AD. If the guide above hasn’t helped because the points are vague, use the guide below where I include more detail on the steps as well as visual imagery in the form of screenshots.
- To begin, launch Office 365.
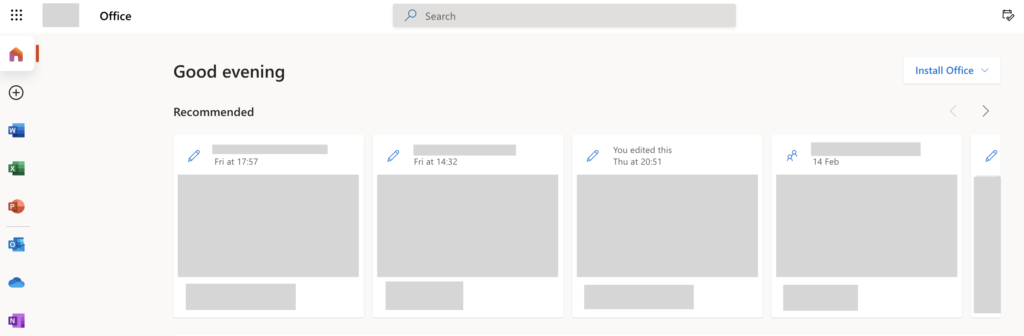
To sign in to Office 365, use the same credentials you’d need to access other products like Outlook. You’ll be able to access the Office 365 dashboard after logging in, where you may continue with the procedures below. All of your Office-based programs, tools, and material are located on the dashboard, as illustrated above.
- After that, select “Admin” from the launchpad.

The Launchpad is represented by nine dots in the dashboard’s left corner; click it to open the launchpad; once you’ve deployed it, click “Admin” to access the Office 365 admin dashboard.
- Select “Azure Active Directory” from the “Admin centers” menu.

- Select “All services” from the drop-down menu.

- Now select “Azure Active Directory” from the drop-down menu.

- Then choose “Devices.”

- “All devices” should be selected.

- Find and pick the enabled device you want to disable.
- Then select “Disable.”

- A prompt will show, here click on “Confirm.”

That’s it, once you have enabled the steps illustrated above, you will have effectively disabled the device. However, make sure you are 100% certain that you have disabled the correct user, if not you can always reverse the process and ensure you have disabled the correct user. You must confirm the prompt otherwise the changes will not actually proceed and the device will still be enabled onto the account.

How to delete a device on Azure AD
If you find that there is absolutely no requirement for certain devices that have been enrolled, you can delete them, follow the steps below as I illustrate the steps on how to delete a device on Azure AD. Follow through for more information on how to achieve this.
Step by step guide [with screenshots] – How to delete a device on Azure AD
- To get started, open Office 365.
- Then, from the launchpad, select “Admin.”
- From the “Admin centers” option, choose “Azure Active Directory.”
- From the left menu panel, choose “All services.”
- From the list, choose “Azure Active Directory.”
- Then select “Devices” from the drop-down menu.
- The option “All devices” should be chosen.
- Locate and select the enabled device you wish to delete.
- After that, choose “Delete.”

- A prompt will appear; click “Confirm.”
Deleting a device enrolled means a user will have absolutely no access to any Azure AD protected resources, this may include but is not limited to the Office suite, the Office-based programs apps both governed and created by the host company. You must make sure a colleague who requires these resources is aware of the device being deleted so arrangements can be made on alternative devices. You may delete the device, if the user no longer has any participation in your company or if the device is being changed for select users.
Conclusion
Thank you for taking the time to read our materials; please contact our team to let us know how you found the information and if you have any more questions regarding the topics discussed. If the issues persist after you’ve done the steps above, please contact our knowledgeable staff at any time, and we’ll assist you in resolving the recurrent mistake that’s causing issues in your company. Please notify our team by writing a comment, and we will take care of the situation. Others who are having similar problems will also be able to discover solutions.