Microsoft PowerPoint provides users with a comprehensive set of tools for creating presentations, slides, documents, and more. Users can build presentations using either a pre-made template or by using the resources given to construct their own. It is not, however, without flaws and inconveniences and in this example, we will be looking at why PowerPoint won’t let users add indent bullets into a piece of text.
In this blog, we will be looking at solutions to help users resolve PowerPoint not letting you use indent bullets and find possible solutions to help prevent the error from occurring again. Please follow the step-by-step process below to see how you can resolve fix PowerPoint not letting you indent bullets.
How to fix PowerPoint not letting you indent bullets:
- In Powerpoint, go to File > Options.
- Click “Proofing” on the left menu, then click the “AutoCorrect Options” button.
- Click the “AutoFormat As You Type” tab.
- Ensure “Automatic bulleted lists” is selected.
- In older versions, make sure “Set left- and first-indent with tabs and backspaces” is also selected.
- Finally, click OK and test to see if this resolves the issue.
- Get PowerPoint for just $6.99 per month from the Microsoft Store.
If the step-by-step process mentioned above doesn’t fix the issue then the issue can be with the current version & Licence you are operating with. You can check this by clicking on “PowerPoint” > “About Microsoft PowerPoint”. If you find that it is outdated then you can update to the latest version of PowerPoint and see if this resolves the issue.
We’ve also created a video to help guide you through the process:

beautiful.ai – AI powered slide templates
Just add content, and your PowerPoint slides adapt intelligently.

How to fix PowerPoint not letting you indent bullets
Are you tired of fumbling with bullet points and failing to place them correctly? The following suggestions will put an end to the issue once and for all. It’s a little more challenging here because you’ll have to remember a few hotkeys. But don’t worry, I’ll teach you the quickest and easiest way to accomplish it in under a minute.
Things to keep in mind:
- Controlling upper/lower triangles on the ruler is the key to unlocking all of the mysteries.
- At the same moment, press the Alt or Control keys.
- Always remember that using space to make the indent will only make matters worse.
Practice:
- To see the ruler, go to View>Ruler. As you can see, the ruler is flanked by triangles. The link between these triangles and indents is seen in the diagram below.
- The gap between a bullet and the text is known as the indent. In order to control indents, you must first control the upper/lower triangles on the ruler, as well as the gaps between them.
- Simply drag the upper/lower triangle to the desired indentation location.
- You’ll need to hold down Ctrl while dragging one triangle to keep the other from moving.
- To make any small adjustments, hold down Ctrl+Alt and drag.
- More practise is required. You’ll need some time to become used to the dragging tips.
Why indent bullets in PowerPoint?
Bullet indentation adds a structured approach to any piece of text you may create, you can add a sense of order to a list of names, groups of items or a simple list of addresses or numbers. It gives you further control on how you manage your content and how it shows on your presentation. This makes it both easier to read for people who are viewing your content and it makes it easier for the writer to structure their content in a way that makes it better for them to write.
Let’s say you own a restaurant, and you have a menu consisting of several items throughout the course of the day and you want to categorize the items you see into a PowerPoint menu template. You can either just add the list of items and make your customers confused and somewhat frustrated due to the lack of visual aesthetics to the menu. Or you can use indents and bullet points to properly soft out different items on the menu. For example, you can have “Starters”, indented underneath as a subcategory you can add a list of starters, you can go further and add variants of starters to the menu, making it easier for customers to properly read and understand your content.
In depth – Step by step process – How to fix PowerPoint not letting you indent bullets
Step by step breakdown:
- Firstly, open a PowerPoint document.
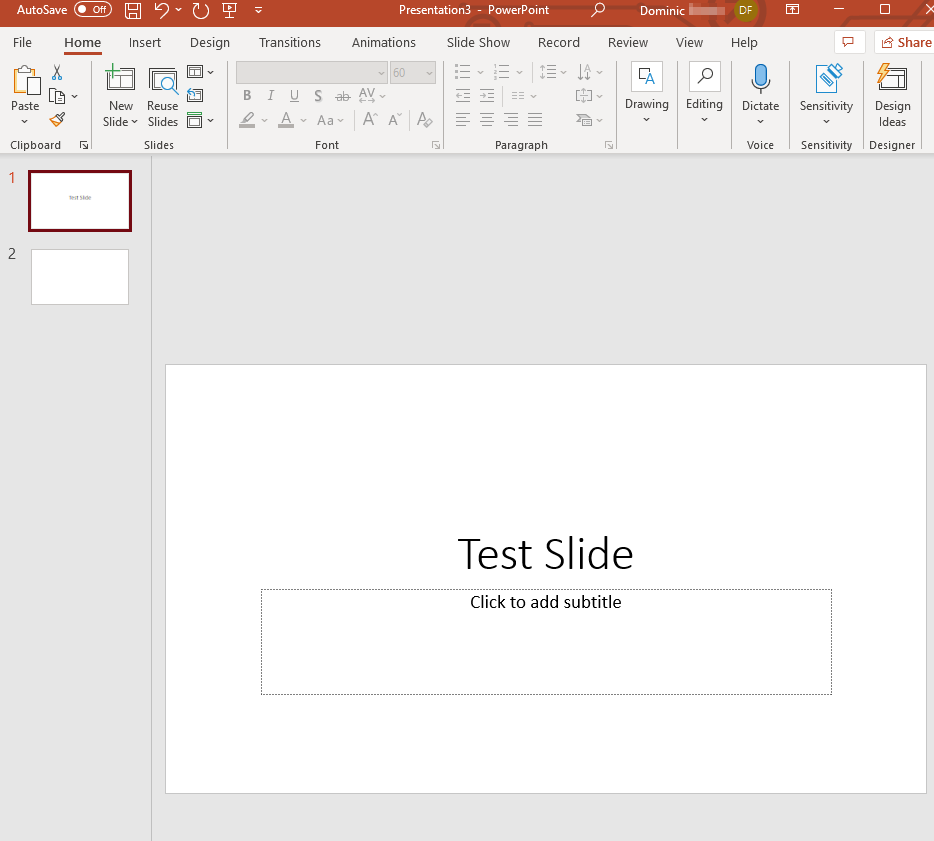
- Now go to “File” > “Options.”

- Click on “Proofing” on the left menu, then click the “AutoCorrect Options” button.
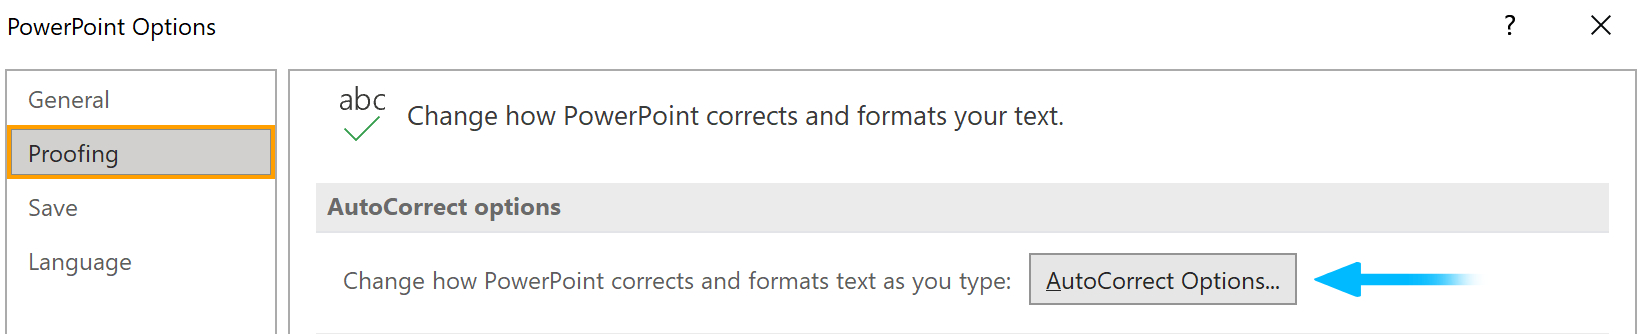
- Next, click on the “AutoFormat As You Type” tab.
- Ensure “Automatic bulleted lists” is selected.
- In older versions, make sure “Set left- and first-indent with tabs and backspaces” is also selected.
- Finally, click OK and test to see if this resolves the issue.

![]() Did you know: You can now add Cameos (video feeds) into your PowerPoint presentations?
Did you know: You can now add Cameos (video feeds) into your PowerPoint presentations?
That’s it for this Blog thank you for taking time out to read our content, please feel free to email our team about how it went if you followed the steps or if you need more help with the questions we answered in this Blog.