Users of SharePoint sites can take advantage of lists as they let users create or manage content within the business; however, as many people can use them, users should be made aware when content is changed, including the columns on the list.
This guide will cover creating a notification alert sent to users when a column is changed. It works on Mac and Windows because you can do it using a browser and a Microsoft account; keep reading to see how.
Method
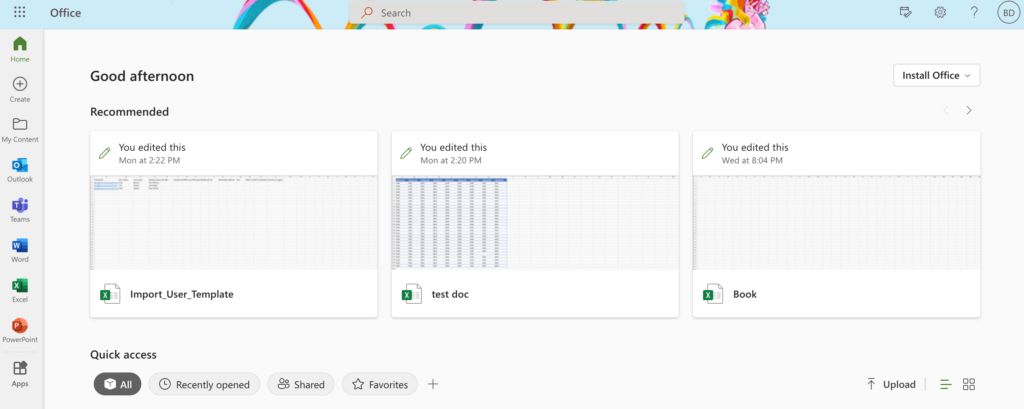
- Go to office 365 and sign in with your Microsoft account.
- Use the app launcher and go to SharePoint.
- Find the site with the list you want to set an alert for
- Go to the list
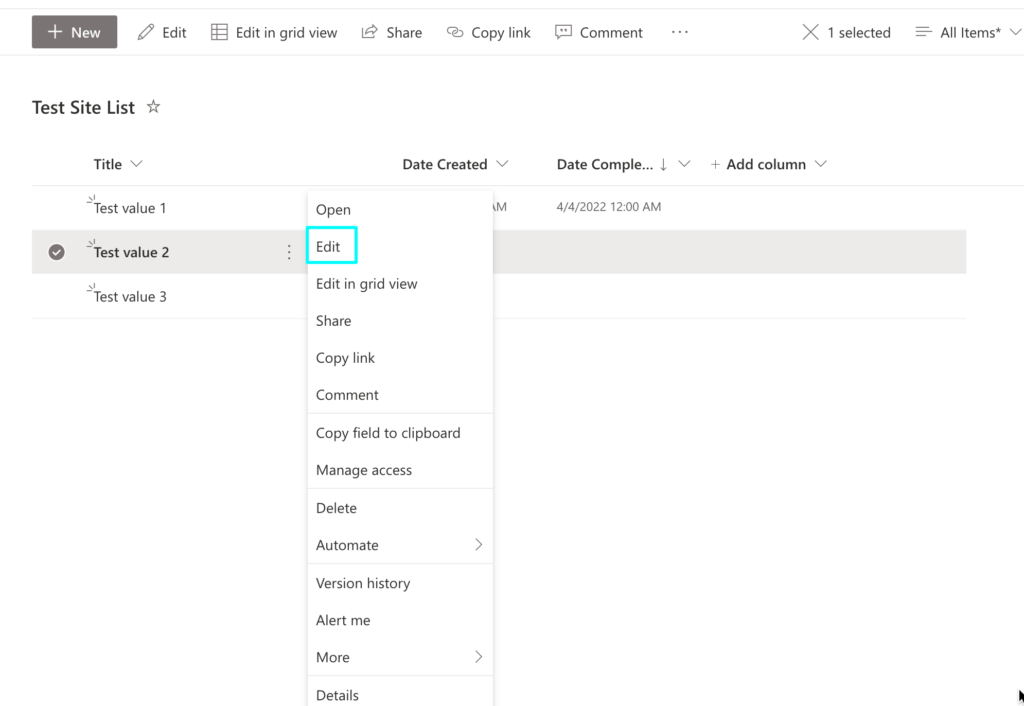
- Press “…”
- Choose “Alert me.”
- Choose the options you want
- Press “OK”
Content list
- How to create a SharePoint list
- How to send a notification when a column is changed in a SharePoint list
- Conclusion
How to create a SharePoint list
If you are using SharePoint for the first time, you will need first to create a SharePoint site, likewise if you are using SharePoint when starting a new business. You should do this before doing the next step; otherwise, you can’t create a SharePoint list. Below I have created a guide for how you can do this.
- To start, sign in to Office 365 by using your Microsoft account.
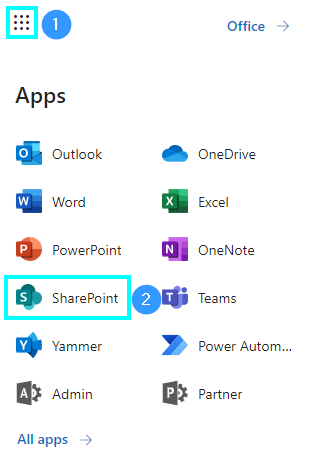
- First, to find SharePoint, you need to click on the nine-dot icon in the top left of the screen called the “app launcher” this will show you a menu with a list of Microsoft apps; from here, press “SharePoint.”
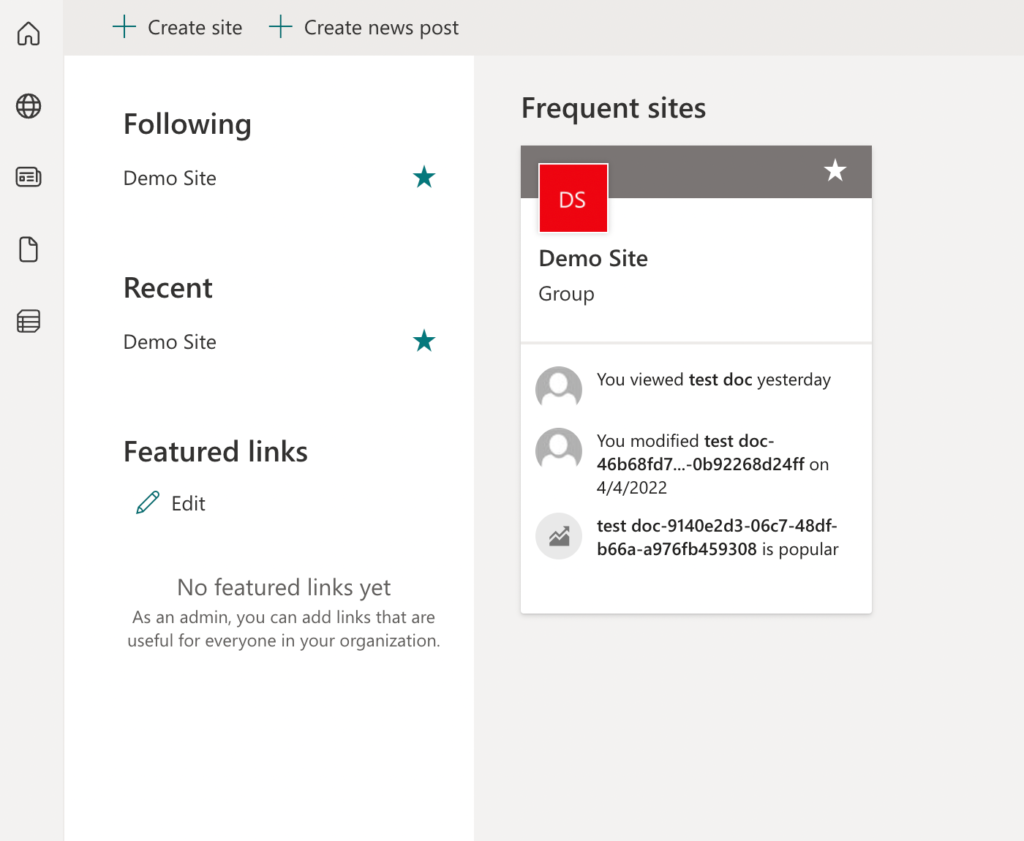
- After you have loaded SharePoint, it will show a menu that will display current SharePoint sites, as well as the option to create new ones.
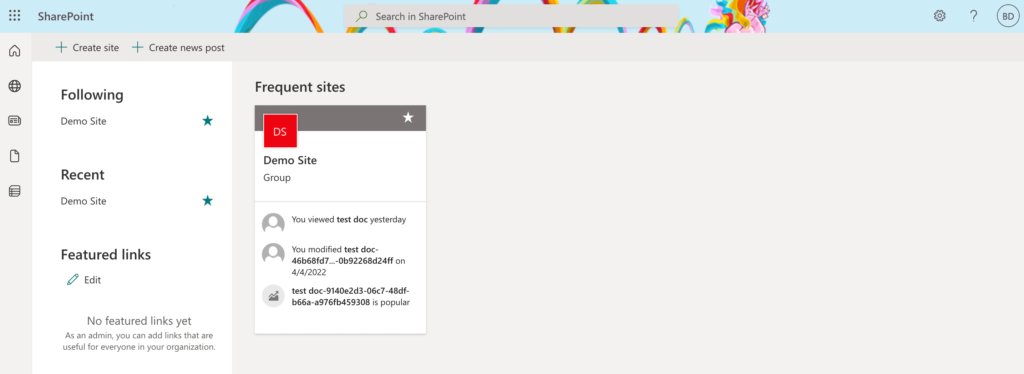
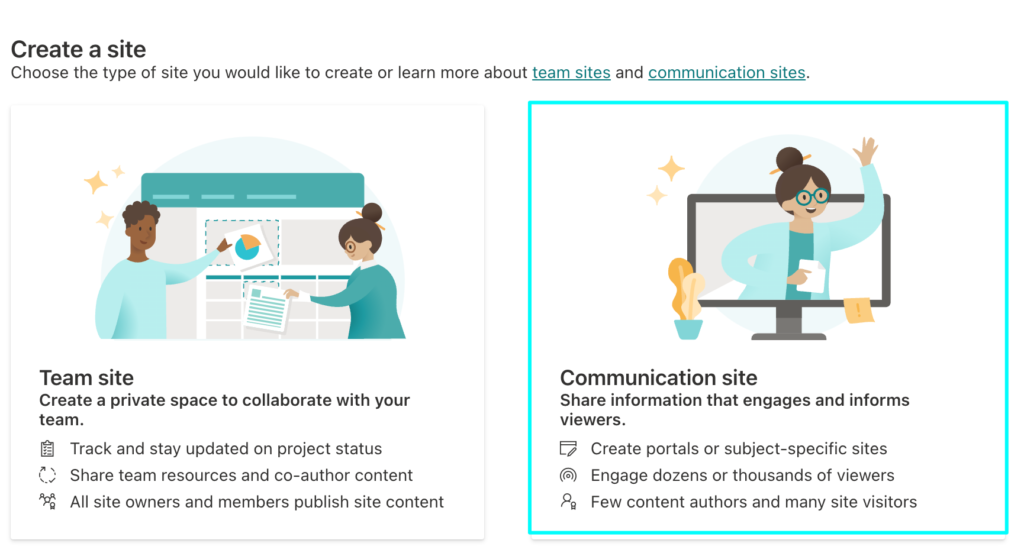
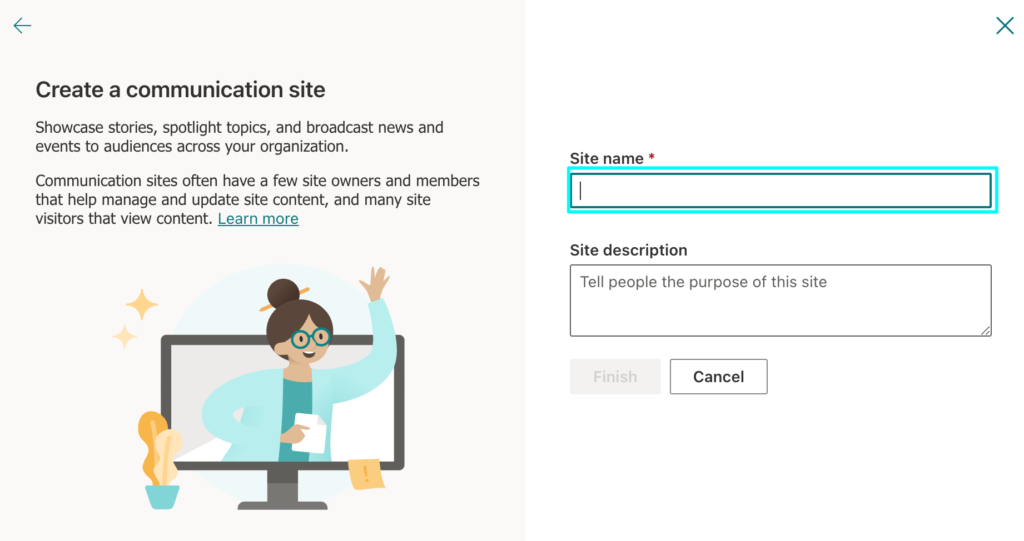
I’m going to use “Demo Site” for this demonstration as it is already created, but to make a new site, press “create site” in the top left under “SharePoint—” this will show two options, “Team site” and “Communication site” for this example, I will make a communication site.
These two have different functions, for example, Team sites are typically used by smaller teams rather than larger teams, and it is used to create content such as creating and editing documents for group work. Communication sites are used typically by the whole business as they are purposefully made for anyone in the business to use. Both types of sites are used to share content.
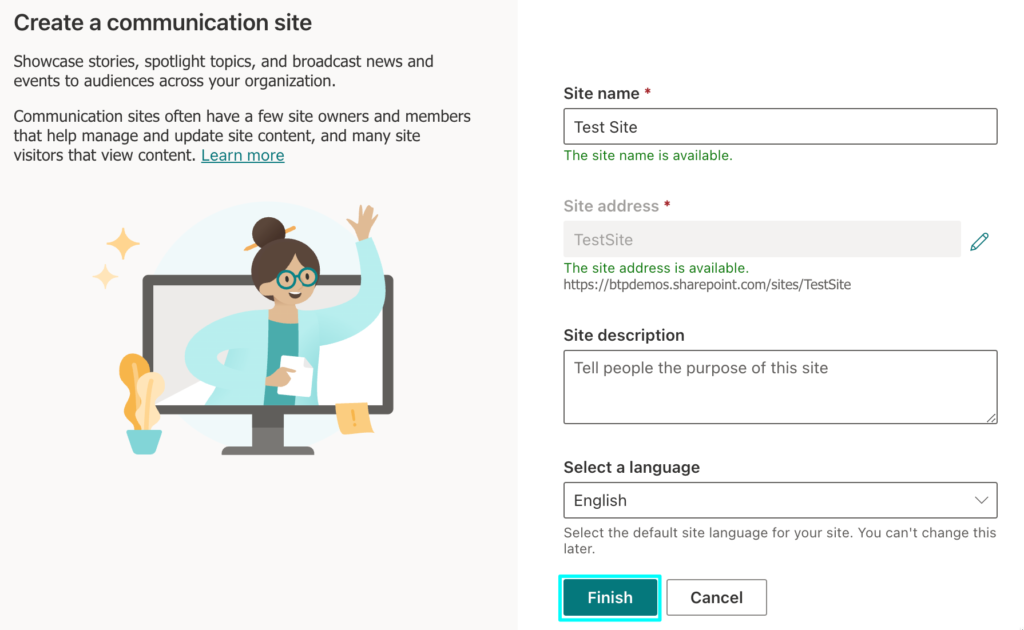
- The next step is to give the site some information by giving it a name and then adding group members. Then follow the next part of the guide.
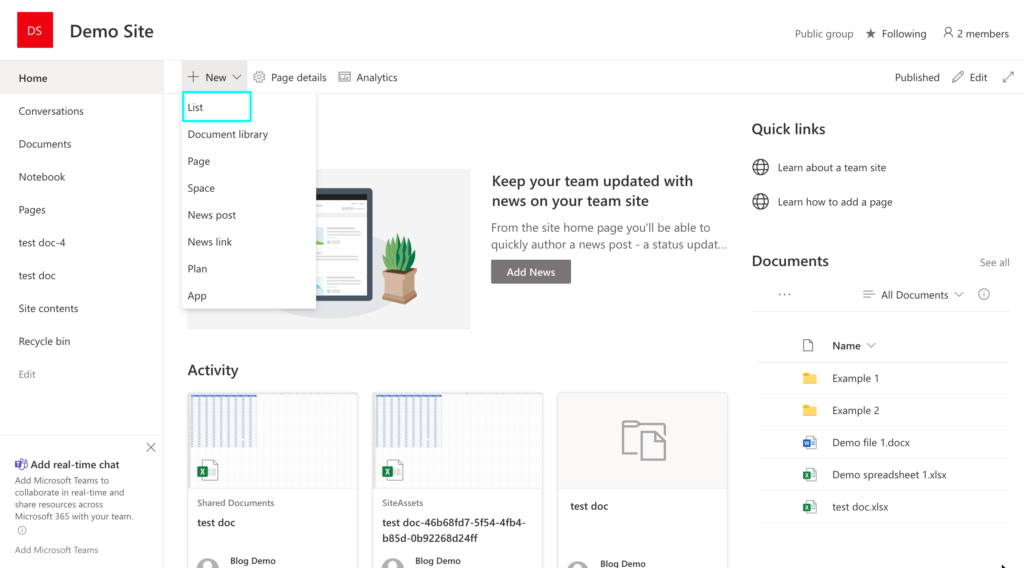
- At this point, click “New,” which shows a list of options to choose from, then press “List.”
- Once you press list, it will ask you to pick from a couple of choices, including “Blank list,” “From Excel,” and “From existing list.”
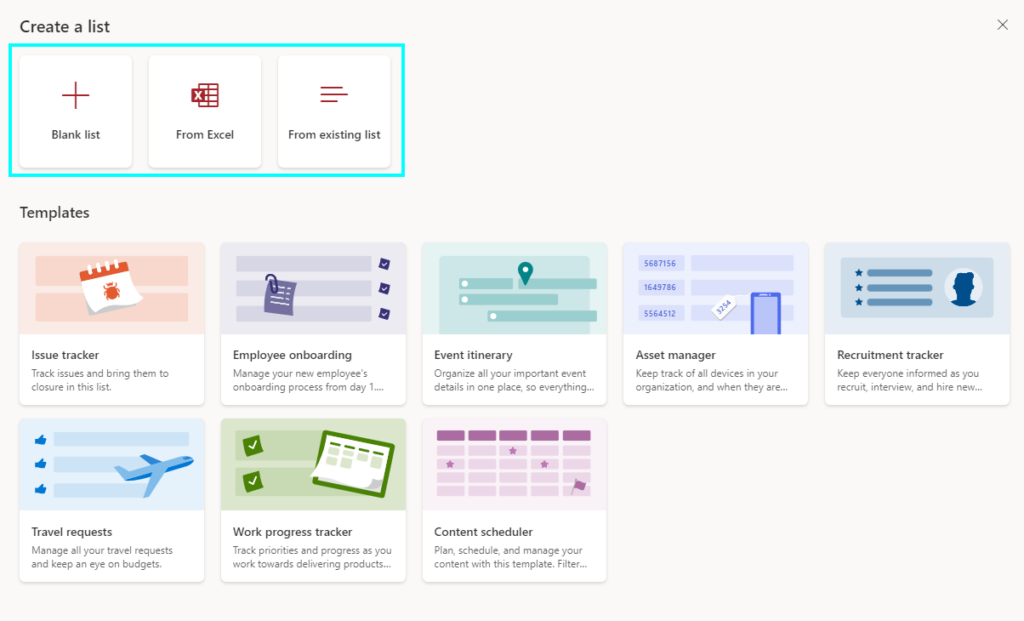
For this guide, I will choose “blank list” this is the best option to choose when you don’t have a list already.
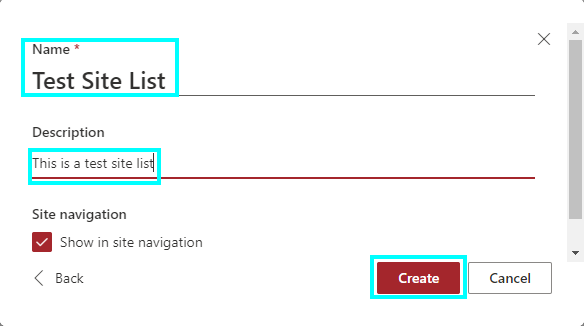
- When you click one of these, it will ask you to give it a name and description and press “Create” when you are finished.
Once it is created, the list will appear on the homepage and the left menu of the SharePoint site.

- The next step is to click on it; this will allow you to change parts of it and add things to the list, such as a title and columns. You can do this by clicking “+ New+ and giving it a title.
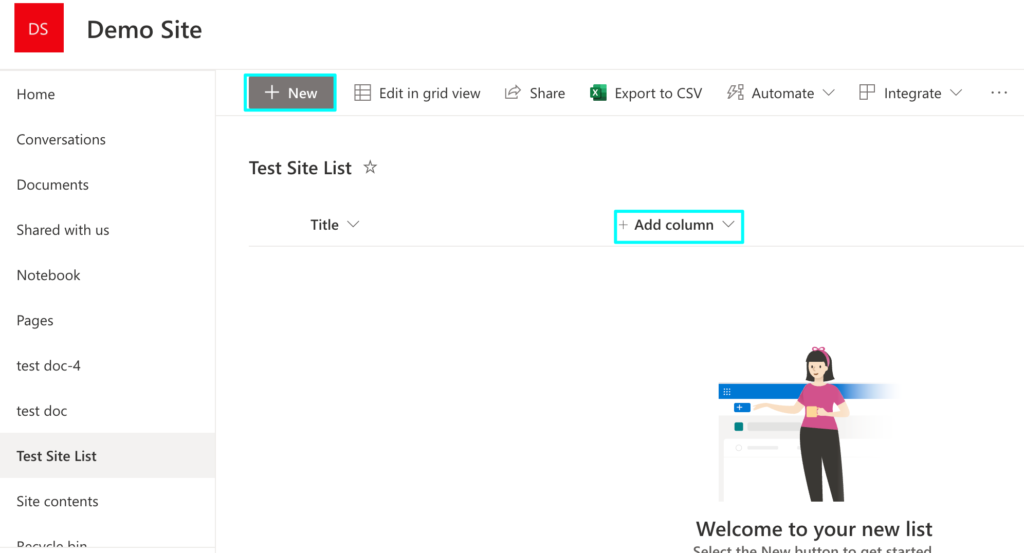
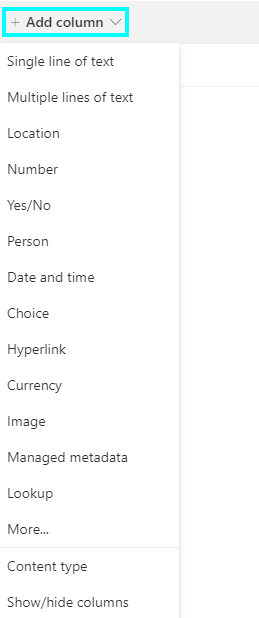
- If you want to add columns to the list, press on it, and it will show a menu of options to choose from; you will need to choose what is relevant to your site.
- You will need to give the column a name that will appear on the list.
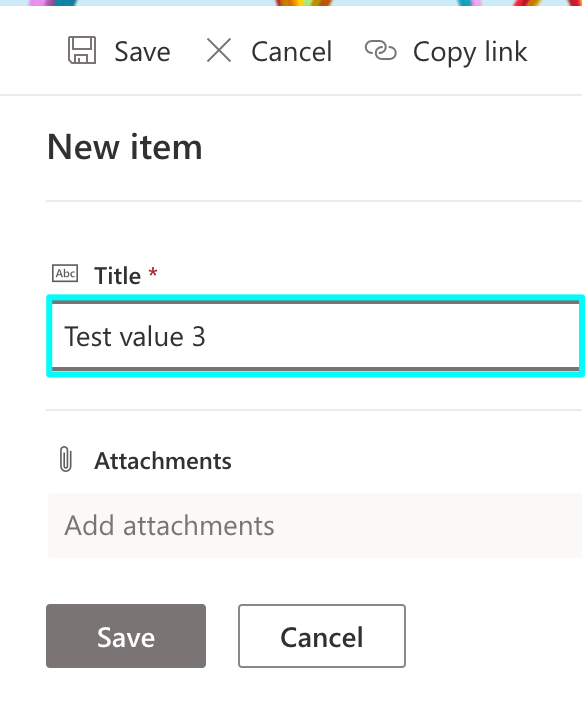
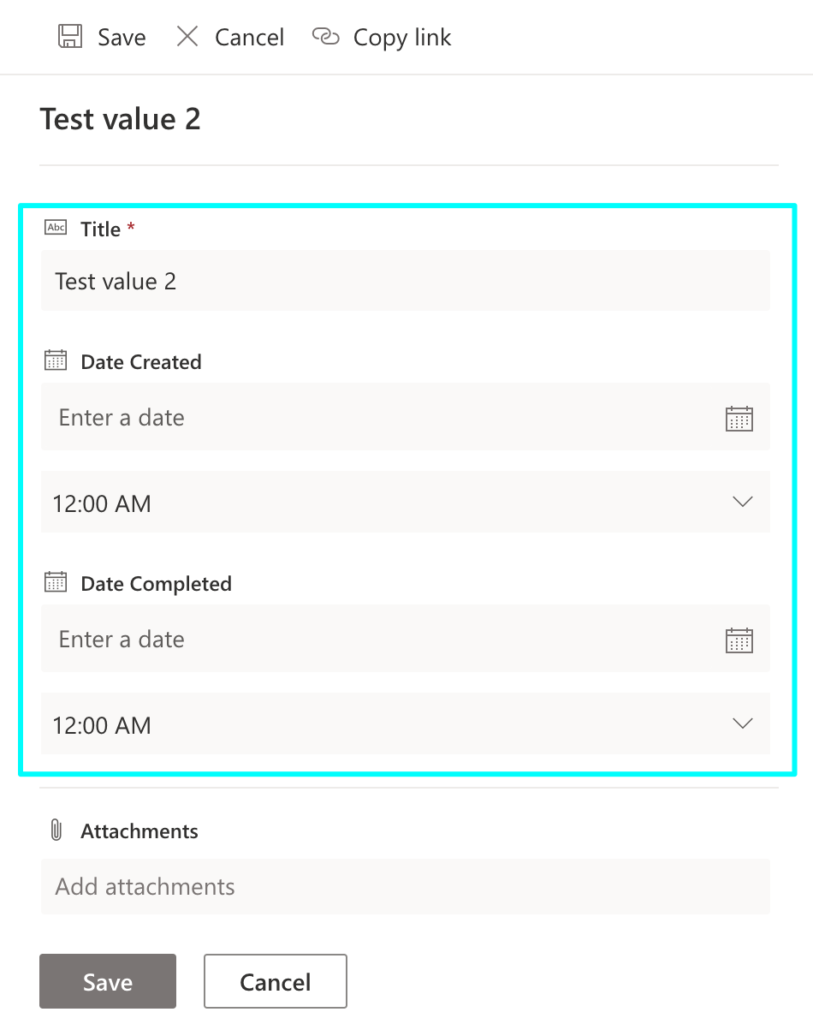
- Add as many columns and rows to the list as you need. Click on the row and press “Edit” to change the data.
- This option will let you customize the data that will be listed after this press “Save.”
You now know how to create a SharePoint site and a list— you can fill this list with whatever you need for your business. After the site list is fully created, you can read onto the next part of the guide.

How to send a notification when a column is changed in a SharePoint list
If your SharePoint list is completely set up, you will want to set up an alert to send notifications out to all users whenever a column gets changed; this will include any changes to the data in the column. You can set an alert, name it and choose from other options what the alert will cover.
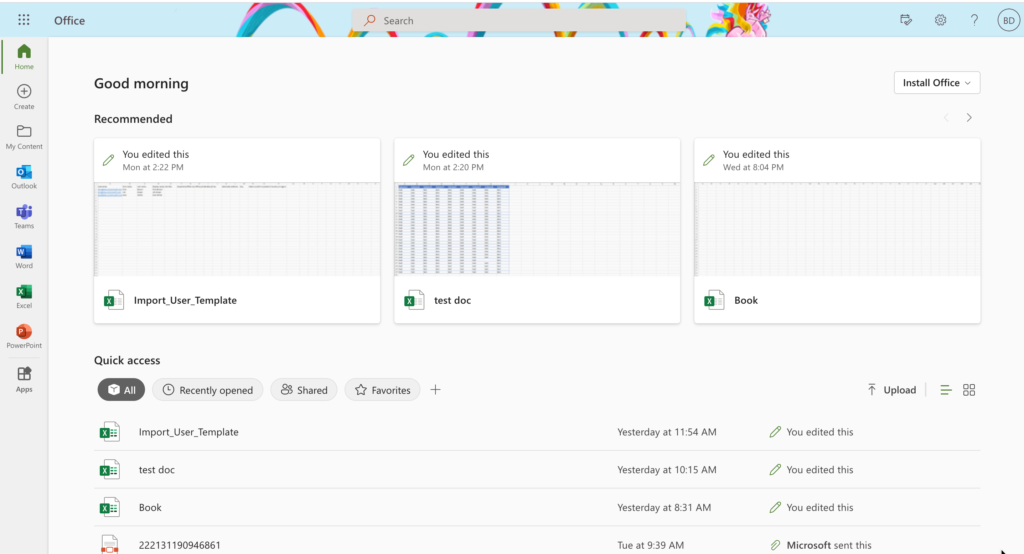
- To start, sign in to office 365 with your Microsoft account and go to the homepage.
- Click on the app launcher, then choose “SharePoint.”
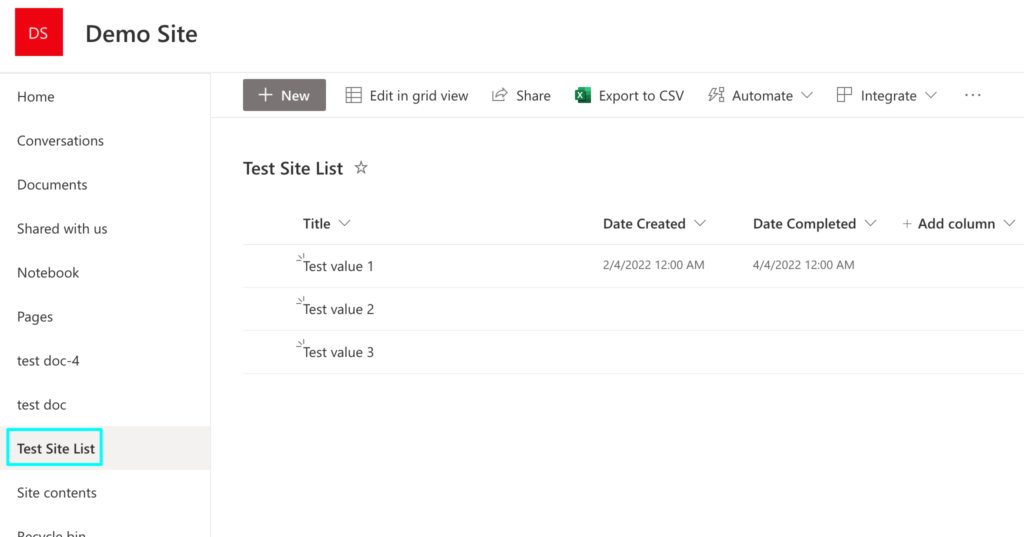
- Choose the site you want to set the alert for; if you followed the guide’s last part, use that site. I will be using the “Demo Site” site for this part.
- Then go to the list you want to make the alert on. I will do this on the “Test Site List.”
- On this page, click on “…”, and it will show you the choice of “alert me” or “manage my alerts,” which we will come back to later.
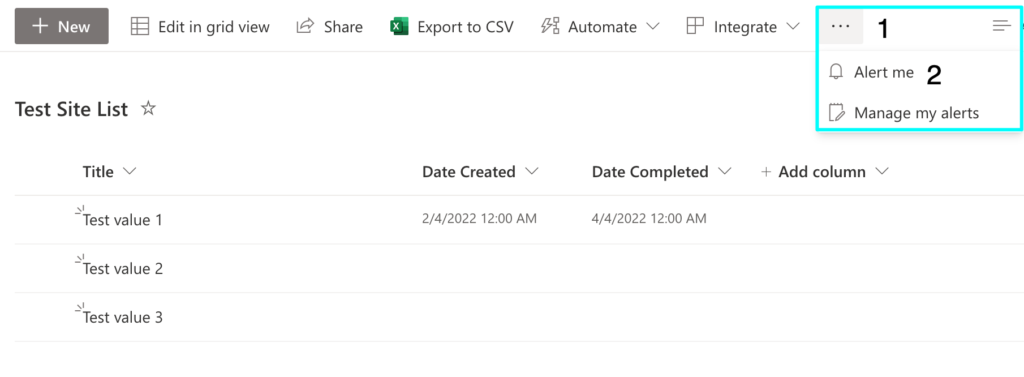
We need to use “alert me” to open a page of options to choose from.
- Name the alert something suitable as this will be sent to users whenever the alert goes out. For this demo, I will call it “Test Site List.”

- Here you can select the people that will receive the alert; this can be done by adding their names and email addresses as well as distribution lists.

- Then pick from the options how people will receive the notifications, including email or text.

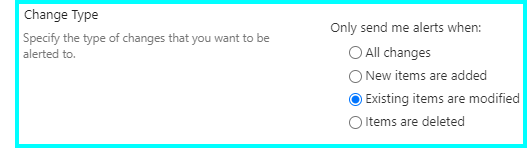
- In the next space, you can choose what kind of change it will send an alert for; you have the choice of “All changes,” “New items are added,” “Existing items are modified,” or “Items are deleted.” Here we will choose “Existing items are modified” as it is the guide’s topic.
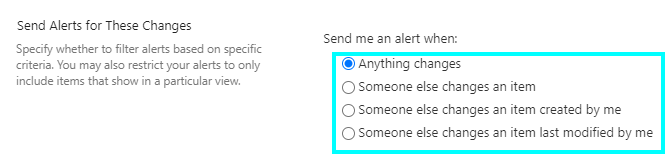
- Next, there is the option to set an alert when someone else changes something.
- Then you can select the frequency of the notifications, from immediate notifications, daily notifications, and weekly notifications.
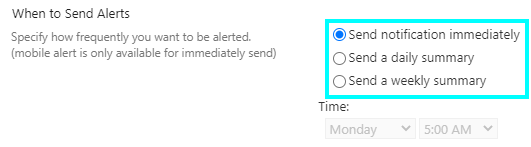
- Finally, press “OK” to create the alert.
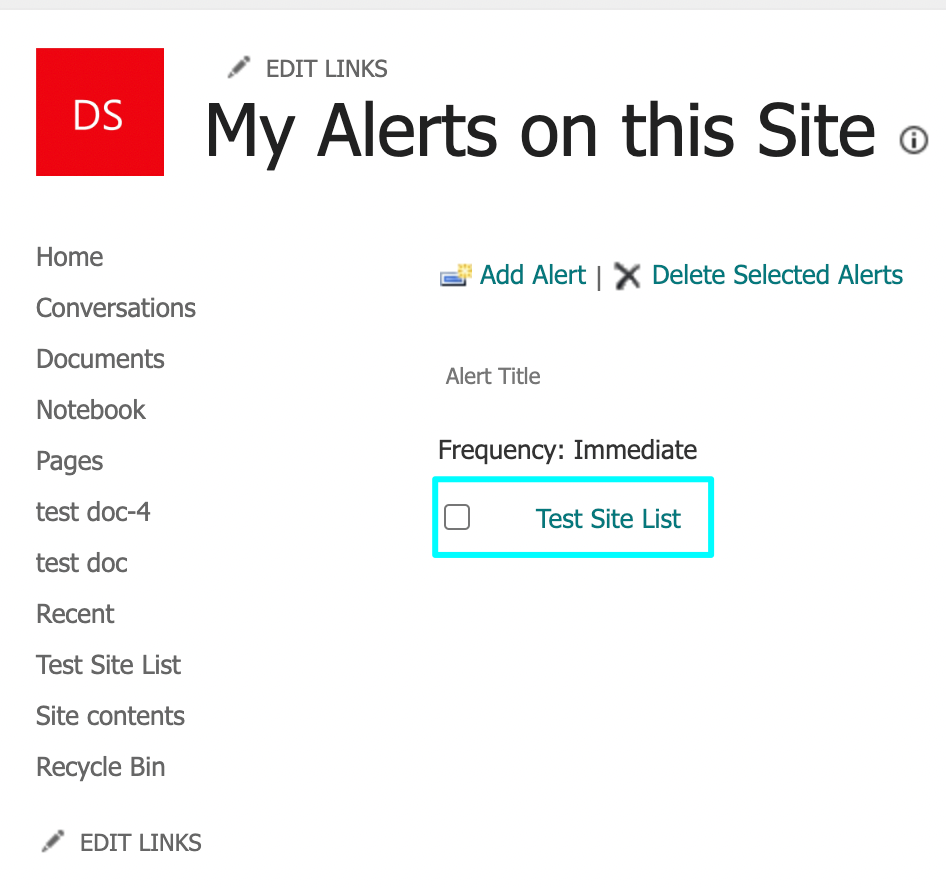
To view your created alerts, press “…” and click on “Manage my alerts.”
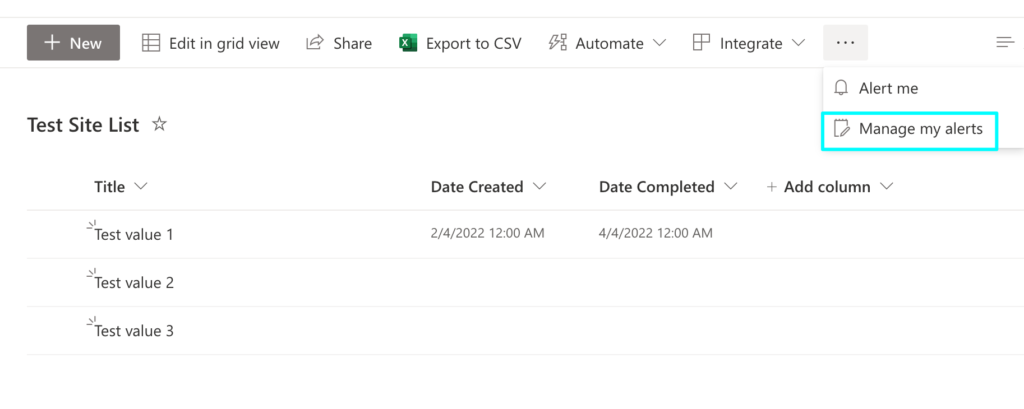
Doing so will display any alerts you make here; there is also the choice to delete any you don’t need.
Conclusion
To recap, you should set an alert for column changes in SharePoint site lists; this is a helpful feature because anyone in the business can use sites; anyone can change the list’s content, so people who use SharePoint often will need to be alerted. You can do this by going to SharePoint, going to the site list, clicking “…” and pressing “alert me.” Thank you for taking the time to read through this guide. I hope that it answered your question well enough, and remember to check out our other content if you have any other questions.