“MFA” or “Multi-Factor Authentication” is a process of authentication where access to a service requires more than just a username and password before granting access to that particular service. This access can be granted via a one-time code sent to a user’s mobile device via SMS text or a phone call to a user’s office/desk phone. More recently, biometrics have had an active approach in the handling of MFA, allowing users the ability to use their thumb/fingerprint or a retina or face scan, instead of a phone call or text. In any event, your ID and password alone aren’t sufficient to access a system/resource.
Step by step process:
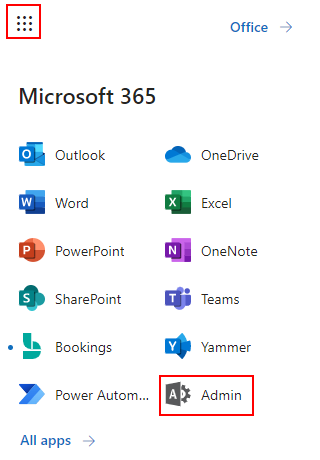
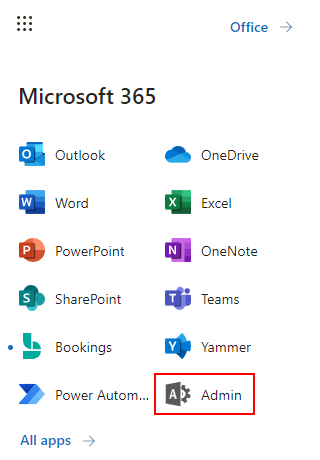
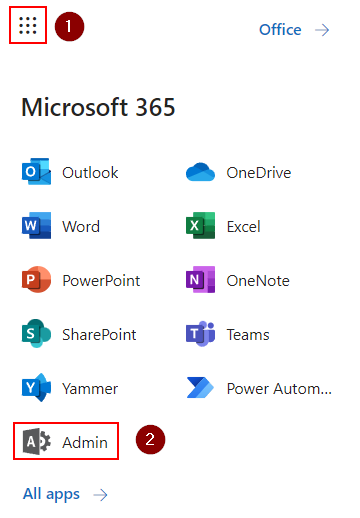
- First you need to sign in to the Microsoft 365 admin center with global admin credentials available
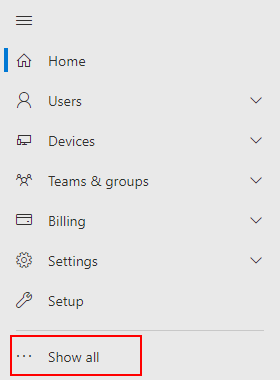
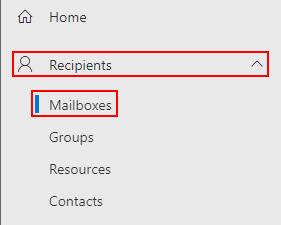
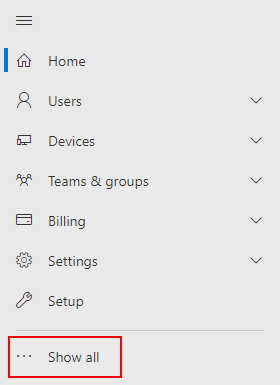
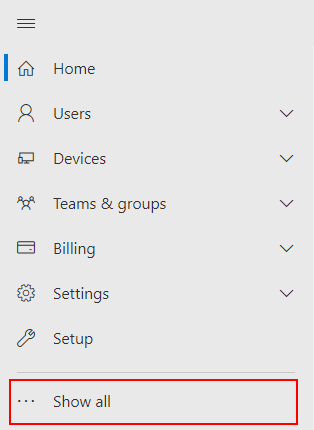
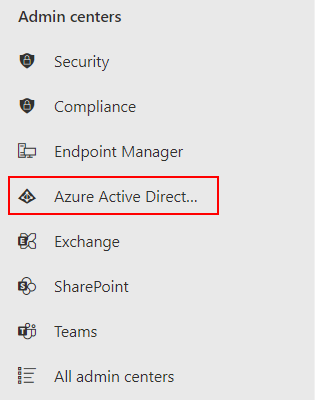
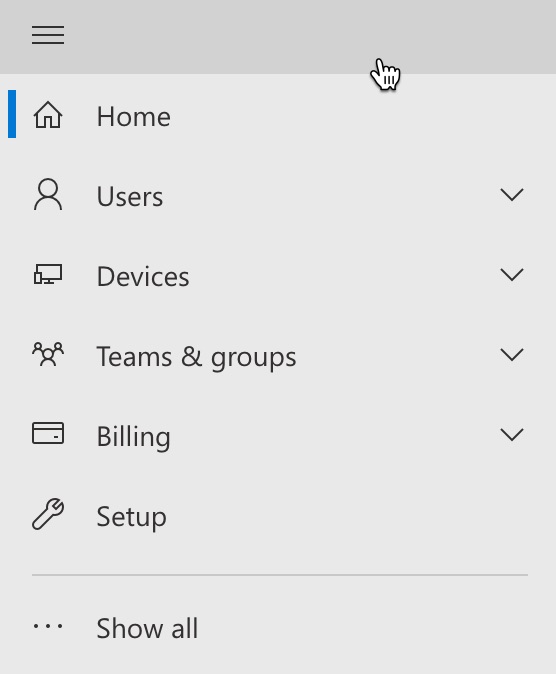
- Next under the navigation panel on the left click show all.
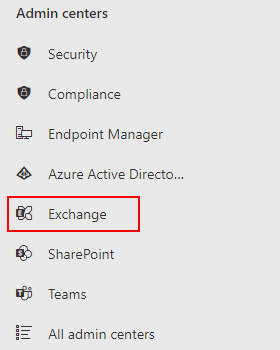
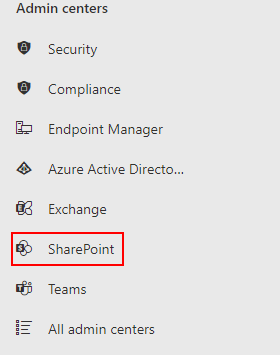
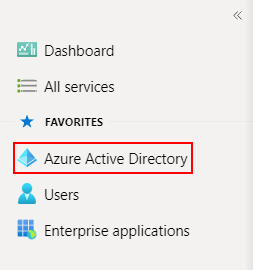
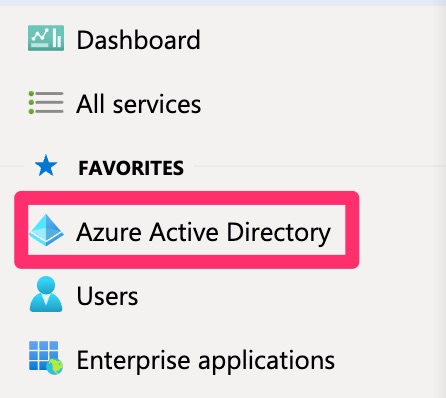
- Then choose Azure Active Directory > Then Azure Active Directory. Here you can access the main portal or features relevant to MFA.
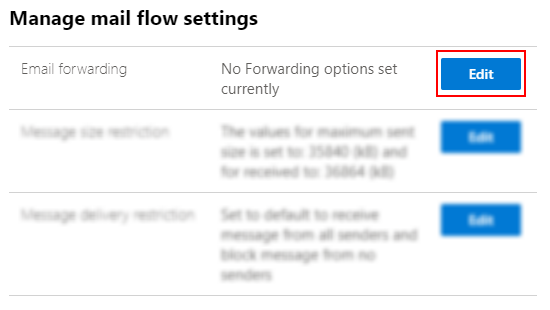
- Once the properties panel is open, you can click Manage Security Defaults
- Once clicked it will open a panel on the right where you can change the settings to your requirements. In this case we need to have the permission set as “yes” to allow for access to the MFA setting.
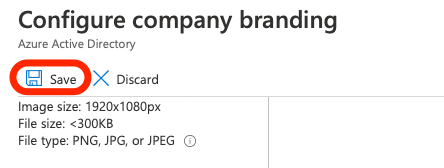
- Finally, click save to change and administer the new settings which will be default until changes are prompt:
A user that needs to use MFA has to enable Modern Authentication which is a Microsoft feature that allows Active Directory Authentication Library based sign in and multi-factor authentication, users who were previously logged into Office 365 in their Outlook clients – even clients that support Modern Authentication – may still experience an issue where the Modern Authentication browser window does not appear for them.
To resolve this issue, you need to first ensure that you have enabled Modern Authentication for Microsoft Office on Windows devices and on the Online Office tenant. Be aware that Modern Authentication is only supported natively in a modern version of Outlook primarily the “2016” variation. Modern Authentication is not available with previous variations.
Upon prompting a user for MFA, there is another feature that has active participation in the in the MFA process. The feature setting is also quite hard to find easily as its stored in the MFA service settings for the user device. The Multi-Factor Authentication feature sets a persistent cookie on the browser when a user selects the “Don’t ask again” for any length of days option at sign-in. The user is not prompted again for Multi-Factor Authentication from that same browser until the cookie expires. If the user opens a different browser on the same device or clears their cookies, they are prompted again to verify.
 |   | Empower your devs with DevSecOps Give your devs the tools they need to create & deliver secure, innovative applications quickly and collaboratively. Get expert help migrating & modernising Set up your cloud environment confidently with help from the Azure Migration & Modernisation Programme. | |
| | 30 day FREE trial |
How to access MFA settings:
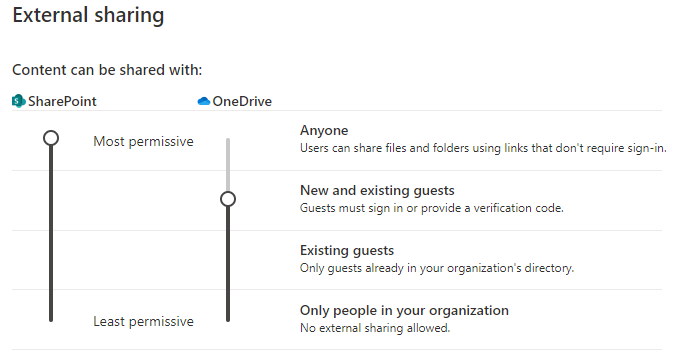
One way to prompt the MFA is to enable security default which will essentially allow users to access the full range of security features including additional login parameters. Security defaults is a set of basic identity security mechanisms recommended by Microsoft. When enabled, these recommendations will be automatically enforced into the organization. Administrators and users will be better protected from common identity-related attacks.
How to turn Security defaults on or off:
- First you need to sign in to the Microsoft 365 admin center with global admin credentials available.

- Next under the navigation panel on the left click show all.
- Then choose Azure Active Directory > Then Azure Active Directory. Here you can access the main portal or features relevant with the MFA stages.
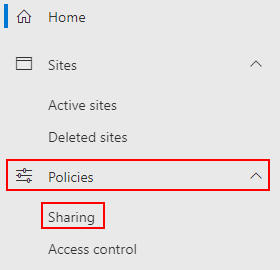
- After that click properties in the manage section. You may need to scroll down the panel to access the properties tab, then click Manage Security Defaults
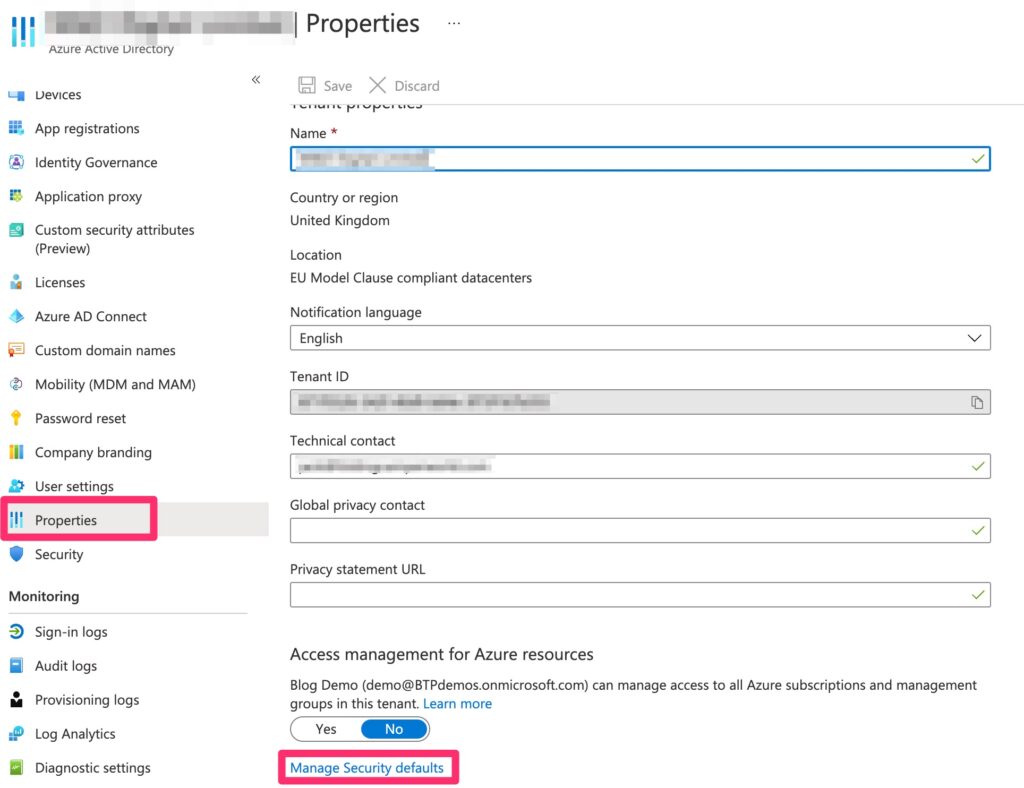
- Once clicked, it will open a panel on the right where you can change the settings to the preference required. In this case we need to have the permission set as “yes” to allow for access to the MFA setting.
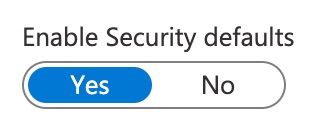
- Finally, click save to change and administer the new settings which will be default until changes are prompted:

Users remain signed up on trusted devices:
The Azure AD sign-in network gives users the option to remain signed in until they explicitly sign out. This doesn’t change Azure AD session lifetime but allows sessions to remain active when users close and reopen their browser. This will create a persistent cookie on the endpoint, so the users’ session is stored. The Azure AD default for browser session persistence allows users on personal devices to choose whether to persist the session by showing a “Stay signed in?” prompt after successful authentication.
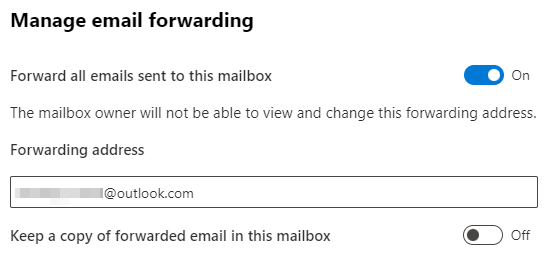
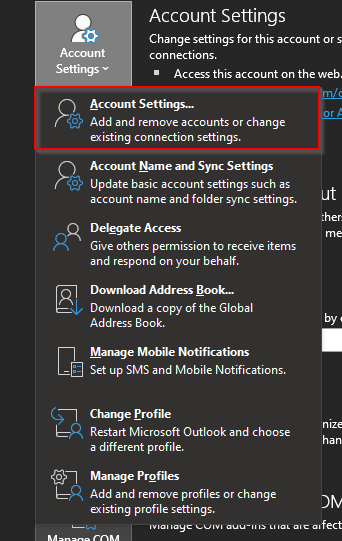
The image above shows a list of instructions the user needs to follow in order to disable the “Keep Sign in feature” and enable MFA each time you login.
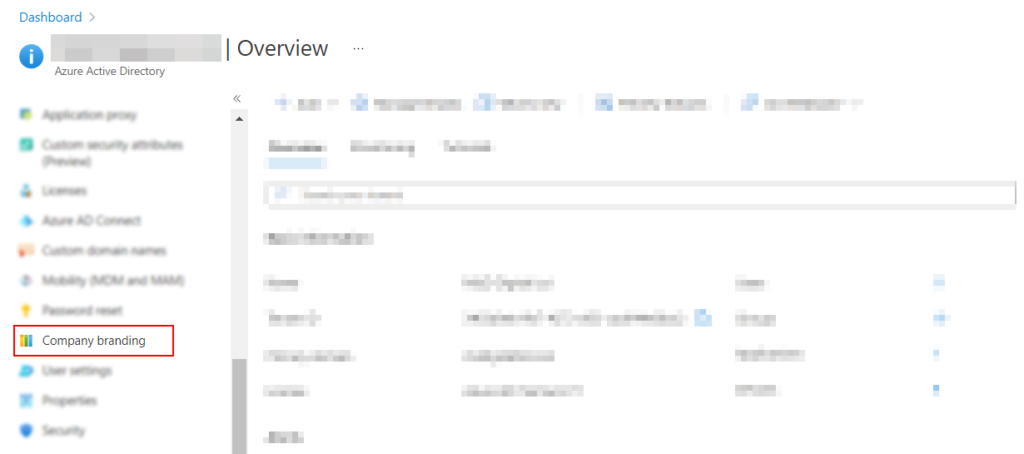
- First you need to access the Azure Active Dictionary panel which is where all the management content is located.
- After that you need to click company branding where accounts related to the Microsoft domain are located.
- After that click the associated account related to the one you wish to change the sign in features on.
- Finally, go to the option “remain signed in” and click yes. Once that is complete you can click save and it will automatically save the settings and will prompt MFA login credentials again every time the user tries to login.