Co-Authoring is a feature in SharePoint Online (and is also available in OneDrive) that allows multiple users to edit and collaborate on documents in real time. Documents within a SharePoint Online document library are enabled with co-authoring by default. This means that when multiple users edit one document, whether it’s on Word, Excel or PowerPoint, the changes made by each user will be reflected to everyone else who is using the document at that time. This function of SharePoint enhances collaboration and improves the experience of using SharePoint. In this blog post, I will be illustrating how the co-authoring feature works in SharePoint Online.
It is important to note here that co-authoring works on Office Online and in locally installed applications with modern Office documents (.docx (Word), .pptx (PowerPoint), and .xlsx (Excel).). In addition to this, all co-authors must have edit permissions and must be connected online.
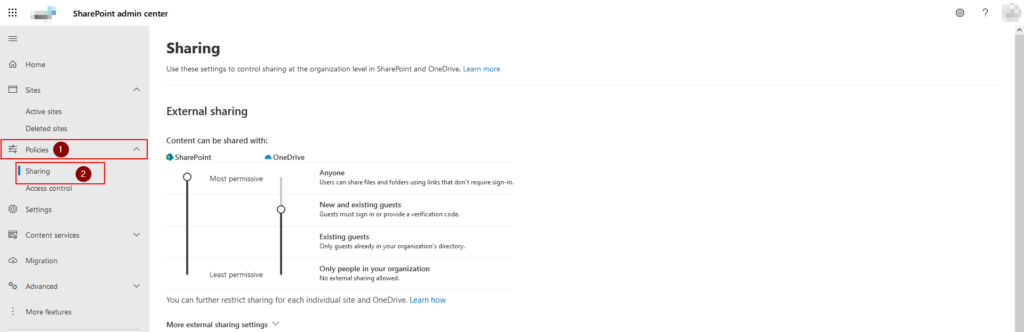
How to enable co-authoring in SharePoint Online
In short, you don’t need to enable it. Co-authoring is a default feature of SharePoint that is always enabled. The feature allows you and your co workers to simultaneously work on files such as
- Word
- Excel
- PowerPoint
- OneNote
To co-author with others, you need:
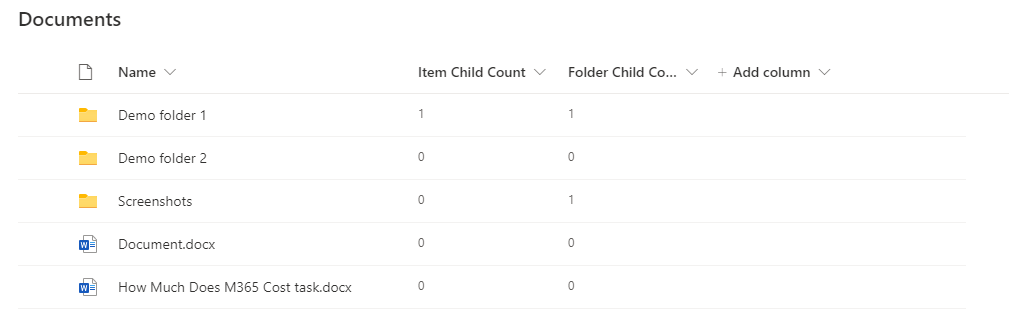
- A shared storage area such as OneDrive, or in this case, SharePoint.
- Apps that support co-authoring. Word and PowerPoint support co-authoring on all devices and versions that are more recent than Office 2010 support. The Excel mobile apps and the latest version of Excel for Microsoft 365 also support co-authoring.
- A co-authoring friendly document, as co-authoring is only supported on modern file formats such as .docx (Word), .pptx (PowerPoint), and .xlsx (Excel).
- Edit permissions for co-authors in order to access and edit the documents.
How does co-authoring work?
Word
Word documents are one of the most commonly used files that co workers use to co-author. When two or more users are editing a Word document at the same time, they can view who is currently working on the document as well as see the changes that are being made to the document as they are happening.

When using Word Online, the notification will appear at the top right hand corner of the page near the ‘Share’ button when another author has made an edit at the same time.
Excel
The co-authoring feature for Excel works for thel desktop app as well as Excel Online. When edits are being made to an Excel spreadsheet, the cells that the changes are being made to are highlighted and the name of the user making the changes also appears next to the cell.

In order to enable co-authoring for the Excel desktop app, it is important to ensure that you are using the latest version of the Office suite. Prior to the August 2017 update, when trying to co-author and edit a document in the Excel app, the second user would receive a notification message saying that the file is locked for editing and is only available to view as a read only copy.
PowerPoint
Similarly to Word, PowerPoint also shows who is currently working on the document as well as displaying the changes that are being made to the document as they are happening.

When using PowerPoint, the notification will appear at the top right hand corner of the page near the ‘Share’ button when another author has made an edit at the same time.
OneNote
OneNote can also be used for co-authoring as it uses a similar notification process when two or more authors are editing the same page, and is available on both browser editing as well as the desktop application.

The notification on OneNote will appear at the top right hand corner of the page near the ‘Share’ button when another author has made an edit at the same time.
Co-authoring and versioning
One concern that SharePoint users may have with co-authoring is the process in which versioning works to ensure that the changes being made to a file can be traced back. When two or more people are editing a file at the same time, the file is saved every minute or so to ensure that all the changes are being fully processed and updated. Whichever user is the last to make changes at the time that the file is saved, their name is the one that is registered in the version history.
How co-authoring can be beneficial to an organisation
The co-authoring capabilities offered by SharePoint make it possible for multiple users to work on a document without interfering with each other’s changes. The file or document they are working on is accessible at any time from anywhere and using any device. The results of co-authoring are often of a higher quality than a single individual can achieve. Co-authoring comes with a range of benefits in terms of the quality and quantity of work but also in terms of reducing time. It plays a great role in promoting collaboration and social interaction between work colleagues.
After reading about Sharepoint’s co-authoring feature, here are other useful blog posts to help you learn more about SharePoint and its features:
This blog post looks at how team sites and communication sites differ in SharePoint and how to decide which one to use.
Since the document library is a vital part of Sharepoint, this blog post looks at the process of creating a new document library with an easy to follow tutorial.
In order to avoid unintentional edits, this blog post demonstrates how to adjust the file settings for libraries, folders and individual documents in your SharePoint site.
Thank you for reading. If you have any further questions about co-authoring in Sharepoint, feel free to leave a comment below and we’ll get back to you as soon as we can.