MFA or Multi-Factor Authentication for Office 365 is Microsoft’s own form of multi-step login to access a service or device. This stage of security allows organizations with any active subscriptions to enable multi-step security for their Office 365 users without requiring any additional purchase or subscription or plans.
Step by step process — how to disable MFA for a Microsoft 365 account:
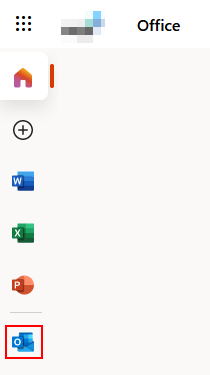
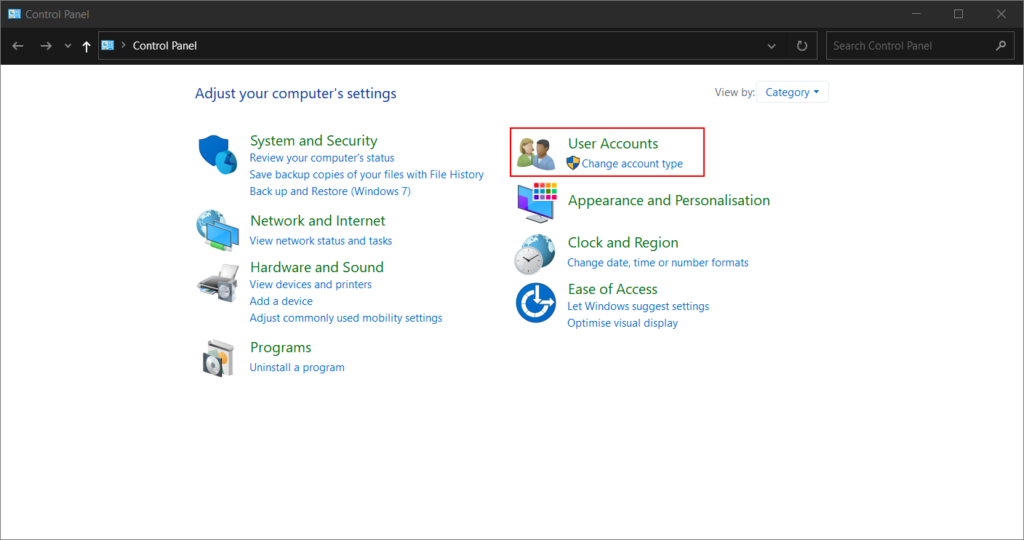
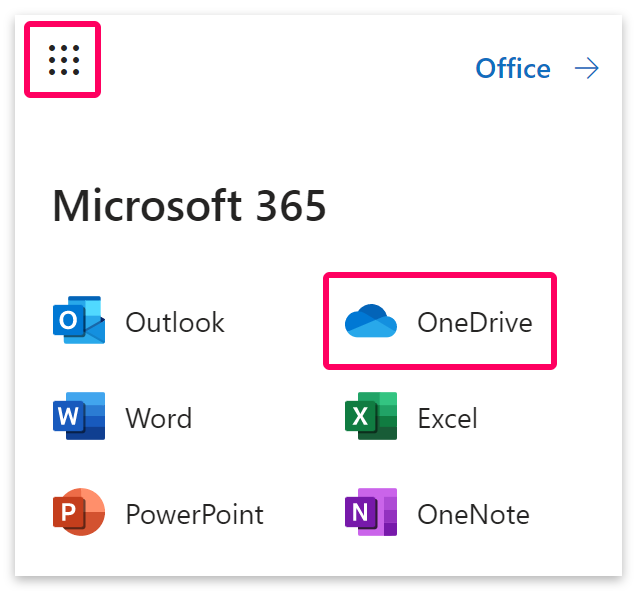
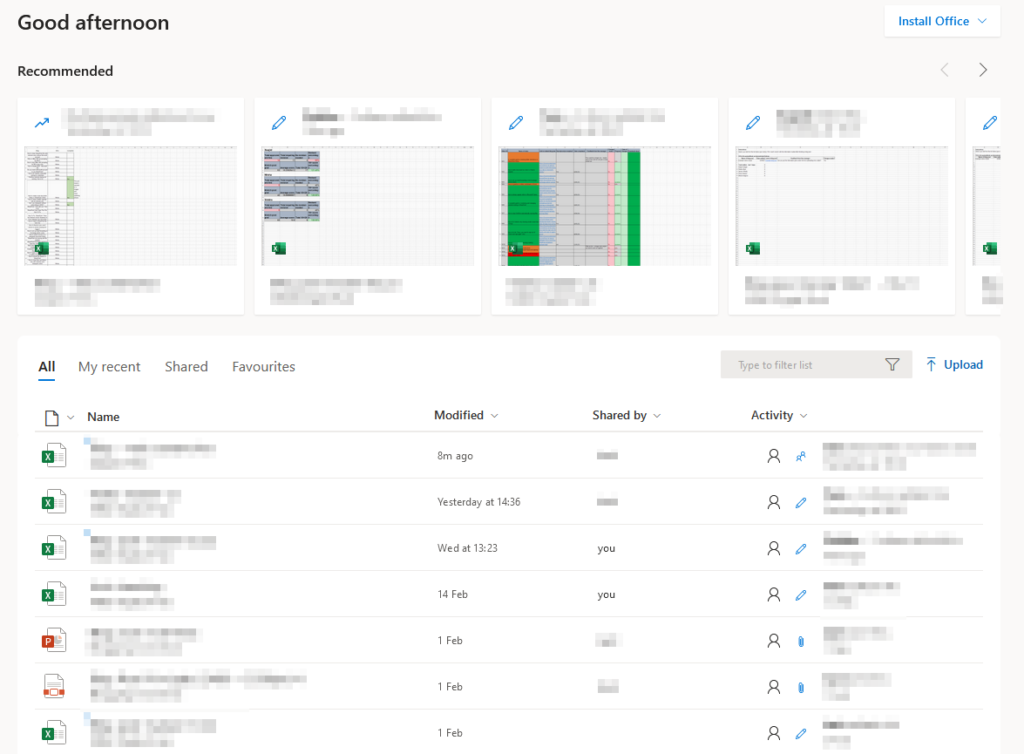
- To start the process you need to log in to a Microsoft account that has admin status in order to make changes. Logging in will bring you to the main Office dashboard where saved files and content is located.
- Below is the office 365 suite with all the essential tools highlighted for ease of use and convenience. The office suite includes an abundance of features to help users functionally such as the highlighted search bar to allow users to effectively locate functions without having to search through the functions panel.
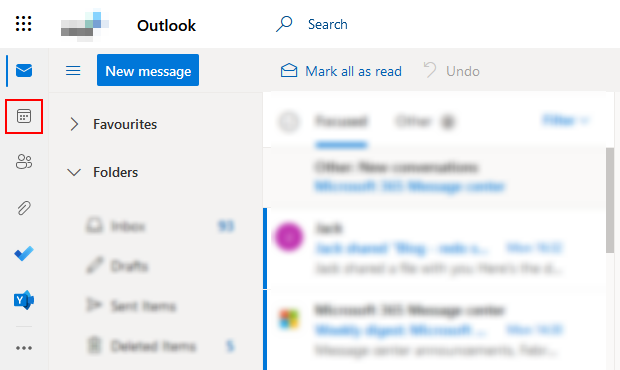
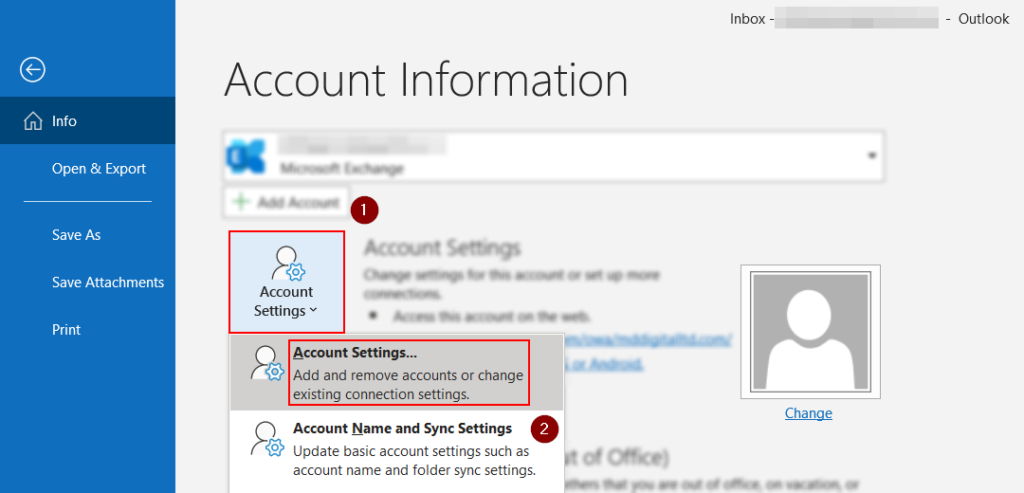
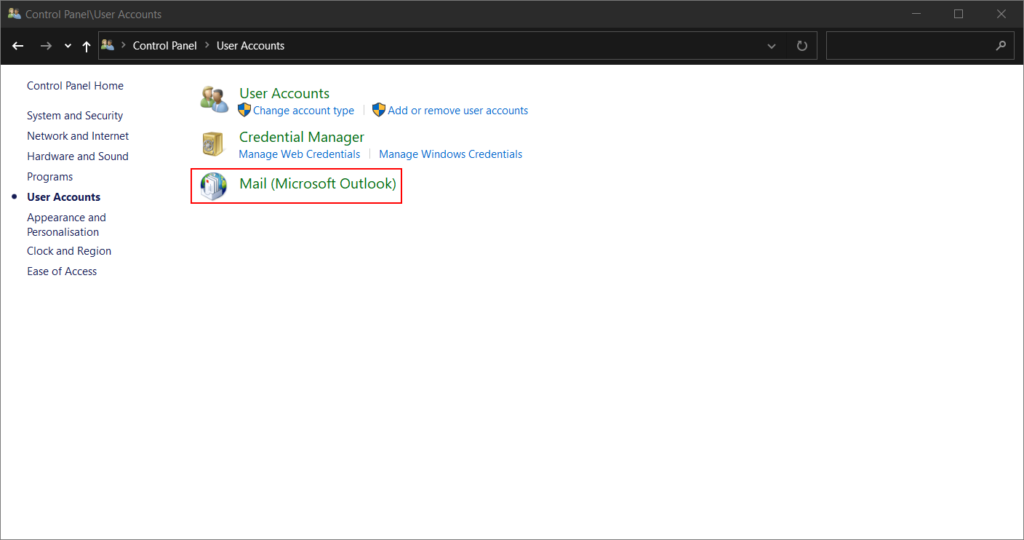
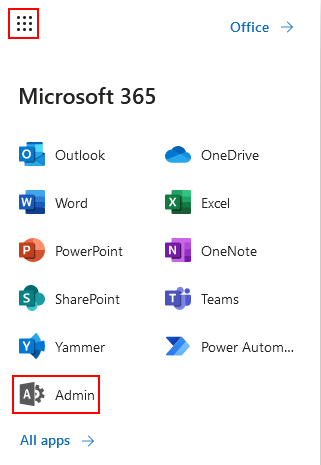
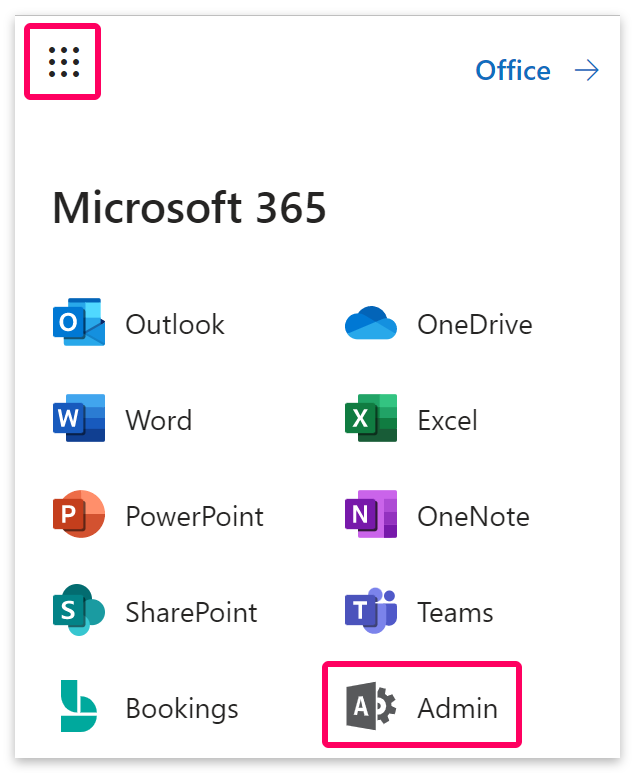
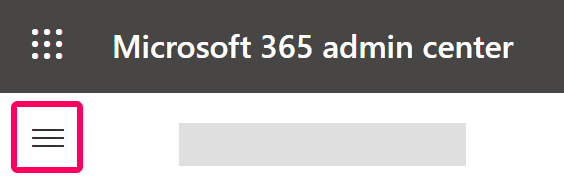
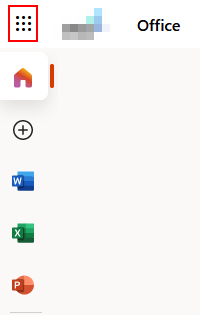
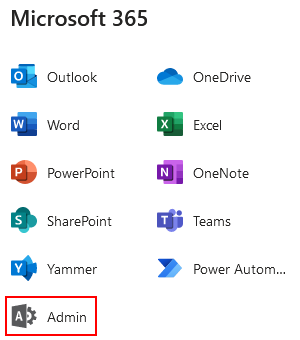
- After this you click the application launcher which is in the left corner of the page and click admin which is one of the default apps located within the launcher.
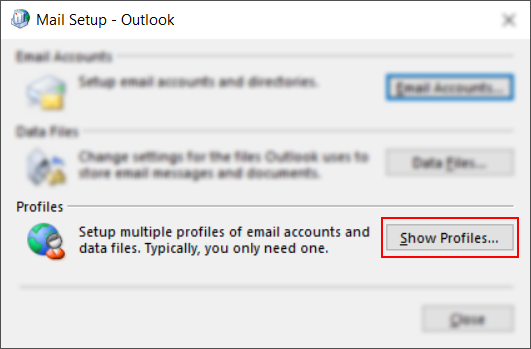
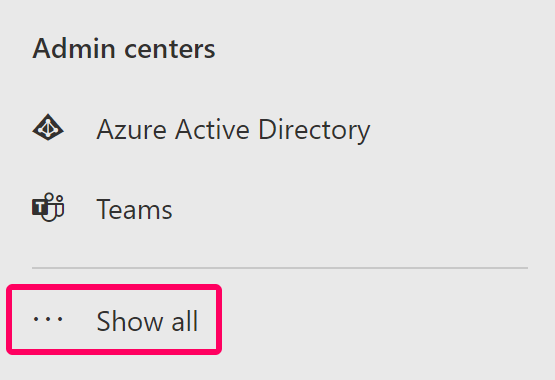
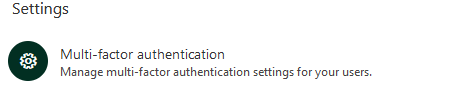
- Following on from this stage you need to access the MFA by going to settings or, to reduce time, use the search feature. Some variations of the 365 suite may require more searching than others, however with the type and search feature, functions such as the MFA are easy to locate and note.
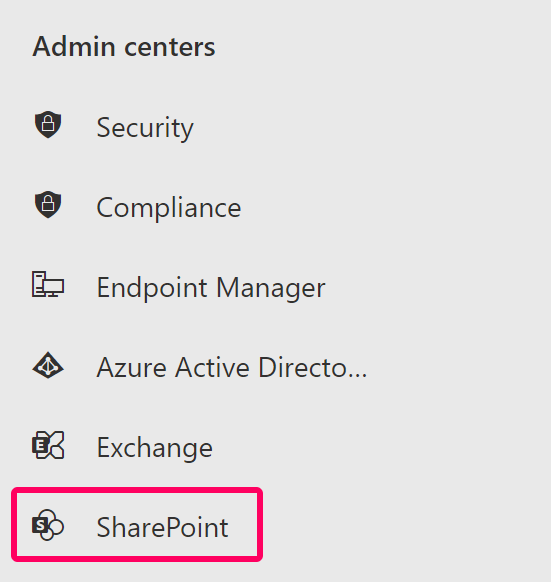
- After typing a few letters of the function it will show in the settings tab and here you can click on the MFA function relevant to what you require.
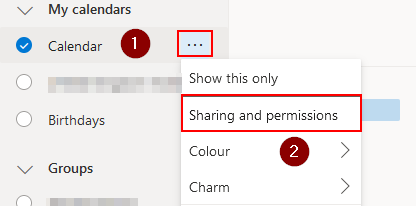
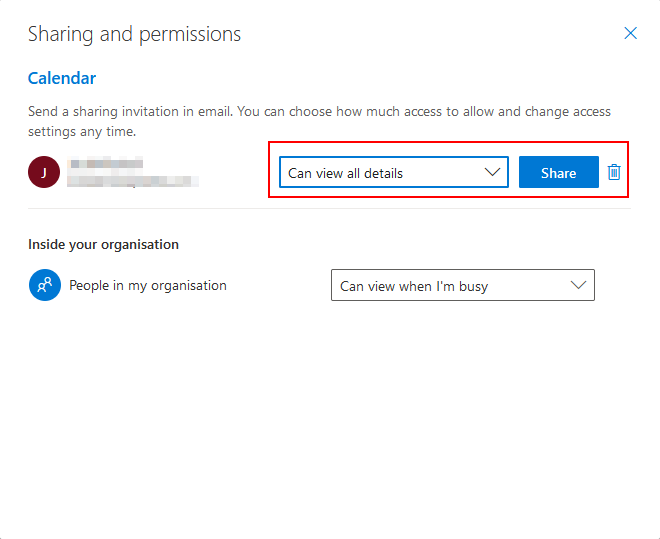
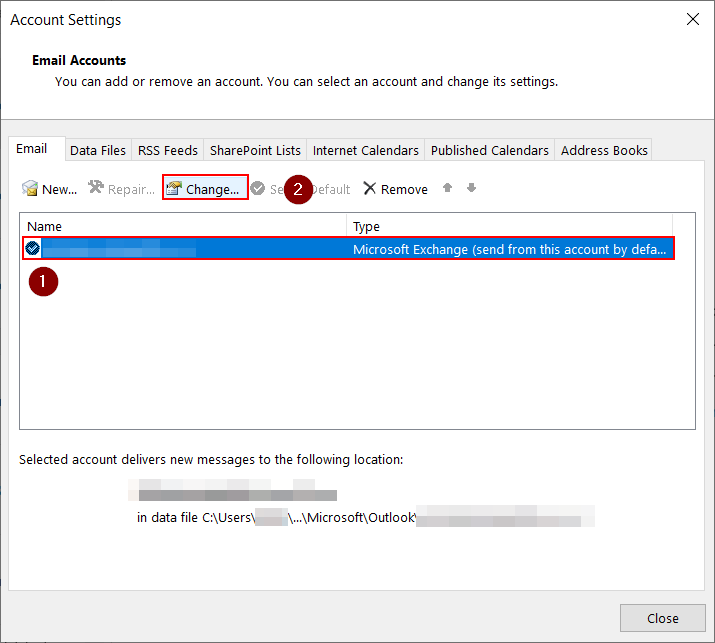
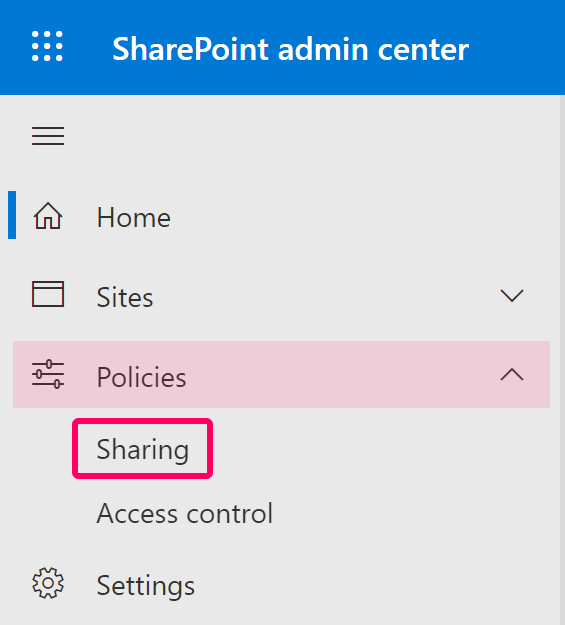
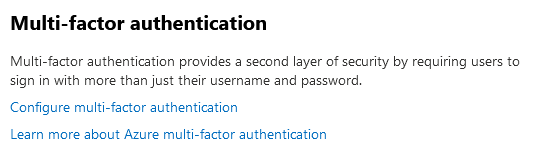
- Once you click on the MFA tab you will see a panel on the right hand side of the display.
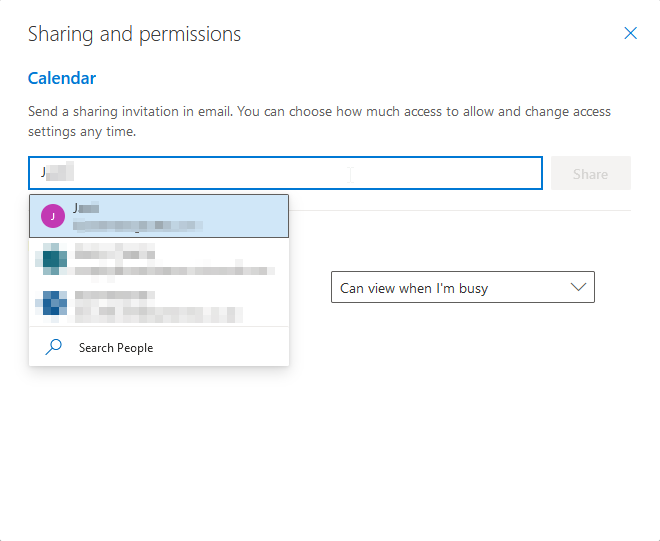
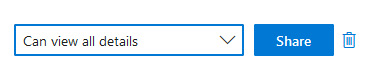
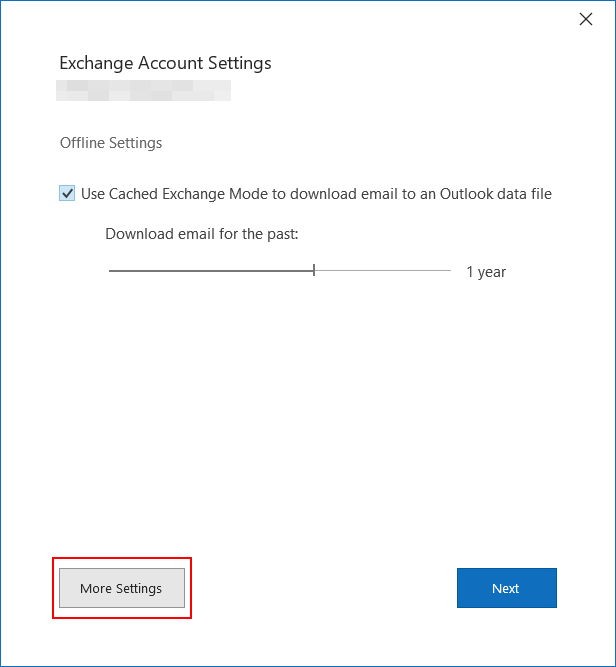
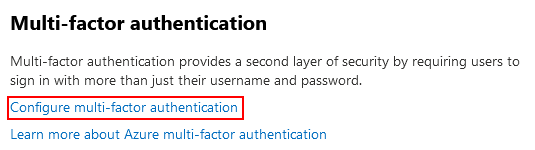
- Once this is complete you click on “Configure multi-factor authentication” where you can edit the MFA — in this case disabling it.
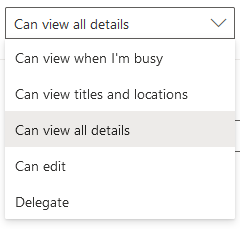
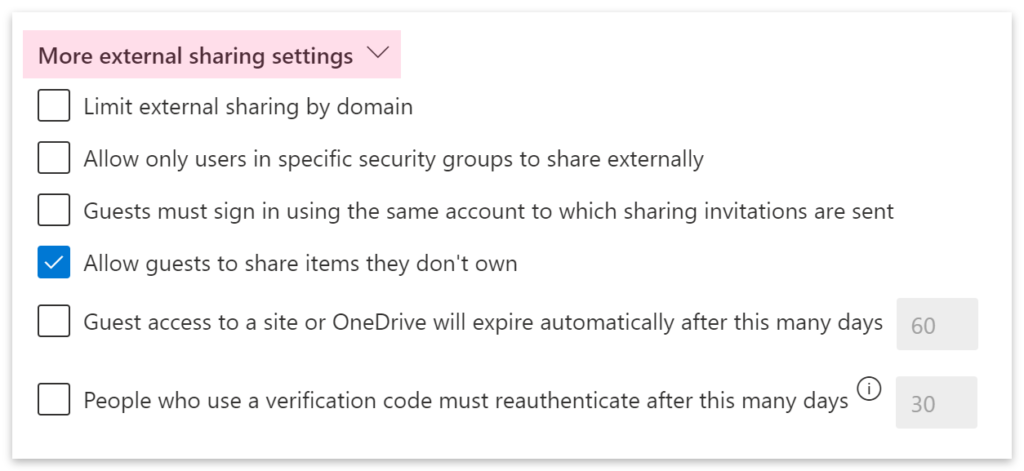
- After entering the page, you can now start to edit the MFA preference to the ones you require.
- To change these preferences you need to first click on the associated account you wish to edit MFA on, then click either enable or disable.
- When you click enable, it will automatically activate the MFA upon login. You will need more than the set password to login.
- Note: The M365 portal will show a warning when you wish to disable the MFA as it may compromise your security and your organization may be more susceptible to cyber attacks.
- If you wish to continue the process of disabling the MFA feature, simply click yes and it will automatically adjust to those settings if necessary.
MFA will greatly improve the security of users logging in to cloud services and is more robust than simple passwords. With Office 365’s multi-factor authentication, users need to confirm the call, text message, or application notification on their smartphone after entering the correct password. The user can log in only after the second authentication factor is met. Despite these active security features present within Microsoft 365, some may choose to completely pass MFA and log in a regular way with a simple password. Microsoft has allowed users to edit the MFA in a way that’s convenient for them.
The process to actively change the Microsoft 365 MFA for user accounts is quite simple as it’s located in the settings panel within the UI dashboard.
How to access MFA settings and deactivate it
- To start the process you need to log in to the associated Microsoft account that has admin status in order to make changes. Logging in will bring you to the main Office dashboard where saved files and content is located.
- After this you click the application launcher which is in the left corner of the page and click admin which is one of the default apps located within the launcher.
- Following on from this stage you need to access the MFA by going to settings or better to reduce time use the search feature. Some variations of the 365 suite may require more searching than others. However, with the type and search feature, functions such as the MFA are easy to locate and note.
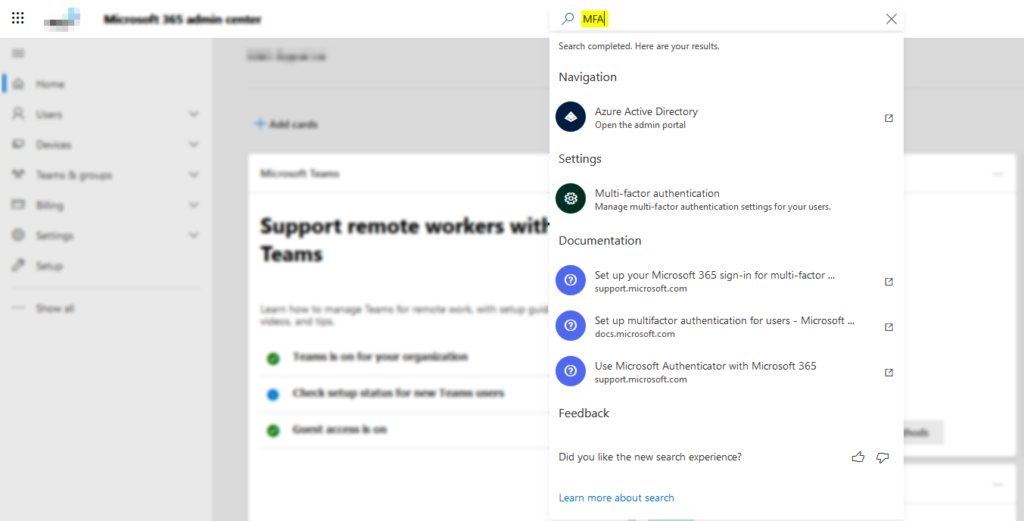
- After typing a few letters of the function it will show in the settings tab and here you can click on the MFA function relevant to what you require.
- Once you click on the MFA tab you will see a panel on the right hand side of the display which resembles the image below.
- Once this is complete you click on “Configure multi-factor authentication” where you can edit the MFA in this case disabling it.
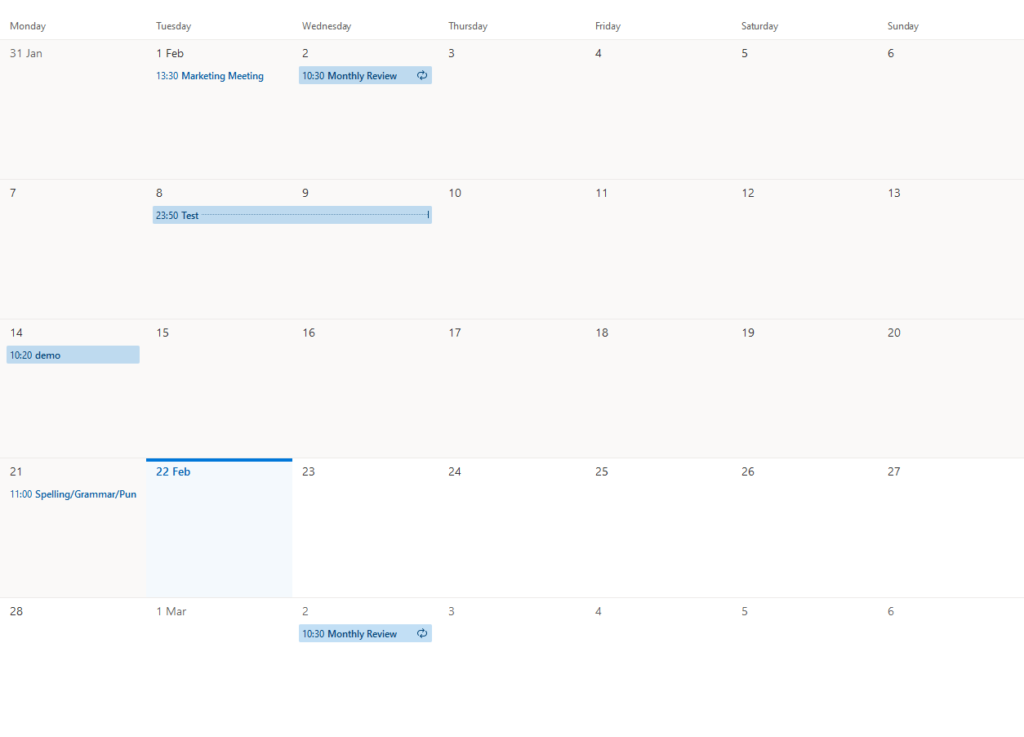
- Once you click on the configure function it will bring you to this page where all the accounts associated with the Microsoft suite are located.
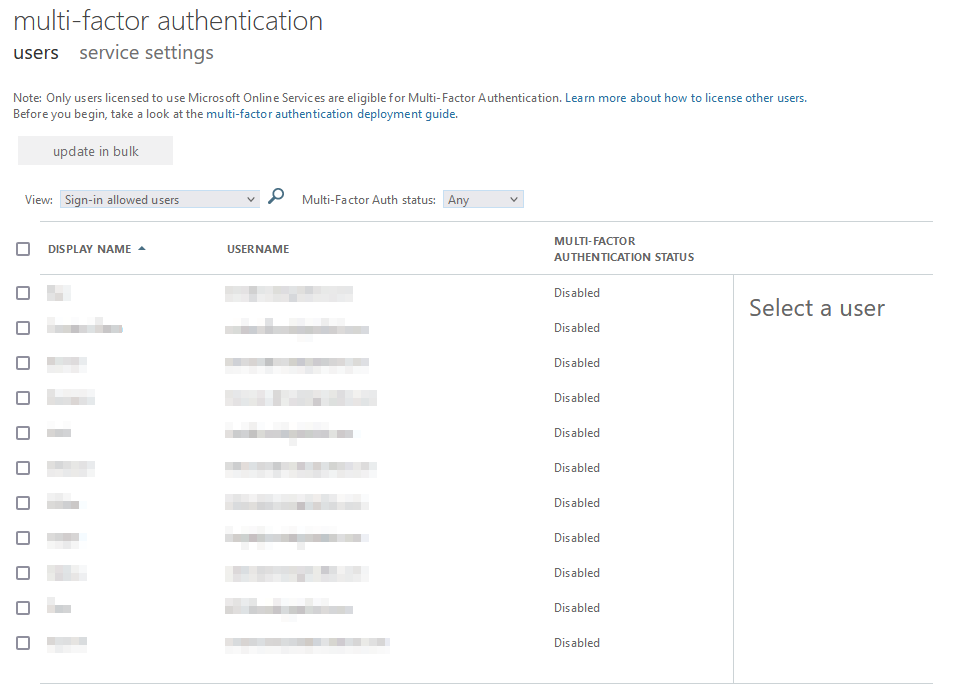
- After entering the page shown above you can now start to edit the MFA preference to the ones you require.
- To change these preferences you need to first click on the associated account you wish to edit MFA on, then click either enable or disable.
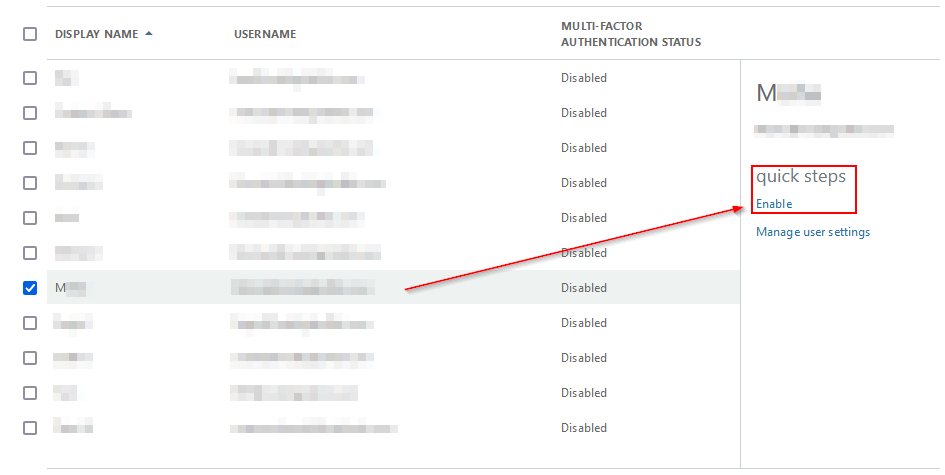
- When you click enable it will automatically activate the MFA upon login. You will need more than the set password to login.
- However it will show a warning when you wish to disable the MFA as it may compromise your security and may even be more susceptible to cyber attacks.
- This is the warning. If you wish to continue the process of disabling the MFA feature simply click yes and it will automatically adjust to those settings if necessary.
That’s the process of disabling the MFA on an account or even a series of accounts if necessary. This will allow the users to effectively change the preset settings upon requirements. However, what is the reasons people may wish to disable MFA?.
There are a few common reasons people may wish to disable the MFA, some are for convenience and some are more complex associated with individual organization preferences.
Reasons people wish to ignore MFA:
- MFA requires a form of 3rd party access requirements such as SMS or email, both of which can be compromised or hacked, therefore further restricting access to your Office account.
- Devices may be registered with a company therefore MFA may be seen as reducing productivity.
Summary:
Having an MFA improves security and is highly recommended by Microsoft which ensures the data you have on Office 365 remains safe and secure. However, for reasons, people may wish to avoid using MFA for reasons such as convenience. This is manageable in the settings panel and people can enable and disable it upon request. The companies associated with an Office 365 account may also choose to change the MFA settings for colleagues, employees, or members related to the company.