Microsoft user admins and global admins can restrict users from sending emails both natively within the network and outside the organization. However, there is not a pre-set feature within Office 365 to allow network admins to restrict the mail flow of a user. For this, you will need to create a new rule to prevent users from sending emails only. More conveniently you can block the user completely, however that will restrict access to all Office-related applications such as SharePoint or OneDrive. Mail flow rules in Exchange Online Office 365 have been available to allow admin status users to refine their preferences and allow more specific control over how the users interact with the company network. This overall improves the functionality of the network and allows for more restrictions to be set in place should it be required. Blocking outbound emails by creating a mail flow rule is the main subject of this blog where we will talk about a couple of methods to block mail flow and some drawbacks.
Step by step process – How to restrict user from sending emails: Office 365?
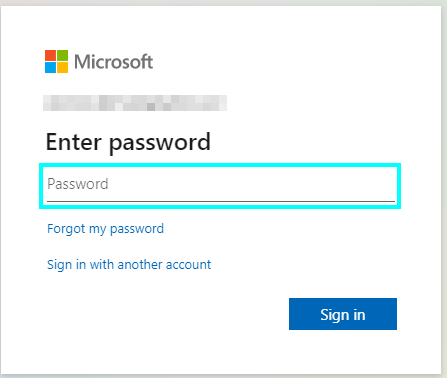
- First, sign into your Office 365 account.
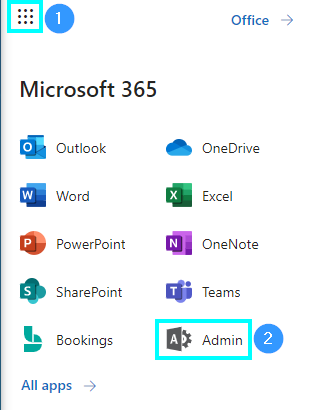
- Use the app launcher and navigate to admin.
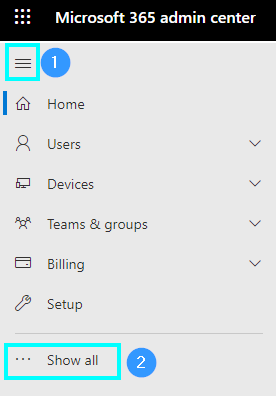
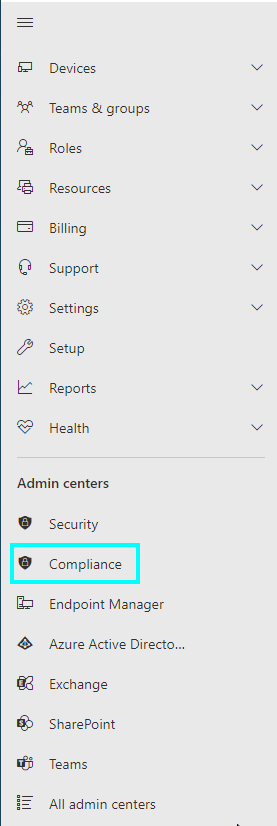
- In the admin dashboard, under “admin center,” click on “Exchange” (you may need to click “Show all” to access).
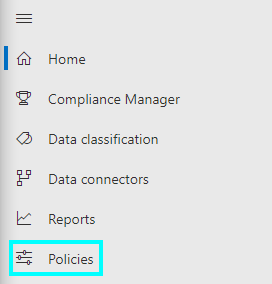
- In the Exchange dashboard, click on “Mail flow.”
- Then click on “rules.”
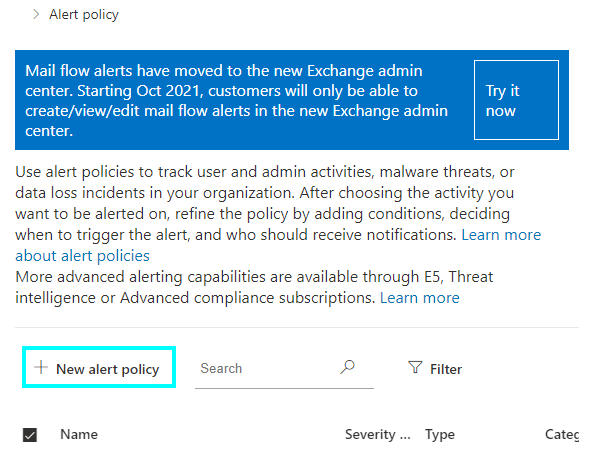
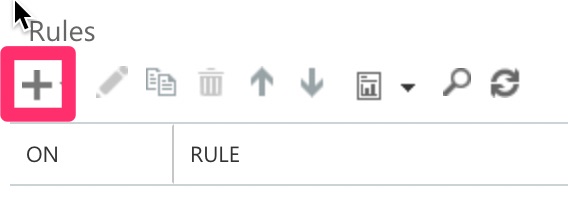
- Now click on the “+” symbol to create a new rule.
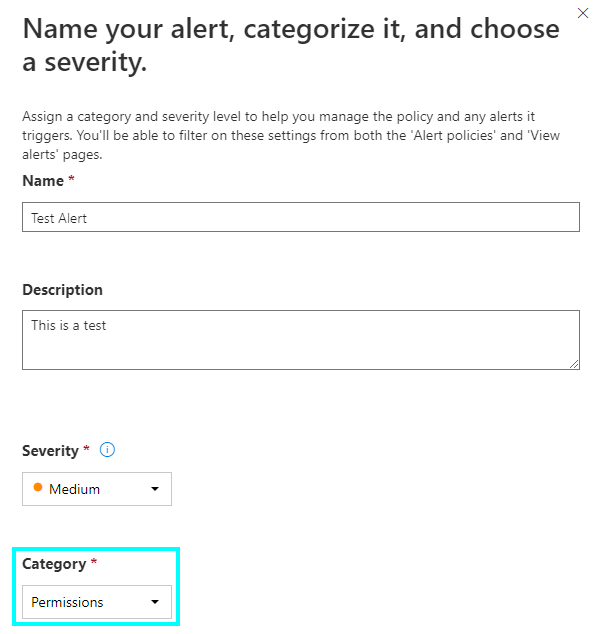
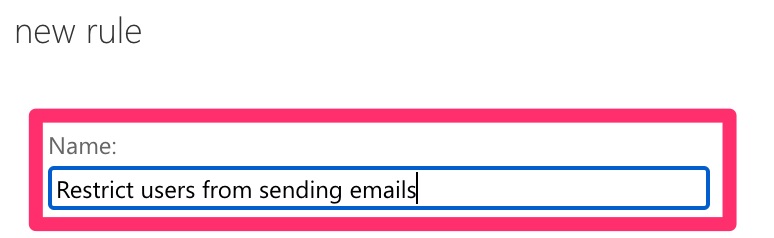
- Type out a name for the new rule this will be the rule handle.
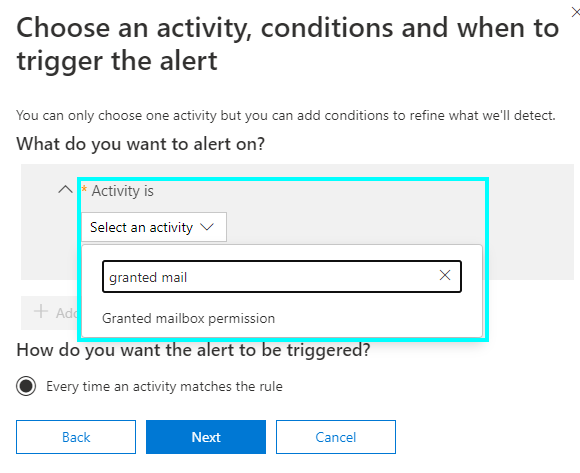
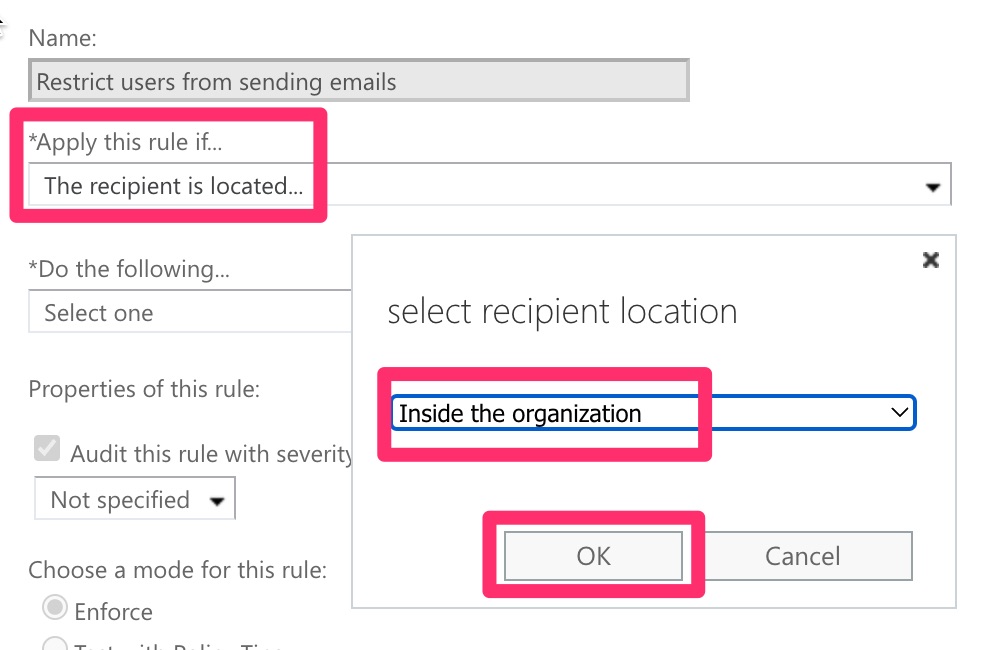
- From the “Apply this rule if” drop down, choose “The recipient is located.”
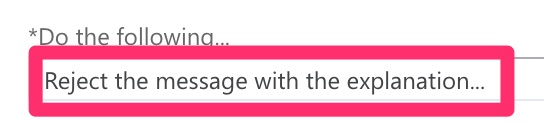
- From the “Do the following” dropdown click the “reject the message” option.
- Then click on “OK.”
We’ve also created a video to help guide you through the steps:
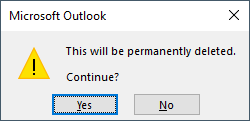
Now that the restriction is in place, the Office 365 user will no longer be able to send an email to anyone within or outside the organization. When they attempt to send, they will receive a warning message that states the mail was not sent due to restrictions applied. However, the users will be able to use other Office software such as the Office suite or SharePoint. If admins want to restrict the user from everything they can simply block the user from the Office 365 active user dashboard.
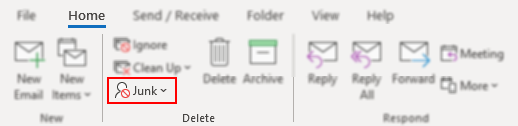
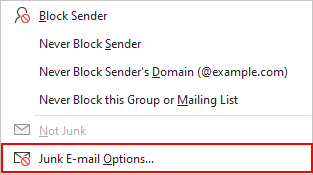
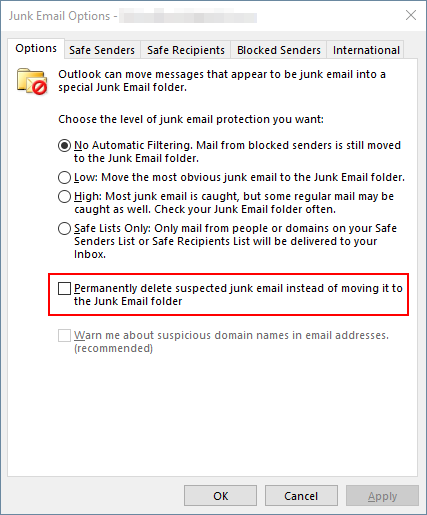
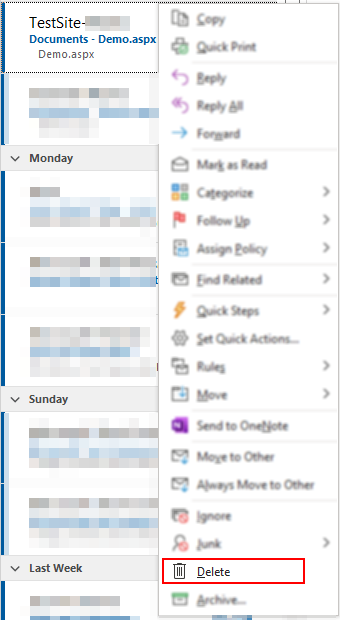
You can prevent messages from coming into your inbox from particular email addresses or domains. When you add an email address or domain to your banned sender’s list, communications from that sender are immediately moved to the Junk Email folder in Outlook.
You can block the email addresses and domains from which you don’t want to receive messages if you’re receiving unsolicited emails. To send communications straight to your Junk Email folder, add any email address or domain to your prohibited sender’s list.
  | |
 Compatible with Windows, Mac OS, and Android. Compatible with Windows, Mac OS, and Android. | FROM $6.00 user/month |
Why block users from sending emails in Office 365?
Mailbox content is mainly used for essential mail and content that is specific to the organization in question. Therefore users may get quite frustrated if their inbox is flooded with junk mail or constant phishing messages from organizations outside the company of delegated users internally who may send promotional mail that is not relevant to your organization. That is why having this feature enabled within Office 365 will allow admin users to eliminate and restrict user mail flow, therefore, preventing the build-up of spam or junk-based mail. The creation of a new rule in the mail flow of Exchange is the method admins should use when conducting a user restriction audit.
As user admins, you want to ensure you make the right decisions when managing the users within your network. Completely removing the user may cause issues for admins who may want to restore the user as they will need to start from a new domain. Also, there may be an occasion where admin users like you would like to restore a blocked user to be allowed to send emails again. To do this, just delete the rule in the mail flow tab and the restriction will be lifted and set to default if admins want. You will need to both activate a new domain and go through a verification process to ensure the user you want to add is real. So blocking them is much more effective than completely removing them.
   |
In depth Step by step process – How to restrict users from sending emails Office 365?
Step by step breakdown:
- First sign into your Office 365 account.
Use your account details or if you have a current Skype account with the Office account in question, you can use this.
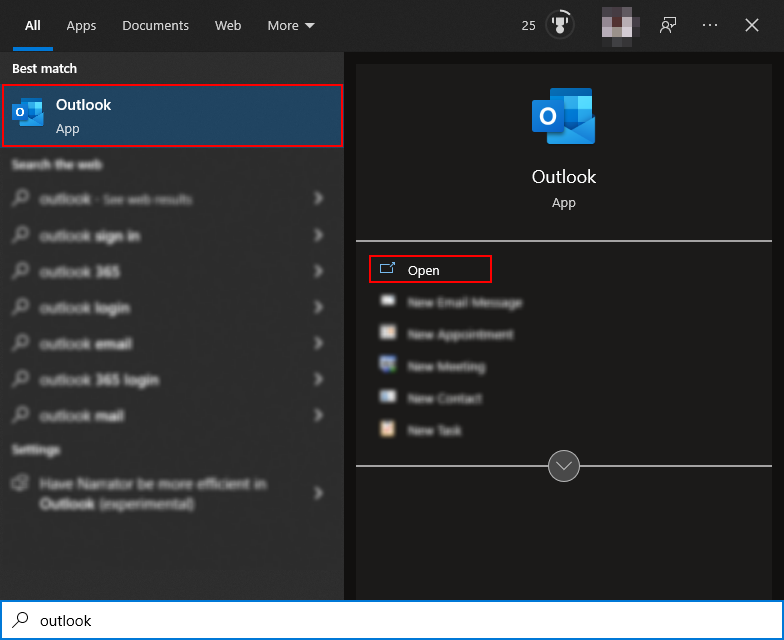
- Use the application launcher to navigate towards “Admin”.
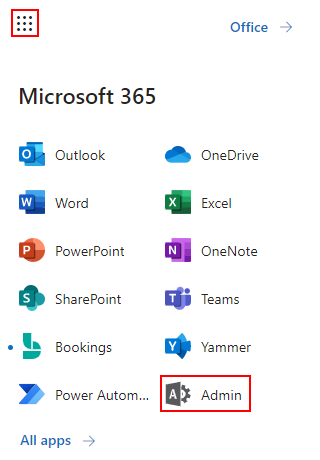
The launcher is illustrated by nine dots in the right corner, click on it and find “Admin” as shown above.
- In the admin dashboard, under “admin center”, click on “Exchange”(you may need to click “Show all” to access).
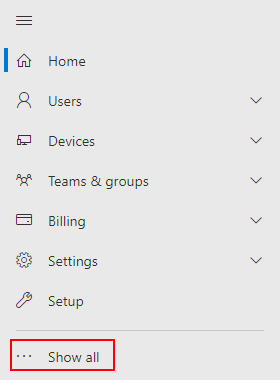
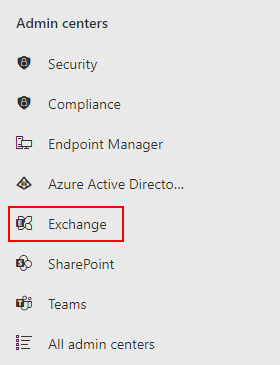
In this example “Exchange” was pinned to the menu bar, however, in your dashboard you may need to click on “show all” which will bring you to the Exchange panel.
- In the Exchange dashboard, click on “Mail flow”.
Mail Flow is a drop-down option so it will expand the options it holds, it will not open a new window to display all the options it has presented.
- Then click on “rules”.
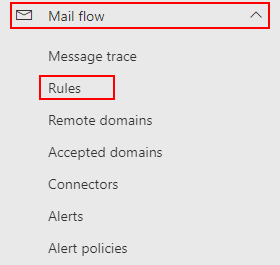
This is where you can create new rules relative to restricting users.
- Now click on the “+” symbol to create a new rule.
- Type out a name for the new rule this will be the rule handle.
- From the “Apply this rule if” drop down, choose “The recipient is located.” Then select “inside your organization”.
- From the “Do the following” dropdown click the “reject the message” option.
- Click OK to apply your changes.
You may need to adjust the settings to include a more specific range of users however for the user you want to restrict will now no longer have the access to send emails.
That’s it for this Blog — thank you for taking time out to read our content. Please feel free to email our team about how it went if you followed the steps or if you need more help with the questions we answered in this Blog.