The AutoComplete list is maintained by Outlook. Both the automated name-checking and automatic completion features rely on the list. When you send email messages from Outlook, the AutoComplete list, also known as the nickname cache, is automatically produced. The list includes “SMTP addresses, LegacyExchangeDN” entries, and display names for individuals you’ve already emailed. The amount of entries you may store in the AutoComplete list in Outlook is limited. When you approach this limit, Outlook employs an internal method to choose the names to be removed from the list. It does so using a utilization weighting system.
When creating a new email, Outlook provides “Auto-Complete” suggestions for recipients in the To, CC, and BCC fields. These can be quite useful, but when you’re writing a fresh email to numerous recipients or groups with identical names, it’s possible that you’ll make an error.
Step by step process: How to disable the auto-complete feature in Outlook?
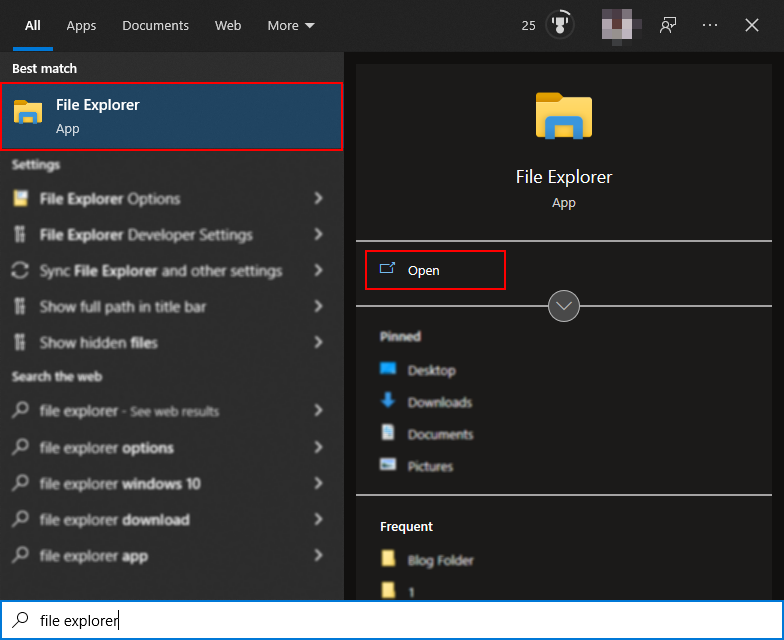
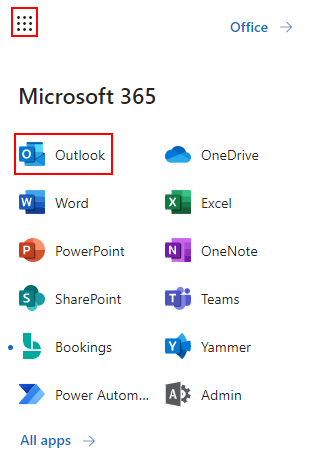
- Firstly, sign into Outlook.
- Now go to “File”.
- From there go to “Options”.
- You now need to go to “Mail”.
- Untick the option “Use Auto-Complete List to propose names while entering in the To, Cc, and Bcc lines” under Send messages.
- Finally, click “Empty Auto-Complete List” under Send messages. To confirm, select Ok.
We’ve also created a video to help you disable the auto-complete feature in Outlook. Watch it here:
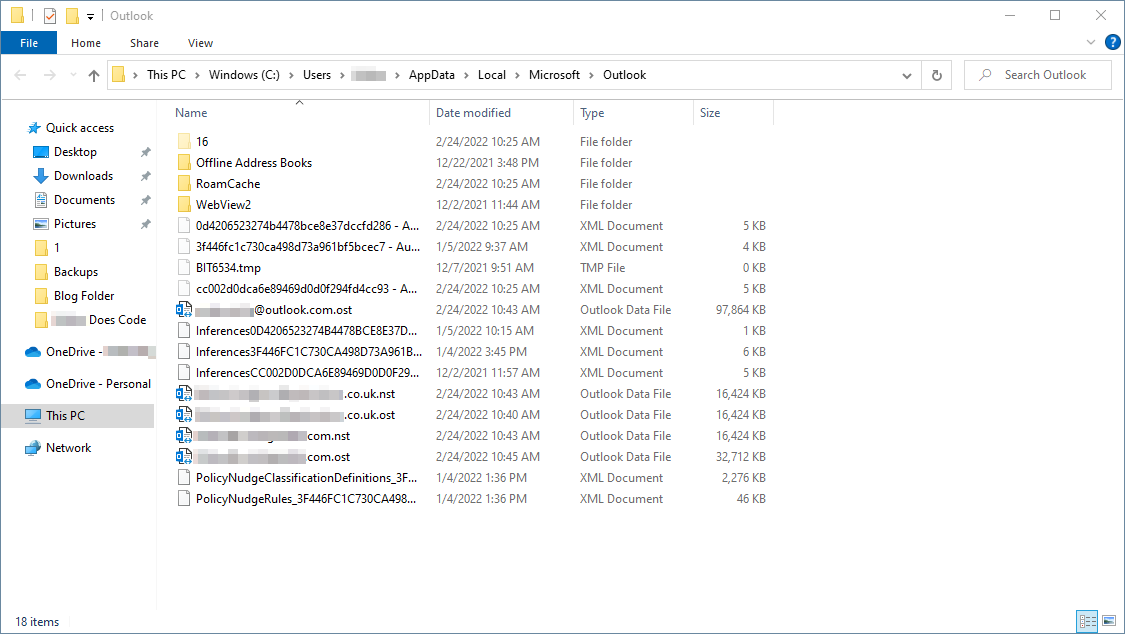
The final step is optional however, it may help to remove the autocomplete feature much more effectively. The Autocomplete list according to Microsoft contains 1000 entries from 2003 to 2019. And if you have quite a few entries that are not required it might be worthwhile to clear the autofill list and start a new one containing email domains and mailboxes that are essential to you or your organization.
You just need to be aware that the next time you choose to send an email to the address you used previously, you will have to type out the full set of characters used for that email address as there will no longer be an entry available to store the information, and Outlook while it normally completes the rest of the address for you, will no longer complete it for you. This works great if none of your recipients have similar email addresses or if you wish to clear out unnecessary data from your server. As you type the first letter of the email address, for example, O, normally Outlook would display a pop-up box enabling you to choose the address you want, however, after this process, it will no longer do that for your domain.
Why have the Auto fill feature off?
Autofill services offered by organizations such as Outlooks allow users to keep a record of data they type out and store it for future reference. When you want to type this data out again you will no longer have to type out the full email address or domain as it will automatically fill it in for you. This is effective if you have users who are within your network, however, not effective if you have quite a few unnecessary email domains stored in the autosave folder taking up space within your domain. You may want to remove them to reduce the storage taken up by the auto-fill feature or you don’t want to use this feature if all the domains look similar and you may click the wrong one and send the file to a user that’s not supposed to receive it. Having type out the full email allows certain users to be more cautious about the content they send and the people they send it to.
Many web browsers include an auto-fill data function that displays all of your previous inputs. This allows you to view all of your previous inputs and select them from a menu, greatly accelerating the process.
Although beneficial, this function will display personal information such as your email address. Fortunately, there is a solution to secure your sensitive information, and we’ll teach you how to delete auto-fill data in Outlook now.
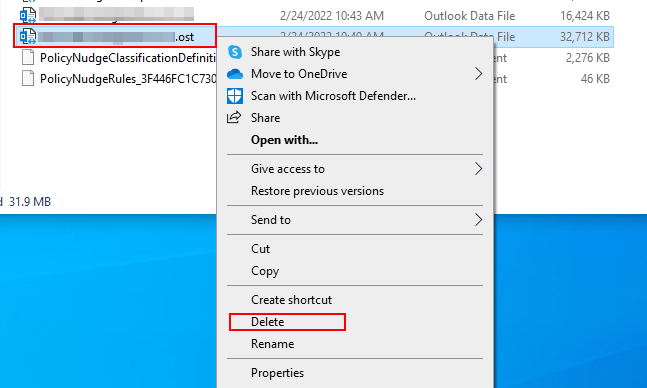
Tip – If you doubt your network is being corrupted or you need to remove your auto-fill data for security concerns, you might find the better alternative is replacing your Outlook domain with a fresh new one and this should only be reserved as a final alternative.
That’s it for this section, we hope our information has provided some form of guidance to help you decide if it’s the best option or not. Feel free to leave a comment on how you think it may impact the functionality of your own Outlook usage.
In depth step by step process: How to disable the auto-complete feature in Outlook?
Step by step breakdown:
- First, sign into Outlook.
You will need to sign in with the application version as this process will only work on the application version of Outlook.
- Go to “file” in the toolbar at the top.

As mentioned above the file option and the application version are the only ways to edit the add-ins as the web version does not directly sync add-in data with your desktop as there is no connected output, unlike the application version.
- From there visit “options”.
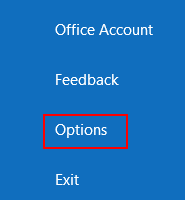
Options are located at the bottom of the menu bar on the left side.
- You now need to go to “Mail”.
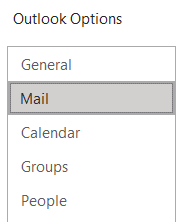
Mail is the option where you will be able to manage email-based including the auto-complete feature.
- Untick the option “Use Auto-Complete List to propose names while entering in the To, Cc, and Bcc lines” under Send messages.
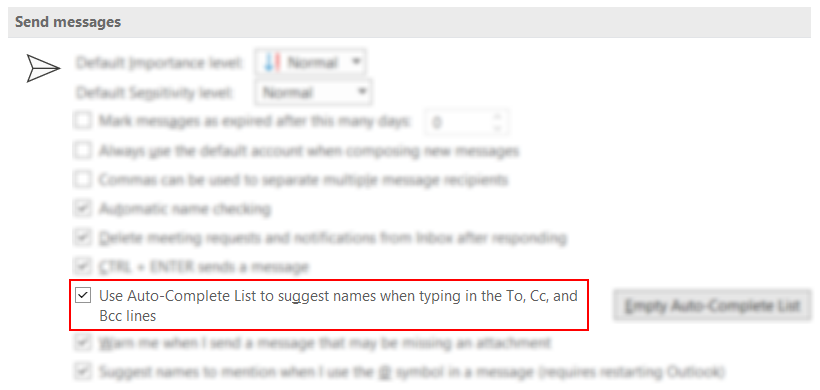
This is the main step for you to keep in mind as it’s directly linked to the autocomplete section.
- Finally, click “Empty Auto-Complete List” under Send messages.

The final step is optional however, it may help to remove the autocomplete feature much more effectively.
- Click “OK” when all the settings are complete.
That’s it for this Blog — thank you for taking time out to read our content. Please feel free to email our team about how it went if you followed the steps or if you need more help with the questions we answered in this Blog.