It is very common for a business or organisation to have a shared mailbox for the day to day running of the business. A typical example of this is having a shared mailbox for enquiries that people may send them. This mailbox is typically shared between relevant people in the organisation who can respond to the email and answer the enquiry based on their specific knowledge. However, many people have found that in Outlook, there are times when emails from their shared mailbox keep disappearing and can not be found.
The first thing users should do is ensure that the disappearing emails are not in the deleted items folder. Accidentally deleting emails is an easy mistake to make, especially in a shared mailbox where multiple people have access to the emails. If the emails are in the deleted folder, you can easily restore them to your shared mailbox.
If the emails are not in the deleted folder, many users have found that if their retention policy is set to default, then they often experience emails disappearing from their shared mailboxes. This blog post will demonstrate the steps to ensure emails from your shared mailbox don’t disappear, including how to restore emails from the deleted items folder and how to set a retention policy to your shared mailbox to ensure that the emails don’t disappear.
Restore emails from ‘Deleted items’ folder if shared mailbox emails are disappearing:
- On Outlook, select the ‘deleted items’ folder from the left hand side panel
- Right click on the email you want to restore and select ‘Restore’ from the dropdown list
Setting a retention policy for a shared mailbox if emails are disappearing:
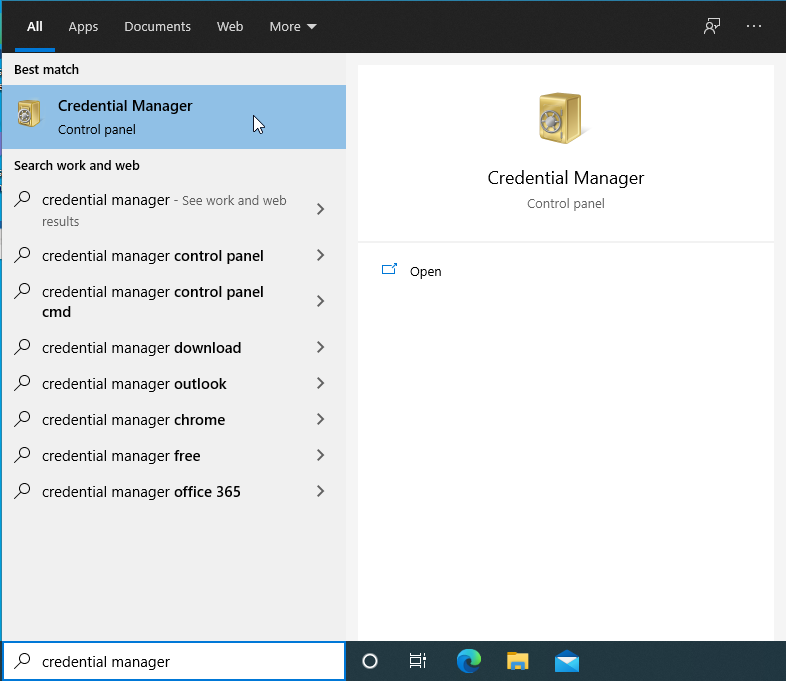
- Go to Office.com and sign in using your credentials
- From the panel on the left hand side, click on the ‘Admin’ icon
- From the left hand side panel, under ‘Admin centers, click on ‘Exchange’
- Front the panel on the left hand side, click on ‘Classic Exchange admin center’
- Underneath ‘compliance management’, select ‘retention policies’
- Under the text highlighted in yellow, click on the plus sign
- A window will appear. Add a name for the retention policy
- Underneath that box, create a retention tag by clicking on the plus button
- Select a pre-made retention tag from the list and then click ‘OK’
- Then, from the left hand side panel, click on ‘Recipients’
- From the panel at the top, select ‘Shared’
- From the list of shared mailboxes, double click on the one you’d like to apply the retention policy to
- In the new window, select ‘mailbox features’
- Go to the retention policy drop down list and select the retention policy you made
- At the bottom of the window, click on ‘Save’
Although the steps to creating a retention policy are quite simple, please be aware that you need an admin view in order to be able to create a new retention policy and apply it to a shared mailbox.
 |  |  |
| Stellar Plus – $6.48/mo | Essential – $8.33/mo | Deluxe – $7.99/mo |
How are retention policies relevant to the issue with my shared mailbox?
Retention policies are typically used to set how long emails and the information/ data in them are stored. It is a great tool to help businesses comply with data protection laws to ensure they are not storing client information for longer than what is necessary. By creating these retention policies, users can decide when emails should be deleted or archived.
One of the options that users can decide is to never delete emails. When this option is selected, the retention policy ensures that the email is kept stored and not deleted. Many users have explained that when this retention policy is applied to a shared mailbox that keeps making emails disappear, they saw that the issue was resolved as the email stayed in their shared mailbox.
Step by step process to restore emails from ‘Deleted items’ folder:
- On Outlook, select the ‘deleted items’ folder from the left hand side panel
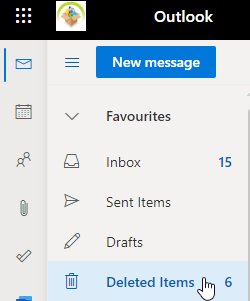
After signing into your Outlook account using your credentials, go to your ‘Deleted items’ folder which can be located on the left hand side panel.
- Right click on the email you want to restore and select ‘Restore’ from the dropdown list
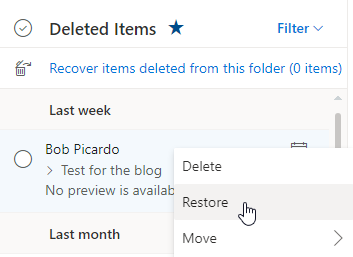
If the emails from your shared mailbox that disappeared are in the deleted items folder, you can restore them by right clicking on them and selecting ‘Restore’ from the drop down list.
If the emails are not in the deleted items folder, then follow the next steps to set up a retention policy for your shared mailbox. Please ensure that you have an admin view of your shared mailbox before you attempt to follow these steps.
   |
Step by step process to set a retention policy for a shared mailbox:
- Go to Office.com and sign in using your credentials
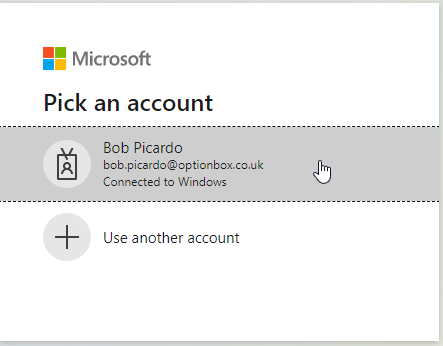
For the purpose of this tutorial, I will be signing into an example account.
- From the panel on the left hand side, click on the ‘Admin’ icon

From the list of icons on the left hand side of the home page, select ‘Admin’.
- From the left hand side panel, under ‘Admin centers, click on ‘Exchange’

- Front the panel on the left hand side, click on ‘Classic Exchange admin center’.

- Underneath ‘compliance management’, select ‘retention policies’
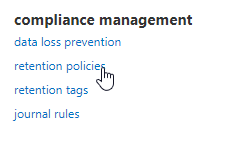
On this page, there will be a sumber of different setting options, look for the ‘compliance management’ and then select ‘retention policies from underneath it.
- Under the text highlighted in yellow, click on the plus sign
- A window will appear. Add a name for the retention policy
- Underneath that box, create a retention tag by clicking on the plus button
- Select a pre-made retention tag from the list and then click ‘OK’
- Then, from the left hand side panel, click on ‘Recipients’
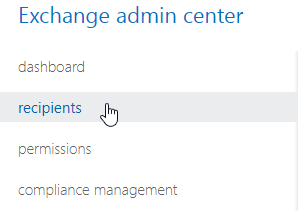
Now you need to apply the retention policy you created to your shared mailbox. To do this, click on ‘recipients’ from the left hand panel.
- From the panel at the top, select ‘Shared’

- From the list of shared mailboxes, double click on the one you’d like to apply the retention policy to
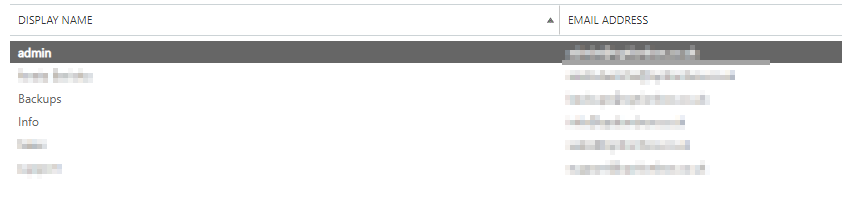
For the purpose of this tutorial, I have selected the admin shared mailbox
- In the new window, select ‘mailbox features’
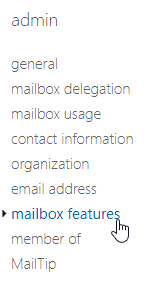
When the new window opens, select ‘mailbox features’ from the left hand side.
- Go to the retention policy drop down list and select the retention policy you made
- At the bottom of the window, click on ‘Save’
Thank you for reading! If you have any comments or further questions, leave a comment and we’d be happy to help.